当前位置:网站首页>MySQL 8.0.11 download, install and connect tutorials using visualization tools
MySQL 8.0.11 download, install and connect tutorials using visualization tools
2022-04-23 13:11:00 【ArchieSean】
The blogger's name is taken from 《 Shaun the Sheep 》 Shawn the lamb in the , The name is : Sean , Transliterated as Sean, Take your own last name : Archie , In order to conform to our reading habits , Connected to form ArchieSean. The blogger is currently a junior reading , Aiming to build blog into a technical stack of personal online notes , Be convenient for yourself and others . If there are any mistakes in the blog , Please point out , Thank you. .
List of articles
MySQL The download
Download address : mysql Download the official website link
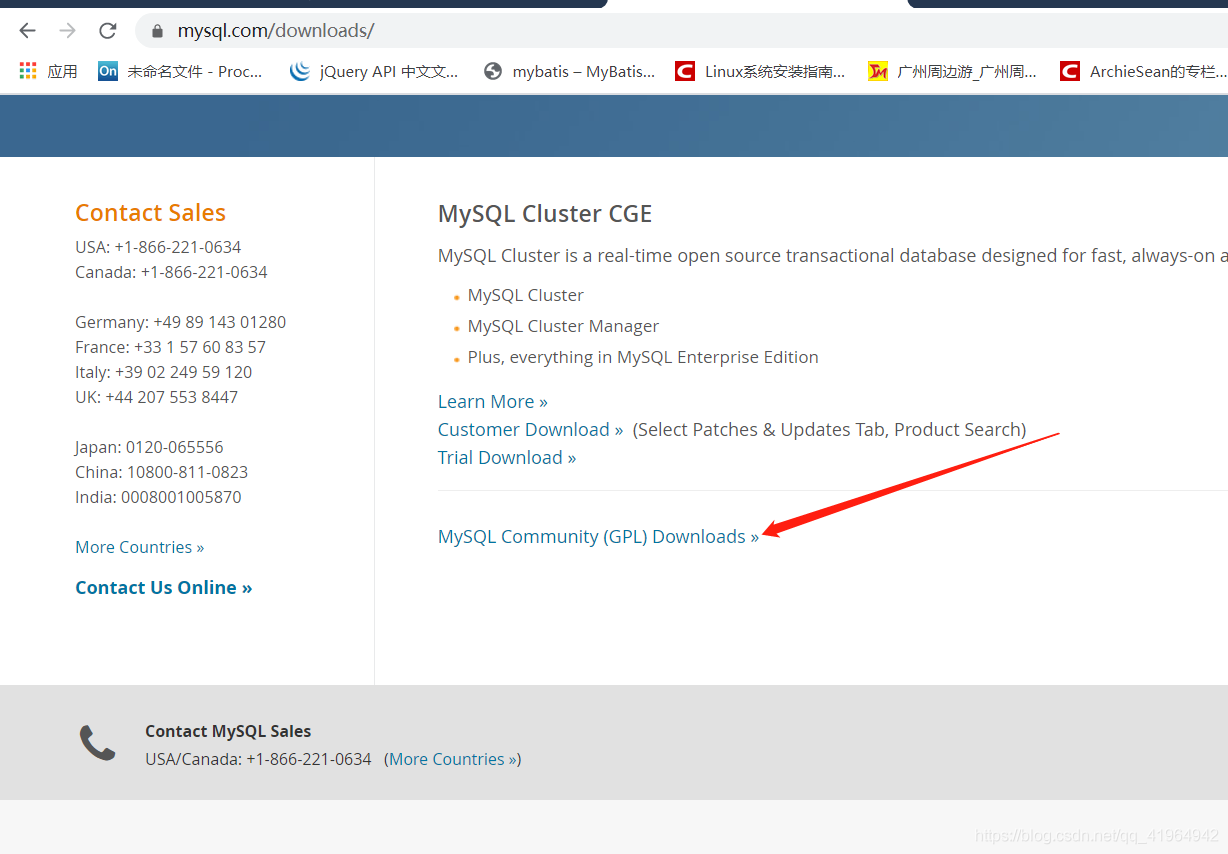


Here we use 8.0.11 Download... For example :

decompression

Preparations before installation
First, let's decompress the mysql file , Put it on the drive letter we want to install , Here I put d The root directory of the disk , Pictured

My file name has been changed here to mysql-8.0.11.
- Then we're going to check mysql-8.0.11 Is there... In the directory my.ini file , If there is an open , If not created manually . Make the content consistent with the following :
# For advice on how to change settings please see
# http://dev.mysql.com/doc/refman/5.7/en/server-configuration-defaults.html
# *** DO NOT EDIT THIS FILE. It's a template which will be copied to the
# *** default location during install, and will be replaced if you
# *** upgrade to a newer version of MySQL.

[mysqld]
#skip-grant-tables
# Remove leading # and set to the amount of RAM for the most important data
# cache in MySQL. Start at 70% of total RAM for dedicated server, else 10%.
  innodb_buffer_pool_size = 128M

# Remove leading # to turn on a very important data integrity option: logging
# changes to the binary log between backups.
# log_bin

# These are commonly set, remove the # and set as required.
# mysql root directory
  basedir = D:/mysql-8.0.11
#  Data file storage directory
  datadir = D:/mysql-8.0.11/data
#  port , Default 3306
  port = 3306
#  Unique identification of the service instance
# server_id = MySQL

#  Maximum connections allowed
  max_connections=200
#  Number of connection failures allowed . This is to prevent someone from trying to attack the database system from the host
  max_connect_errors=10
#  The character set used by the server defaults to utf8mb4
  character_set_server=utf8mb4
#  The default storage engine that will be used when creating a new table
  default-storage-engine=INNODB
#  By default “mysql_native_password” Plug in authentication
  default_authentication_plugin=mysql_native_password

# Remove leading # to set options mainly useful for reporting servers.
# The server defaults are faster for transactions and fast SELECTs.
# Adjust sizes as needed, experiment to find the optimal values.
  join_buffer_size = 128M
  sort_buffer_size = 2M
  read_rnd_buffer_size = 2M

sql_mode=NO_ENGINE_SUBSTITUTION,STRICT_TRANS_TABLES

[mysql]
#  Set up mysql Client default character set
default-character-set=utf8mb4

[client]
#  Set up mysql The default port when the client connects to the server
port=3306
default-character-set=utf8mb4
install
- open cmd , Run as administrator
- Copy mysql8.0.11 Of bin route ( As shown in the figure above )
- stay cmd Input in cd D:\mysql-8.0.11\bin, enter
- Input d:, enter
- Get into mysql Of bin Catalog , Next, enter this command : mysqld --initialize --console after , enter , See the picture below ( All the above operations )

【 Hit the blackboard here 】 Put the contents in the red box in the figure ( password ) Copy it . The content of this paragraph produced by different computers is different , Copy the password first ( Paste it anywhere , It's still useful to put it first *). - And then it goes on to cmd Enter command in : mysqld --install

- Next launch mysql service : command net start mysql

- Sign in mysql. Continue typing commands : mysql -uroot -p password ( The password here is the content copied above )

( The content in the red box is the password copied above ) If it's as shown , be mysql Login successful
Modify super administrator password
Continue to use... On the basis of successful login above cmd operation
- Copy this code to cmd in :
ALTER USER 'root'@'localhost' IDENTIFIED WITH mysql_native_password BY 'root'
The above code means to modify the super administrator root The password for root( Change your password as needed )

( Remember to add English conditions “;”) Change password successfully and exit sign out mysql service .
- Check it out
Use the command to verify whether the password is changed successfully .
Empathy , stay cmd Medium mysql Of bin Enter the following command under the directory :
mysql -uroot -proot // If I didn't change the password here root, You can change it to your own password

Visualization tools Navicat Use
- Navicat The installation of is not explained here ( direct next The next step is to install )
- Use : A picture to understand its basic use

After clicking test , Display success , Then click the OK button in the figure to connect to mysql.
【 Hit the blackboard here 】 Before connecting , Make sure that mysql The status of the service is , It's in the above command : net start mysql Opening service .
If there are any problems , Please point out in the comments section , thank you .
版权声明
本文为[ArchieSean]所创,转载请带上原文链接,感谢
https://yzsam.com/2022/04/202204231306322836.html
边栏推荐
- Design of body fat detection system based on 51 single chip microcomputer (51 + OLED + hx711 + US100)
- 100 lectures on practical application cases of Excel (VIII) - report connection function of Excel
- [notes de marche]
- Imx6ull QEMU bare metal tutorial 2: usdhc SD card
- Data warehouse - what is OLAP
- Jupiter notebook installation
- 解决Oracle中文乱码的问题
- 【微信小程序】flex布局使用记录
- 100 GIS practical application cases (51) - a method for calculating the hourly spatial average of NC files according to the specified range in ArcGIS
- mysql 基本语句查询
猜你喜欢

十万大学生都已成为猿粉,你还在等什么?

初鉴canvas,展示个小小的小案例

melt reshape decast 长数据短数据 长短转化 数据清洗 行列转化

Complete project data of UAV apriltag dynamic tracking landing based on openmv (LabVIEW + openmv + apriltag + punctual atom four axes)

2020最新Android大厂高频面试题解析大全(BAT TMD JD 小米)

web三大组件之Servlet

three. JS text ambiguity problem

超40W奖金池等你来战!第二届“长沙银行杯”腾讯云启创新大赛火热来袭!

nodeJs + websocket 循环小案例

Read the data in Presto through sparksql and save it to Clickhouse
随机推荐
three. JS text ambiguity problem
【动态规划】221. 最大正方形
鸿蒙系统是抄袭?还是未来?3分钟听完就懂的专业讲解
ESP32 VHCI架构传统蓝牙设置scan mode,让设备能被搜索到
5道刁钻的Activity生命周期面试题,学完去吊打面试官!
Byte warehouse intern interview SQL questions
nodeJs + websocket 循环小案例
mui 微信支付 排坑
GIS practical tips (III) - how to add legend in CASS?
AUTOSAR from introduction to mastery 100 lectures (87) - key weapon of advanced EEA - AUTOSAR and DDS
十万大学生都已成为猿粉,你还在等什么?
How to convert opencv pictures to bytes
2021年6月程序员工资统计,平均15052元,你拖后腿了吗?
[walking notes]
“湘见”技术沙龙 | 程序员&CSDN的进阶之路
The use of dcast and melt in R language is simple and easy to understand
1130 - host XXX is not allowed to connect to this MySQL server error in Navicat remote connection database
Important knowledge of network layer (interview, reexamination, term end)
[wechat applet] flex layout usage record
decast id.var measure. Var data splitting and merging