当前位置:网站首页>Pytorch 训练技巧
Pytorch 训练技巧
2022-08-09 07:03:00 【落难Coder】
1、指定GPU编号
- 设置当前使用的GPU设备仅为0号设备,设备名称为
/gpu:0:os.environ["CUDA_VISIBLE_DEVICES"] = "0" - 设置当前使用的GPU设备为0,1号两个设备,名称依次为
/gpu:0、/gpu:1:os.environ["CUDA_VISIBLE_DEVICES"] = "0,1",根据顺序表示优先使用0号设备,然后使用1号设备。
指定GPU的命令需要放在和神经网络相关的一系列操作的前面。
2、查看模型每层输出详情
Keras有一个简洁的API来查看模型的每一层输出尺寸,这在调试网络时非常有用。现在在PyTorch中也可以实现这个功能。
使用很简单,如下用法:
from torchsummary import summary
summary(your_model, input_size=(channels, H, W))
input_size 是根据你自己的网络模型的输入尺寸进行设置。
3、梯度裁剪(Gradient Clipping)
import torch.nn as nn

outputs = model(data)
loss= loss_fn(outputs, target)
optimizer.zero_grad()
loss.backward()
nn.utils.clip_grad_norm_(model.parameters(), max_norm=20, norm_type=2)
optimizer.step()
nn.utils.clip_grad_norm_ 的参数:
- parameters – 一个基于变量的迭代器,会进行梯度归一化
- max_norm – 梯度的最大范数
- norm_type – 规定范数的类型,默认为L2
4、扩展单张图片维度
因为在训练时的数据维度一般都是 (batch_size, c, h, w),而在测试时只输入一张图片,所以需要扩展维度,扩展维度有多个方法:
import cv2
import torch

image = cv2.imread(img_path)
image = torch.tensor(image)
print(image.size())

img = image.view(1, *image.size())
print(img.size())

# output:
# torch.Size([h, w, c])
# torch.Size([1, h, w, c])
或
import cv2
import numpy as np

image = cv2.imread(img_path)
print(image.shape)
img = image[np.newaxis, :, :, :]
print(img.shape)

# output:
# (h, w, c)
# (1, h, w, c)
或(感谢知乎用户coldleaf的补充)
import cv2
import torch

image = cv2.imread(img_path)
image = torch.tensor(image)
print(image.size())

img = image.unsqueeze(dim=0)
print(img.size())

img = img.squeeze(dim=0)
print(img.size())

# output:
# torch.Size([(h, w, c)])
# torch.Size([1, h, w, c])
# torch.Size([h, w, c])
tensor.unsqueeze(dim):扩展维度,dim指定扩展哪个维度。
tensor.squeeze(dim):去除dim指定的且size为1的维度,维度大于1时,squeeze()不起作用,不指定dim时,去除所有size为1的维度。
5、独热编码
在PyTorch中使用交叉熵损失函数的时候会自动把label转化成onehot,所以不用手动转化,而使用MSE需要手动转化成onehot编码。
import torch
class_num = 8
batch_size = 4

def one_hot(label):
    """ 将一维列表转换为独热编码 """
    label = label.resize_(batch_size, 1)
    m_zeros = torch.zeros(batch_size, class_num)
    # 从 value 中取值,然后根据 dim 和 index 给相应位置赋值
    onehot = m_zeros.scatter_(1, label, 1)  # (dim,index,value)

    return onehot.numpy()  # Tensor -> Numpy

label = torch.LongTensor(batch_size).random_() % class_num  # 对随机数取余
print(one_hot(label))

# output:
[[0. 0. 0. 1. 0. 0. 0. 0.]
 [0. 0. 0. 0. 1. 0. 0. 0.]
 [0. 0. 1. 0. 0. 0. 0. 0.]
 [0. 1. 0. 0. 0. 0. 0. 0.]]
6、防止验证模型时爆显存
验证模型时不需要求导,即不需要梯度计算,关闭autograd,可以提高速度,节约内存。如果不关闭可能会爆显存。
with torch.no_grad():
    # 使用model进行预测的代码
    pass
Pytorch 训练时无用的临时变量可能会越来越多,导致 out of memory ,可以使用下面语句来清理这些不需要的变量。
torch.cuda.empty_cache()
7、学习率衰减
import torch.optim as optim
from torch.optim import lr_scheduler

# 训练前的初始化
optimizer = optim.Adam(net.parameters(), lr=0.001)
scheduler = lr_scheduler.StepLR(optimizer, 10, 0.1)  # # 每过10个epoch,学习率乘以0.1

# 训练过程中
for n in n_epoch:
    scheduler.step()
    ...
8、冻结某些层的参数
在加载预训练模型的时候,我们有时想冻结前面几层,使其参数在训练过程中不发生变化。
我们需要先知道每一层的名字,通过如下代码打印:
net = Network()  # 获取自定义网络结构
for name, value in net.named_parameters():
    print('name: {
    0},\t grad: {
    1}'.format(name, value.requires_grad))
假设前几层信息如下:
name: cnn.VGG_16.convolution1_1.weight,	 grad: True
name: cnn.VGG_16.convolution1_1.bias,	 grad: True
name: cnn.VGG_16.convolution1_2.weight,	 grad: True
name: cnn.VGG_16.convolution1_2.bias,	 grad: True
name: cnn.VGG_16.convolution2_1.weight,	 grad: True
name: cnn.VGG_16.convolution2_1.bias,	 grad: True
name: cnn.VGG_16.convolution2_2.weight,	 grad: True
name: cnn.VGG_16.convolution2_2.bias,	 grad: True
后面的True表示该层的参数可训练,然后我们定义一个要冻结的层的列表:
no_grad = [
    'cnn.VGG_16.convolution1_1.weight',
    'cnn.VGG_16.convolution1_1.bias',
    'cnn.VGG_16.convolution1_2.weight',
    'cnn.VGG_16.convolution1_2.bias'
]
冻结方法如下:
net = Net.CTPN()  # 获取网络结构
for name, value in net.named_parameters():
    if name in no_grad:
        value.requires_grad = False
    else:
        value.requires_grad = True
冻结后我们再打印每层的信息:
name: cnn.VGG_16.convolution1_1.weight,	 grad: False
name: cnn.VGG_16.convolution1_1.bias,	 grad: False
name: cnn.VGG_16.convolution1_2.weight,	 grad: False
name: cnn.VGG_16.convolution1_2.bias,	 grad: False
name: cnn.VGG_16.convolution2_1.weight,	 grad: True
name: cnn.VGG_16.convolution2_1.bias,	 grad: True
name: cnn.VGG_16.convolution2_2.weight,	 grad: True
name: cnn.VGG_16.convolution2_2.bias,	 grad: True
可以看到前两层的weight和bias的requires_grad都为False,表示它们不可训练。
最后在定义优化器时,只对requires_grad为True的层的参数进行更新。
optimizer = optim.Adam(filter(lambda p: p.requires_grad, net.parameters()), lr=0.01)
边栏推荐
- 【MySQL】update mysql.user set authentication_string=password(“123456“) where User=‘root‘; 报错
- P7 Alibaba Interview Questions 2020.07 Sliding Window Algorithm (Alibaba Cloud Interview)
- 2022 年全球十大最佳自动化测试工具
- 长沙学院2022暑假训练赛(一)六级阅读
- leetcode 之 零移位
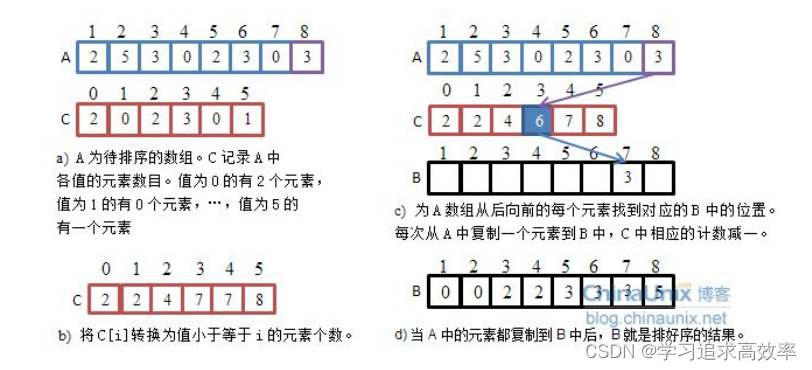
- (本章节完结)排序第五节——非比较排序(计数排序+基数排序+桶排序)(附有自己的视频讲解)
- Altium designer software commonly used the most complete package library, including schematic library, PCB library and 3D model library
- Fragments
- 神经网络优化器
- 洛谷P1110 报表统计 multiset stl好题
猜你喜欢
随机推荐
HDU - 3183 A Magic Lamp 线段树
Mysql实操
MUV LUV EXTRA 2019CCPC秦皇岛站J题 KMP
2017 G icpc shenyang Infinite Fraction Path BFS + pruning
Integer 线程安全的
2017icpc沈阳 G Infinite Fraction Path BFS+剪枝
2022年7月小结
vlucas/phpdotenv phpdotenv获取变量内容偶尔出现返回false
Codeforces Round #359 (Div. 2) C. Robbers' watch 暴力枚举
集合内之部原理总结
SSL证书最长有效期13个月,还有必要一次申请多年吗?
单例 DCL(double check lock) 饱汉模式和饿汉模式
Zero shift of leetcode
XILINX K7 FPGA+RK3399 PCIE驱动调试
Explain the wait() function and waitpid() function in C language in detail
顺序表删除所有值为e的元素
子路由及路由出口配置
用tensorflow.keras模块化搭建神经网络模型
ByteDance Written Exam 2020 (Douyin E-commerce)
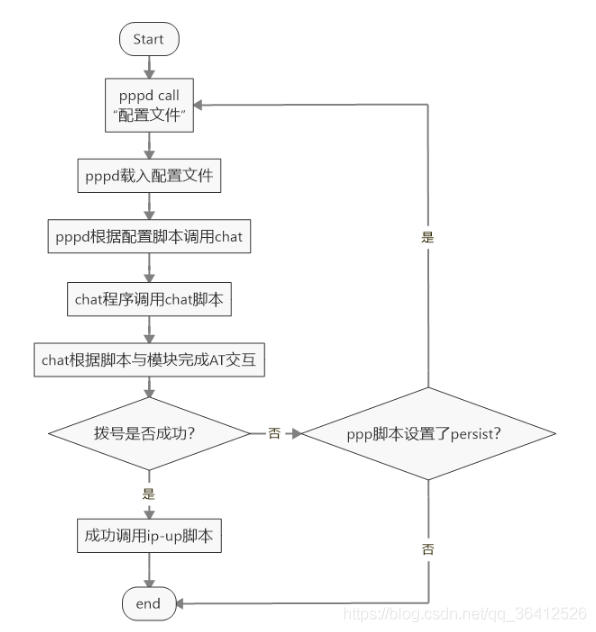
Quectel EC20 4G module dial related
