当前位置:网站首页>How to solve the 0x80070005 error when the computer is reinstalled and the system is restored
How to solve the 0x80070005 error when the computer is reinstalled and the system is restored
2022-08-09 13:44:00 【Xiaobai one-key reinstall system】
Recently, a user has failed to restore the system to the computer, and the system prompts that the system restore was not completed successfully.No changes were made to the computer's system files and settings, with error code 0x80070005.So what should I do if I encounter this problem?
Other One-click system reinstallation The steps are here
The solution is as follows:
1. First, press the [Win + X] key combination on the keyboard, or right-click the [Windows Start Logo] on the taskbar, and select [Run] in the opened right-click menu item;

2. In the run window, enter the [services.msc] command, and press OK or Enter to quickly open the service;

3. In the service window, find and double-click to open [Windows Backup], then in the properties (local computer) window of the opened Windows Backup, change the startup type to [Auto], and then click [OK];

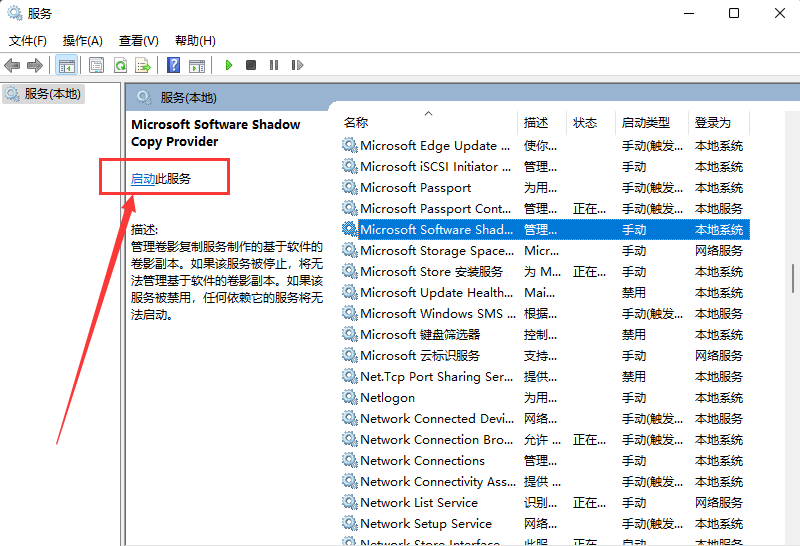
4. Go back to the service window, find and right-click [Windows Backup], and select [Start] in the opened menu item;

5. Finally, set the [Microsoft Software Shadow Copy Provider], [Task Scheduler], [Volume Shadow Copy], these three services, the startup type to [Automatic], and the [Start] service.


Recently, a user has failed to restore the system to the computer, and the system prompts that the system restore was not completed successfully.No changes were made to the computer's system files and settings, with error code 0x80070005.So what should I do if I encounter this problem?
Other steps to reinstall the system with one click are here

The solution is as follows:
1. First, press the [Win + X] key combination on the keyboard, or right-click the [Windows Start Logo] on the taskbar, and select [Run] in the opened right-click menu item;
2. In the run window, enter the [services.msc] command, and press OK or Enter to quickly open the service;
3. In the service window, find and double-click to open [Windows Backup], then in the properties (local computer) window of the opened Windows Backup, change the startup type to [Auto], and then click [OK];
4. Go back to the service window, find and right-click [Windows Backup], and select [Start] in the opened menu item;
5. Finally, set the [Microsoft Software Shadow Copy Provider], [Task Scheduler], [Volume Shadow Copy], these three services, the startup type to [Automatic], and the [Start] service.
边栏推荐
猜你喜欢

Flutter Getting Started and Advanced Tour (8) Button Widget

kustomize入门示例及基本语法使用说明
Compensation transaction and idempotency guarantee based on CAP components
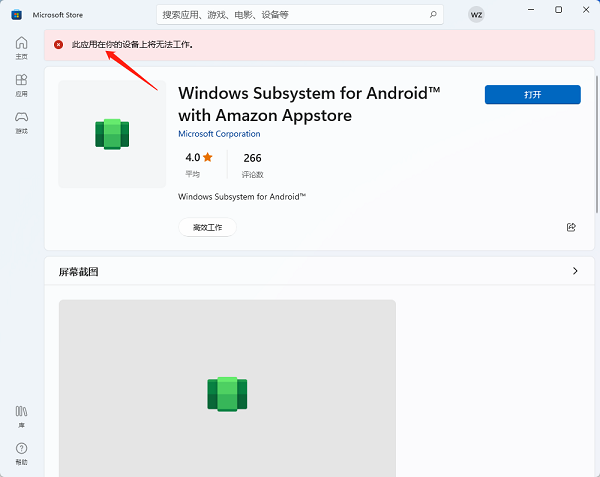
WSA toolkit installed app store tip doesn't work how to solve?
5G Unicom Network Management Design Ideas
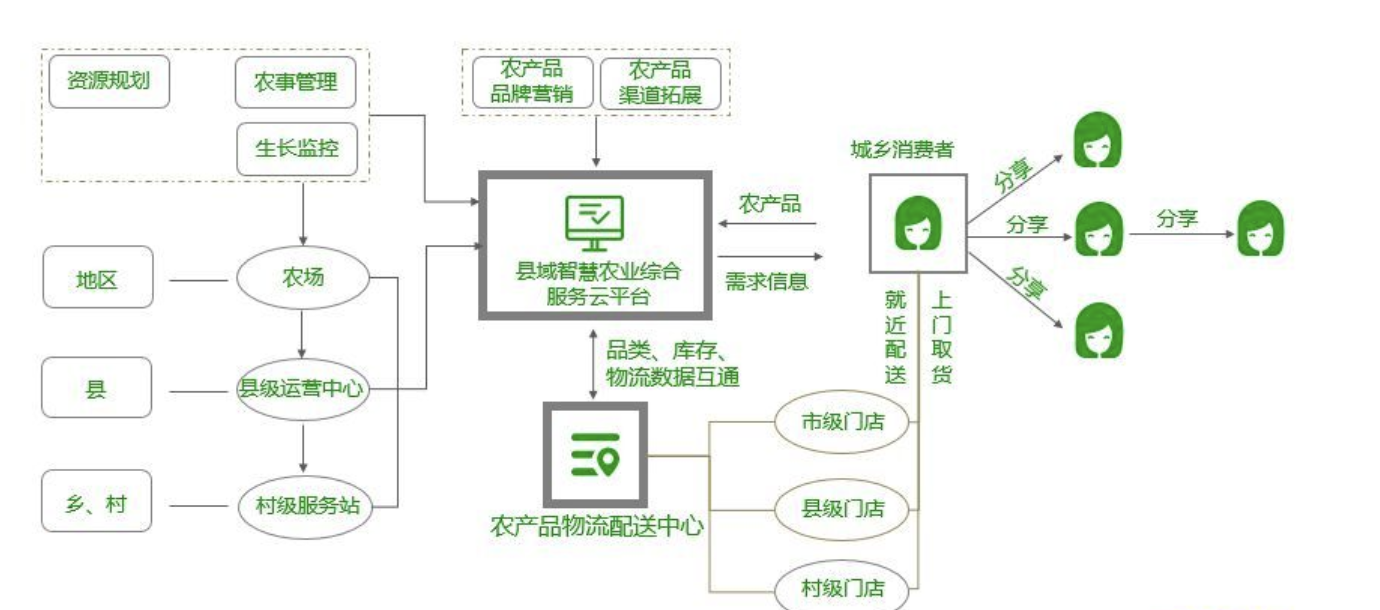
农村区县域农业电商如何做?数字化转型如何进行?
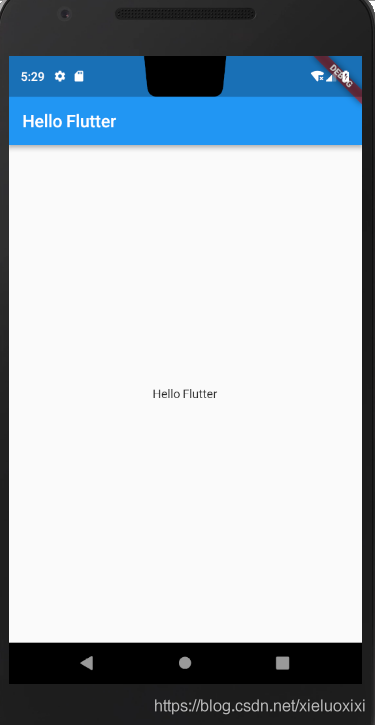
Flutter Getting Started and Advanced Tour (2) Hello Flutter

FPGA中串口通信的时钟频率和波特率计数
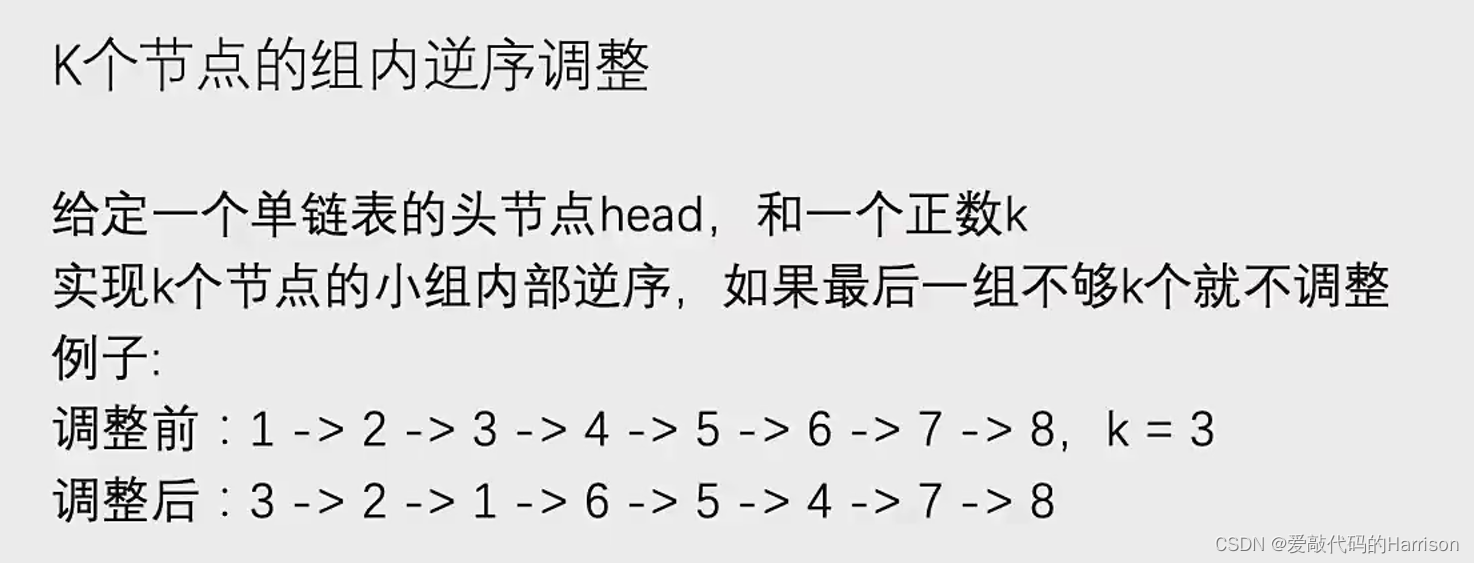
K个结点的组内逆序调整
Intra-group reverse order adjustment of K nodes
随机推荐
在“Extend the Omniverse”比赛中构建用于 3D 世界的工具
数据挖掘-06
Flutter Getting Started and Advanced Tour (7) GestureDetector
Compensation transaction and idempotency guarantee based on CAP components
ABAP interview questions: how to use the System CALL interface of the ABAP programming language, direct execution ABAP server operating System's shell command?
Yocto 可以下载的第三方库
ERP不规范,同事两行泪 (转载非原创)
工作任务统计
uni-app - uview Swiper 轮播图组件点击跳转链接(点击后拿到 item 行数据, 取出数据做操作)
联通网管协议框图
NFS 特别注意权限的问题
About the handling of variable parameters in the Retrofit network request URL
Simple encapsulation of glide tool class
#WeArePlay | 与更多开发者一起,探索新世界
保存Simulink仿真模型为图片或者PDF的方法
read stream special attention
Redis源码剖析之robj(redisObject)
leetcode 20. Valid Parentheses 有效的括号(中等)
30行代码实现微信朋友圈自动点赞
Redis源码剖析之跳表(skiplist)