当前位置:网站首页>HDRP shader 获取阴影(Custom Pass)
HDRP shader 获取阴影(Custom Pass)
2022-08-11 09:08:00 【凌晨出没的东熊】
环境
Unity:2021.3.0f1
HDRP:12.1.6
以下程序均在 自定义全屏通道 中运行,详情
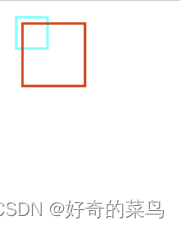
示例场景如图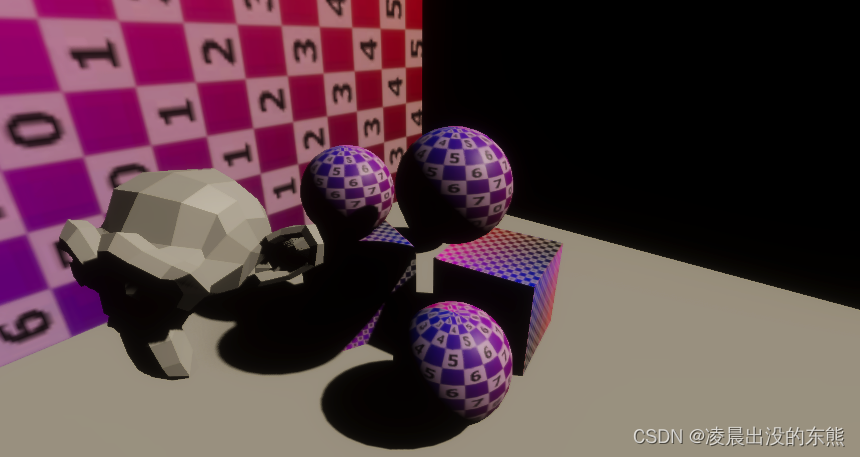
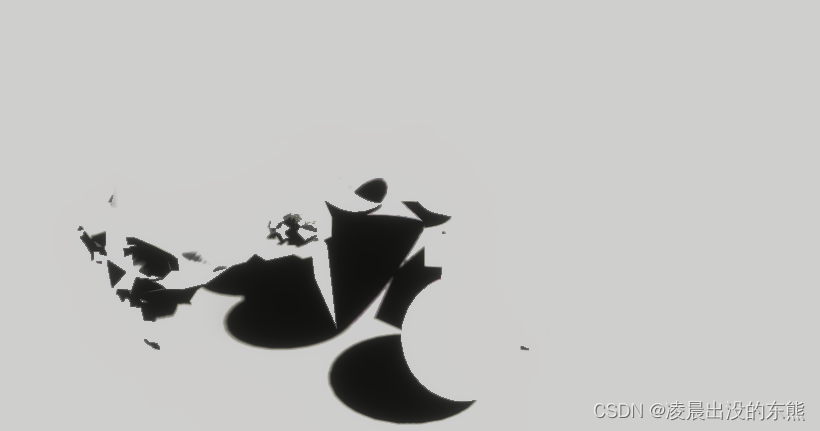
直接光阴影
应该可能是这么写吧(代码出处是Lighting\LightLoop\LightLoop.hlsl)
#pragma multi_compile SHADOW_LOW SHADOW_MEDIUM SHADOW_HIGH SHADOW_VERY_HIGH
#include "Packages/com.unity.render-pipelines.high-definition/Runtime/Material/NormalBuffer.hlsl"

#include "Packages/com.unity.render-pipelines.high-definition/Runtime/Lighting/PunctualLightCommon.hlsl"
#include "Packages/com.unity.render-pipelines.high-definition/Runtime/Lighting/LightLoop/HDShadow.hlsl"
NormalData normalData;
DecodeFromNormalBuffer(posInput.positionSS, normalData);

HDShadowContext shadowContext = InitShadowContext();

DirectionalLightData light = _DirectionalLightDatas[_DirectionalShadowIndex];
float3 L = -light.forward;
float3 shadow = GetDirectionalShadowAttenuation(shadowContext,
					posInput.positionSS, posInput.positionWS, normalData.normalWS,
					light.shadowIndex, L);
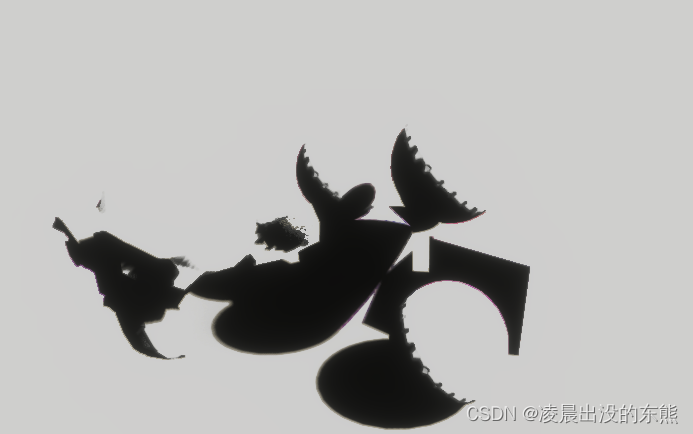
去掉背面的影子
这个效果不太对劲,不过显然物体背面是接受不到影子的(毕竟照不到光),所以索性去掉背面的阴影。
shadow = dot(normalData.normalWS, L) < 0 ? 1 : shadow;
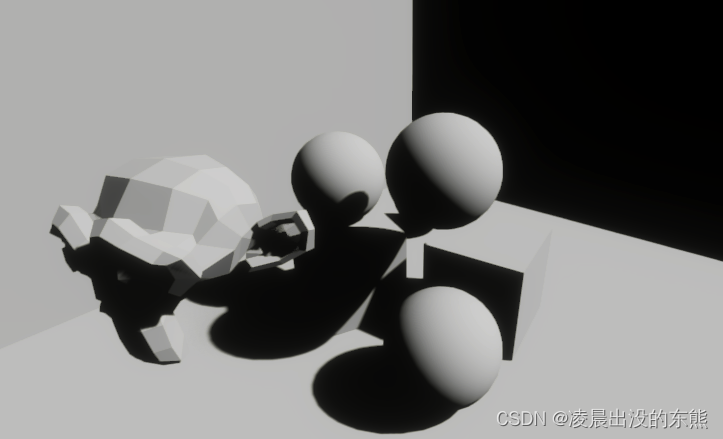
着色
确实是剩下影子了,不过这样看有点怪怪,所以这里来给这幅图加一个黑白版lambert着色。
// shadow = dot(normalData.normalWS, L) < 0 ? 1 : shadow;
shadow *= saturate(dot(normalData.normalWS, L));
所有光源
为做示例,这里加了一盏聚光灯。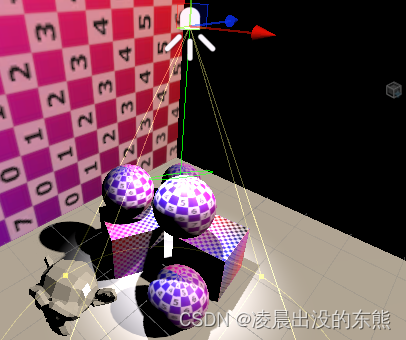
另一个API
额外添加 #define 和 #include
#include "Packages/com.unity.render-pipelines.high-definition/Runtime/Material/NormalBuffer.hlsl"

#include "Packages/com.unity.render-pipelines.high-definition/Runtime/Lighting/PunctualLightCommon.hlsl"
#include "Packages/com.unity.render-pipelines.high-definition/Runtime/Lighting/LightLoop/HDShadow.hlsl"

// 添加以下内容
#define LIGHTLOOP_DISABLE_TILE_AND_CLUSTER
#include "Packages/com.unity.render-pipelines.high-definition/Runtime/Lighting/LightLoop/LightLoopDef.hlsl"
#include "Packages/com.unity.render-pipelines.high-definition/Runtime/Lighting/LightLoop/HDShadowLoop.hlsl"
如下修改代码(代码出处是Sky\HDRISky\HDRISky.shader)
NormalData normalData;
DecodeFromNormalBuffer(posInput.positionSS, normalData);

HDShadowContext shadowContext = InitShadowContext();

// 注释以下几行
// DirectionalLightData light = _DirectionalLightDatas[_DirectionalShadowIndex];
// float3 L = -light.forward;
// float3 shadow = GetDirectionalShadowAttenuation(shadowContext,
// posInput.positionSS, posInput.positionWS, normalData.normalWS,
// light.shadowIndex, L);
// shadow = saturate(dot(normalData.normalWS, L));

float3 shadow3;
ShadowLoopMin(shadowContext, posInput, normalData.normalWS,
		LIGHTFEATUREFLAGS_PUNCTUAL | LIGHTFEATUREFLAGS_DIRECTIONAL | LIGHTFEATUREFLAGS_AREA,
		DEFAULT_LIGHT_LAYERS, shadow3);
float3 shadow = dot(shadow3, float3(1.0 / 3.0, 1.0 / 3.0, 1.0 / 3.0));

可以看到,聚光灯的影子已经出来了,不过物体背面的影子也出来了,下面继续修改,在这里也来加一个黑白版lambert着色。
创建 CustomHDShadowLoop.hlsl
在你上面写的着色器的同目录下新建一个文件,命名为CustomHDShadowLoop.hlsl
把 HDShadowLoop.hlsl 的所有内容拷贝到 CustomHDShadowLoop.hlsl
HDShadowLoop.hlsl 的完整路径大概是在:
“你的项目\Library\PackageCache\[email protected]\Runtime\Lighting\LightLoop\HDShadowLoop.hlsl”
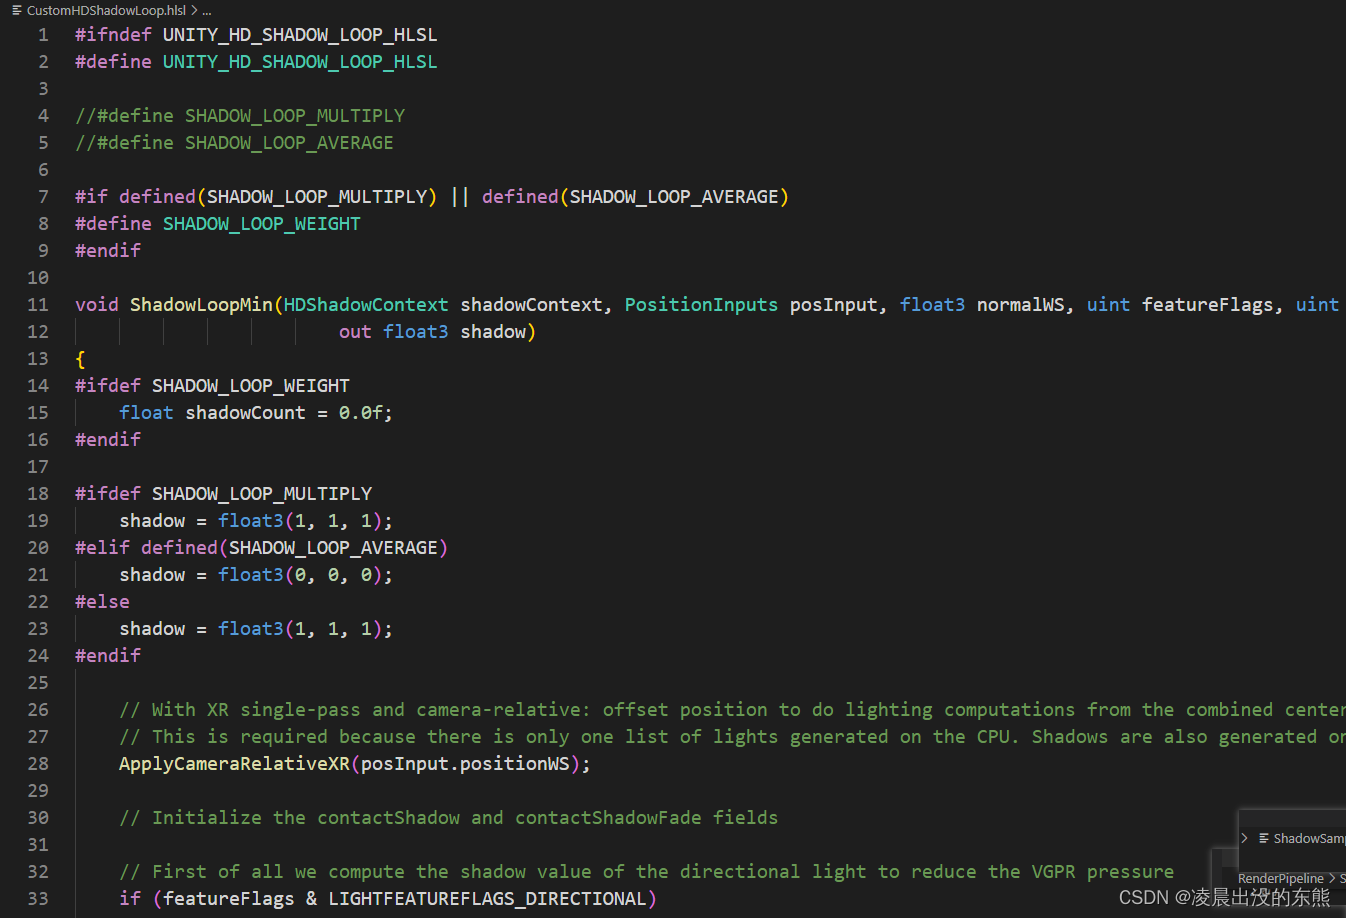
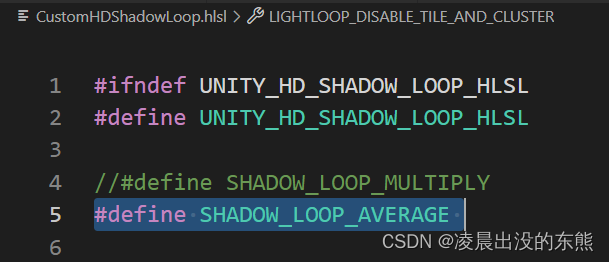
修改 CustomHDShadowLoop.hlsl
- 在文件最顶上,把 #define SHADOW_LOOP_AVERAGE , 去除注释
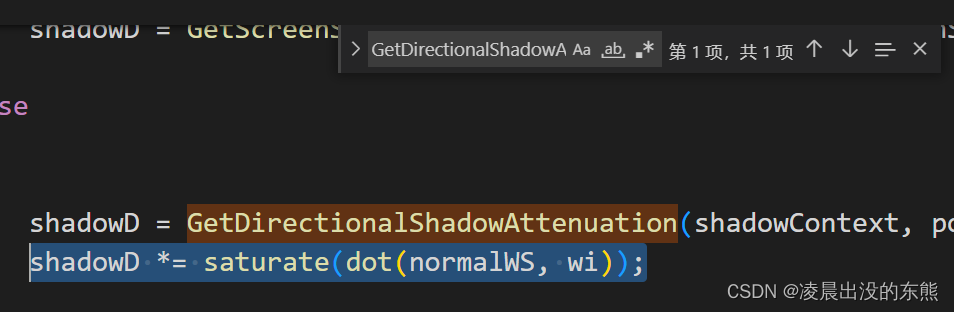
- 搜索 GetDirectionalShadowAttenuation,并添加代码
shadowD *= saturate(dot(normalWS, wi));
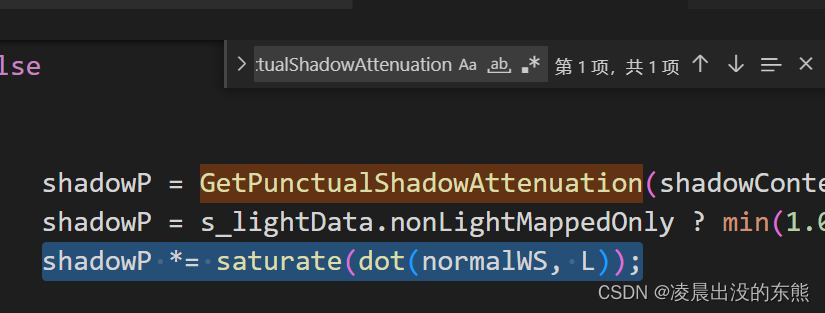
- 搜索 GetPunctualShadowAttenuation,并添加代码
shadowP *= saturate(dot(normalWS, L));
- 最后回去你自己的着色器,修改一下头文件
#include "Packages/com.unity.render-pipelines.high-definition/Runtime/Material/NormalBuffer.hlsl"

#define LIGHTLOOP_DISABLE_TILE_AND_CLUSTER
#include "Packages/com.unity.render-pipelines.high-definition/Runtime/Lighting/PunctualLightCommon.hlsl"
#include "Packages/com.unity.render-pipelines.high-definition/Runtime/Lighting/LightLoop/HDShadow.hlsl"

#include "Packages/com.unity.render-pipelines.high-definition/Runtime/Lighting/LightLoop/LightLoopDef.hlsl"
// 注释掉这行
// #include "Packages/com.unity.render-pipelines.high-definition/Runtime/Lighting/LightLoop/HDShadowLoop.hlsl"
// 改成引用刚刚新建的文件
#include "CustomHDShadowLoop.hlsl"
效果就出来了捏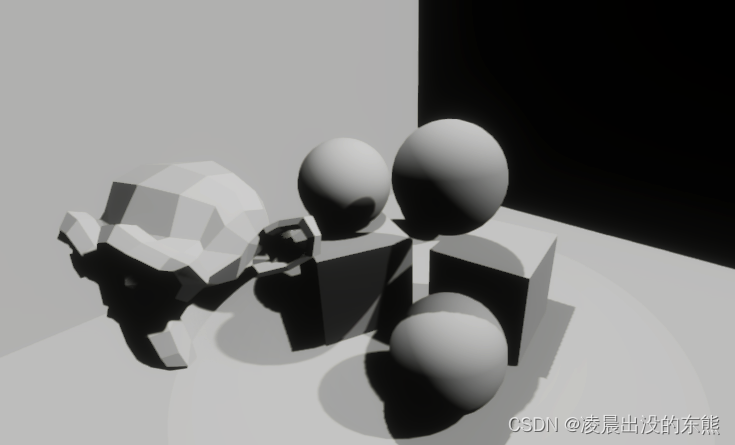
参考
- SebLagarde-HDRP getting shadow attenuation-https://forum.unity.com/threads/hdrp-getting-shadow-attenuation.863620/
- Material\Lit\Lit.shader 中的 “Forward” Pass(毕竟自定义通道似乎都是向前渲染来着…)
抛砖引玉,恳请批评指正!
边栏推荐
猜你喜欢


随机推荐
Unity3D - modification of the Inspector panel of the custom class
Interview questions about Android Service
picker选择器出现object解决办法
For the first time, I suspect that there is a bug in selenium4 because the iframe element is not found?
新一代开源免费的轻量级 SSH 终端,非常炫酷好用!
gRPC系列(二) 如何用Protobuf组织内容
Rust从入门到精通06-函数
[wxGlade learning] wxGlade environment configuration
深度学习100例 —— 卷积神经网络(CNN)识别验证码
halcon实例
Features of LoRa Chips
wordpress插件开发02-首页文章自动摘要插件开发
gRPC系列(一) 什么是RPC?
【wxGlade学习】wxGlade环境配置
pycharm 取消msyql表达式高亮
工业检测深度学习方法综述
法律顾问成了律所鸡肋产品了吗?
WordpressCMS主题开发01-首页制作
向日葵安装教程--向日葵远程桌面控制
Has legal counsel become a tasteless product of law firms?