当前位置:网站首页>Introduction to electron tutorial 3 - process communication
Introduction to electron tutorial 3 - process communication
2022-04-23 19:46:00 【Harm the evil king】
Welcome to Electron The third tutorial of the introductory tutorial , This section is very important ! Interprocess communication (IPC) Is in Electron A key part of building feature rich desktop applications in . Because the main process and rendering process are Electron There are different responsibilities in the process model ,IPC Is the only way to perform many common tasks , For instance from UI Call local API Or trigger from local menu web Changes in content . Let's introduce in detail 3 A common way of communication .
* One way communication between rendering process and main process
stay Electron in , The process is defined by the developer “ passageway ” And ipcMain Module and ipcRenderer Module to communicate . These channels are Any of the ( You can name them as you like ) and Bidirectional ( You can use the same channel name for both modules ). To send a one-way message from the rendering process to the main process IPC news , You can pre render the script again preload.js Use in ipcRenderer send out API Send a message , And then in main.js In the use ipcMain.on receive . You usually use this pattern from your web Call a middle note in the content API. We will demonstrate this pattern by creating a simple application , The application can programmatically change the title of the window .
Let's use code to demonstrate this process , Here are all the codes of the case :
index.html
<!DOCTYPE html>
<html lang="en">
<head>
    <meta charset="UTF-8">
    <title> Process of communication </title>
</head>
<body>
Title: <input id="title"/>
<button id="btn" type="button">Set</button>
<script src="./index.js"></script>
</body>
</html>
preload.js
const {
     contextBridge, ipcRenderer } = require('electron')

contextBridge.exposeInMainWorld('electronAPI', {

    setTitle: (title) => ipcRenderer.send('set-title', title)
})
index.js
const setButton = document.getElementById('btn')
const titleInput = document.getElementById('title')
setButton.addEventListener('click', () => {

    const title = titleInput.value
    window.electronAPI.setTitle(title)
});
main.js
const {
    app, BrowserWindow, ipcMain} = require('electron')
const path = require('path')

function createWindow () {

    const mainWindow = new BrowserWindow({

        webPreferences: {

            preload: path.join(__dirname, 'preload.js')
        }
    })

    ipcMain.on('set-title', (event, title) => {

        const webContents = event.sender
        const win = BrowserWindow.fromWebContents(webContents)
        win.setTitle(title)
    })

    mainWindow.loadFile('index.html')
}

app.whenReady().then(() => {

    createWindow()

    app.on('activate', function () {

        if (BrowserWindow.getAllWindows().length === 0) createWindow()
    })
})

app.on('window-all-closed', function () {

    if (process.platform !== 'darwin') app.quit()
})
The operation effect is as follows (GIF It's a little slow , Don't you mind? ):

Here are some key points of the code :
1. Listen for events in the main process
In the main process , We use ipcMain stay set-title Set a... On the channel IPC Monitor , This set-title We are pre rendering the script preload.js The interface channel defined inside .
    ipcMain.on('set-title', (event, title) => {

        const webContents = event.sender
        const win = BrowserWindow.fromWebContents(webContents)
        win.setTitle(title)
    })
Whenever a message passes set-title Channel incoming , This function will find the attached to the message sender BrowserWindow example , And use win.setTitle Set the title of the application window .
2. Define the interface channel in the preload script
To send a message to the listener created above , You can use ipcRenderer. send out API. By default , The renderer process did not Node.js or Electron Module access . As an application developer , You need to use contextBridge Select which from the preloaded scripts to expose API. here , You will be able to use window.electronAPI.setTitle() function .
const {
     contextBridge, ipcRenderer } = require('electron')

contextBridge.exposeInMainWorld('electronAPI', {

    setTitle: (title) => ipcRenderer.send('set-title', title)
})
* Two way communication between rendering process and main process
two-way IPC A common application is to invoke the middle note module from the rendering process code and wait for the result. . This can be done by using ipcRenderer.invoke To achieve , call ipcMain.handle pairing . In the following example , We will open a select local file dialog from the rendering process , And return the path of the selected file .
Here are all the codes involved in the case :
index.html
<!DOCTYPE html>
<html lang="en">
<head>
    <meta charset="UTF-8">
    <title> Process of communication </title>
</head>
<body>
<button type="button" id="btn">Open a File</button>
File path: <strong id="filePath"></strong>
<script src='./index.js'></script>
</body>
</html>
index.js
const btn = document.getElementById('btn')
const filePathElement = document.getElementById('filePath')

btn.addEventListener('click', async () => {

  const filePath = await window.electronAPI.openFile()
  filePathElement.innerText = filePath
})
main.js
const {
    app, BrowserWindow, ipcMain,dialog} = require('electron')
const path = require('path')

async function handleFileOpen() {

  const {
     canceled, filePaths } = await dialog.showOpenDialog()
  if (canceled) {

    return ""
  } else {

    return filePaths[0]
  }
}

function createWindow () {

  const mainWindow = new BrowserWindow({

    webPreferences: {

      preload: path.join(__dirname, 'preload.js')
    }
  })
  mainWindow.loadFile('index.html')
}

app.whenReady().then(() => {

  ipcMain.handle('openFileDialog', handleFileOpen)
  createWindow()
  app.on('activate', function () {

    if (BrowserWindow.getAllWindows().length === 0) createWindow()
  })
})

app.on('window-all-closed', function () {

  if (process.platform !== 'darwin') app.quit()
})
preload.js
const {
     contextBridge, ipcRenderer } = require('electron')

contextBridge.exposeInMainWorld('electronAPI',{

  openFile: () => ipcRenderer.invoke('openFileDialog')
})
Running effect demonstration :
Here are some key points of the code :
1. Define the event handler function in the main process , And monitor ICP Interface call
In the main process , We will create a call dialog Modular showOpenDialog Function of method handleFileOpen(), The value used to return the file path selected by the user . After the application is ready , It calls ipcMain.handle() To monitor the rendering process ipcRenderer.invoke('openFileDialog') The definition of openFileDialog. When index.js It calls window.electronAPI.openFile() when , Will trigger openFileDialog, After being monitored and processed by the main process , Return results .
2. Call to define the interface through the preloaded script
In the preload script , We opened a single line openFile function , It calls and returns ipcRederer .invoke('openFileDialog').
stay index.js In the code snippet , We're listening to #btn Button click , And call window.electronAPI.openFile() To activate local openFile Dialog box . And then in #filePath Element displays the selected file path .
3. ipcRenderer.invoke An alternative
ipcRenderer.invoke() There are two alternatives :
(1)ipcRenderer.send() : The one-way communication we use can also be used to perform two-way communication . This is Electron 7 Passed before IPC Recommended method for asynchronous two-way communication .
preload.js
const {
     ipcRenderer } = require('electron')

ipcRenderer.on('asynchronous-reply', (_event, arg) => {

  console.log(arg)
  //  prints pong
})
ipcRenderer.send('asynchronous-message', 'ping')
main,js
ipcMain.on('asynchronous-message', (event, arg) => {

  console.log(arg)
  // I will promise ping
  event.reply('asynchronous-reply', 'pong')
})
(1) ipcRenderer.sendSync() : This method sends a message to the main process , And wait for the response synchronously .
preload.js
const {
     ipcRenderer } = require('electron')

const result = ipcRenderer.sendSync('synchronous-message', 'ping')
console.log(result)
//  prints pong
main.js
const {
     ipcMain } = require('electron')
ipcMain.on('synchronous-message', (event, arg) => {

  console.log(arg)
  //  prints ping
  event.returnValue = 'pong'
})
The structure of this code is very similar to the call model , But for performance reasons , We recommend avoiding this API. Its synchronous nature means that it will block the renderer process , Until a reply is received .
* One way communication from the main process to the rendering process
When a message is sent from the main process to the rendering process , You need to specify which renderer is receiving the message . The message needs to pass through the main process WebContents The instance is sent to the rendering process . This WebContents The instance contains a sent Method , Can be like ipcReender .send Use it like that . To demonstrate this communication mode , A digital counter controlled by the menu bar will be built .
index.html
<!DOCTYPE html>
<html lang="en">
<head>
    <meta charset="UTF-8">
    <title> Process of communication </title>
</head>
<body>
Current value: <strong id="counter">0</strong>
<script src='./index.js'></script>
</body>
</html>
preload.js
const {
     contextBridge, ipcRenderer } = require('electron')

contextBridge.exposeInMainWorld('electronAPI', {

  handleCounter: (callback) => ipcRenderer.on('update-counter', callback)
})
index.js
const counter = document.getElementById('counter')

window.electronAPI.handleCounter((event, value) => {

    const oldValue = Number(counter.innerText)
    const newValue = oldValue + value
    counter.innerText = newValue
    event.sender.send('counter-value', newValue)
})
main.js
const {
    app, BrowserWindow, Menu, ipcMain} = require('electron')
const path = require('path')

function createWindow () {

  const mainWindow = new BrowserWindow({

    webPreferences: {

      preload: path.join(__dirname, 'preload.js')
    }
  })

  const menu = Menu.buildFromTemplate([
    {

      label: app.name,
      submenu: [
      {

        click: () => mainWindow.webContents.send('update-counter', 1),
        label: 'Increment',
      },
      {

        click: () => mainWindow.webContents.send('update-counter', -1),
        label: 'Decrement',
      }
      ]
    }

  ])

  Menu.setApplicationMenu(menu)
  mainWindow.loadFile('index.html')

  // Open the DevTools.
  mainWindow.webContents.openDevTools()
}

app.whenReady().then(() => {

  ipcMain.on('counter-value', (_event, value) => {

    console.log(value) // will print value to Node console
  })
  createWindow()

  app.on('activate', function () {

    if (BrowserWindow.getAllWindows().length === 0) createWindow()
  })
})

app.on('window-all-closed', function () {

  if (process.platform !== 'darwin') app.quit()
})
Running effect demonstration :
Explain part of the code :
We first need to use it in the main process Electron Of Menu The module builds a custom menu , Send... From the main process to the target renderer IPC news . Click the handler to send a message to the renderer process through the counter channel (1 or -1).
const menu = Menu.buildFromTemplate([
    {

      label: app.name,
      submenu: [
        {

          click: () => mainWindow.webContents.send('update-counter', 1),
          label: 'Increment',
        },
        {

          click: () => mainWindow.webContents.send('update-counter', -1),
          label: 'Decrement',
        }
      ]
    }
  ])
  Menu.setApplicationMenu(menu)
Just like the main process to the previous example , We are preloading the script preload.js Use in contextBridge and ipcRederer The module exposes to the rendering process IPC function :
const {
     contextBridge, ipcRenderer } = require('electron')

contextBridge.exposeInMainWorld('electronAPI', {

    handleCounter: (callback) => ipcRenderer.on('update-counter', callback)
})
* Communication between rendering processes
stay Electron in , There is no direct method to use between rendering processes ipcMain and ipRenderer Module sends messages , And this communication method is actually very rarely used . Do that , You can use the main process as a message broker between renderers . This will involve sending messages from a renderer to the main process , The main process forwards the message to another renderer , I'm not going to do the demo here .
版权声明
本文为[Harm the evil king]所创,转载请带上原文链接,感谢
https://yzsam.com/2022/04/202204231940533385.html
边栏推荐
- Physical meaning of FFT: 1024 point FFT is 1024 real numbers. The actual input to FFT is 1024 complex numbers (imaginary part is 0), and the output is also 1024 complex numbers. The effective data is
- Application of DCT transform
- IIS数据转换问题16bit转24bit
- Lpc1768 optimization comparison of delay time and different levels
- OpenHarmony开源开发者成长计划,寻找改变世界的开源新生力!
- Strange passion
- DevOps集成-Jenkins 服务的环境变量和构建工具 Tools
- MySQL syntax collation (4)
- HTTP cache - HTTP authoritative guide Chapter VII
- 【webrtc】Add x264 encoder for CEF/Chromium
猜你喜欢
MySQL syntax collation (4)
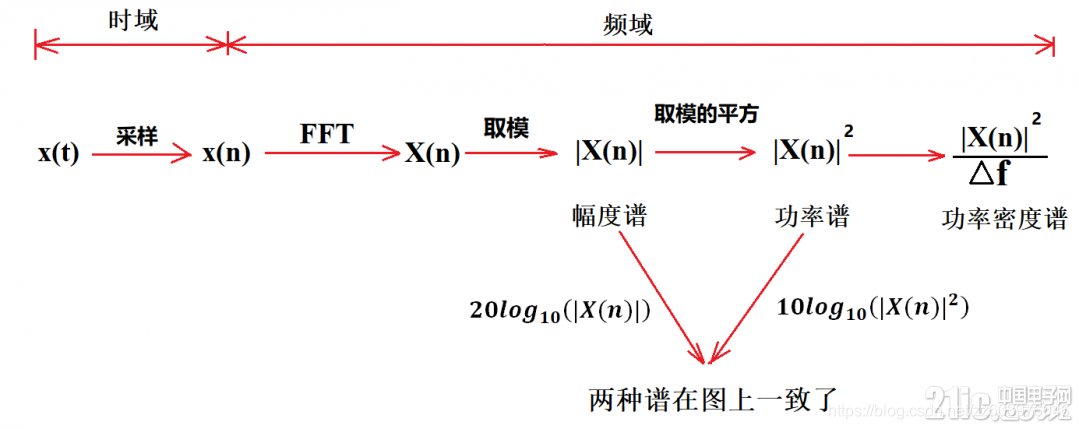
FFT物理意义: 1024点FFT就是1024个实数,实际进入fft的输入是1024个复数(虚部为0),输出也是1024个复数,有效的数据是前512个复数
命令-sudo
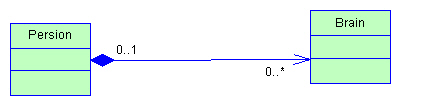
Prefer composition to inheritance
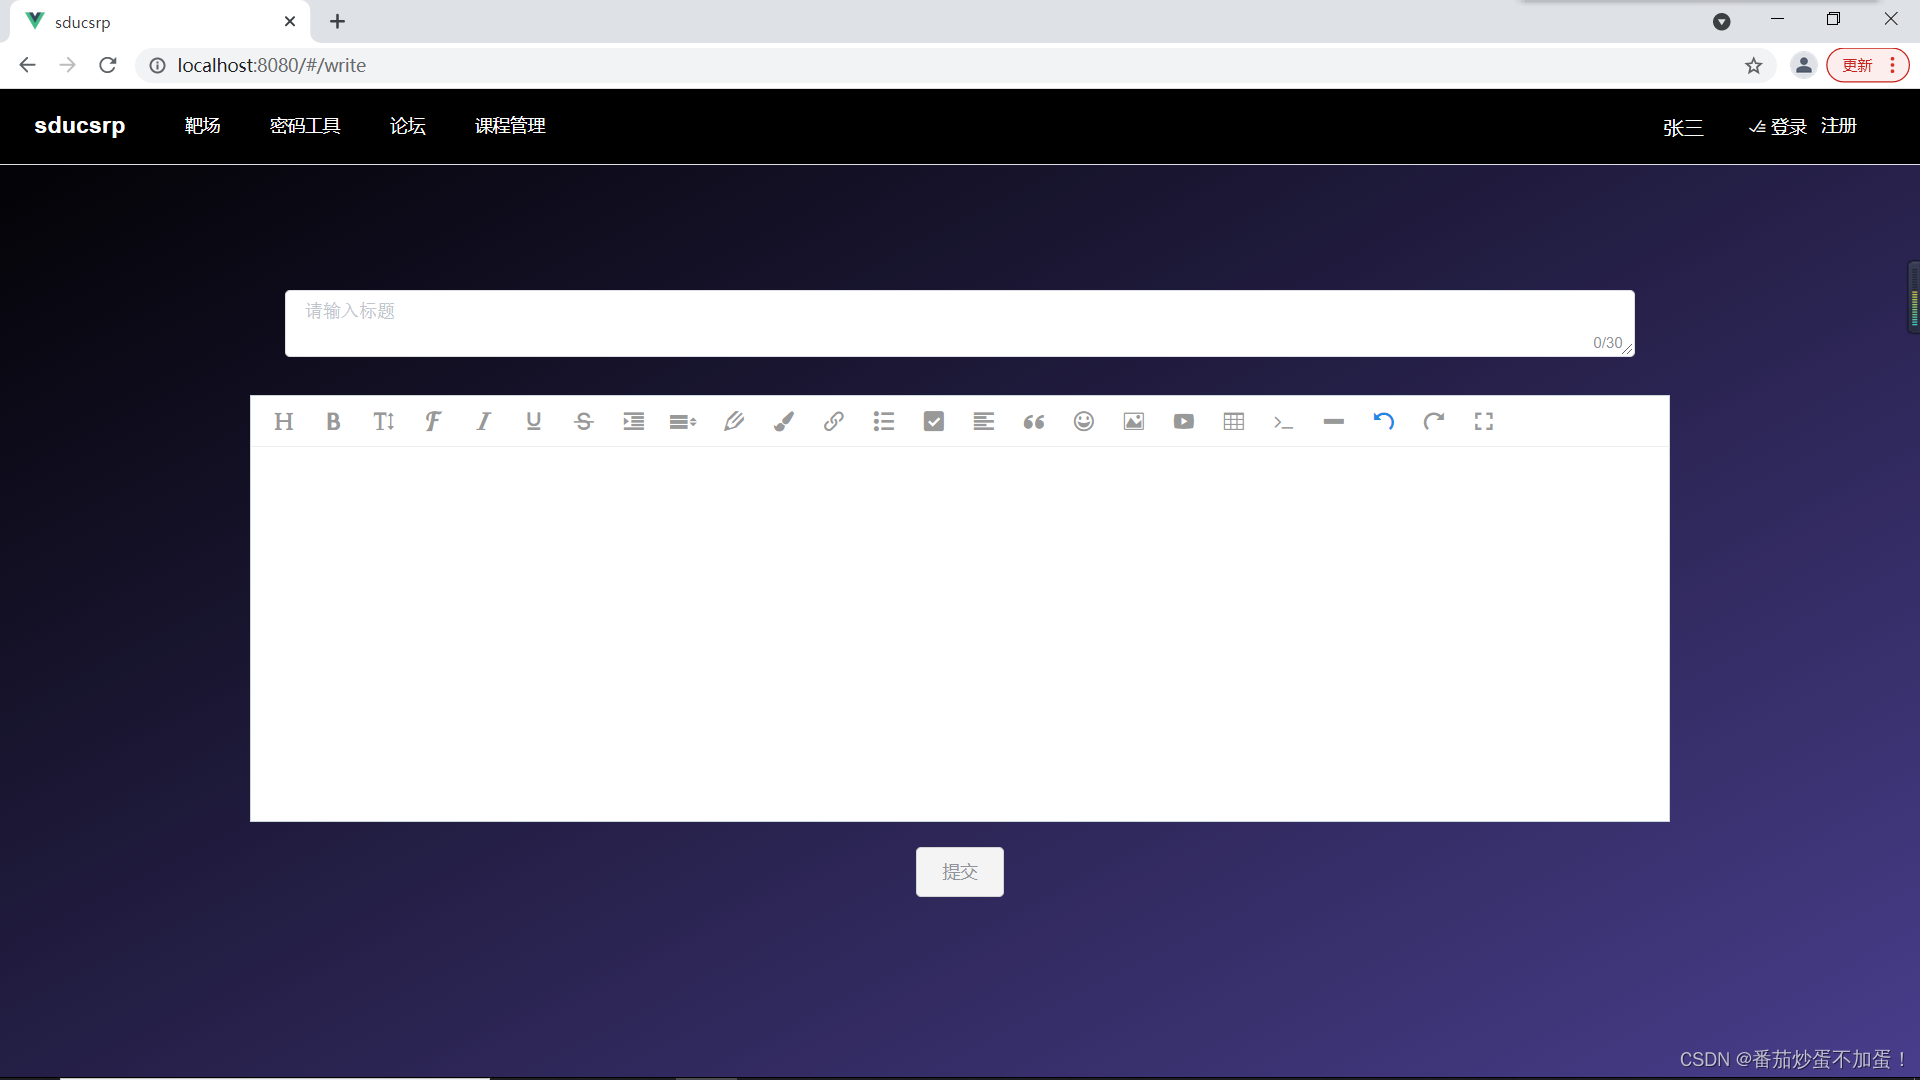
Software College of Shandong University Project Training - Innovation Training - network security shooting range experimental platform (8)
Openharmony open source developer growth plan, looking for new open source forces that change the world!

antd dropdown + modal + textarea导致的textarea光标不可被键盘控制问题

Project training of Software College of Shandong University - Innovation Training - network security shooting range experimental platform (V)
山东大学软件学院项目实训-创新实训-网络安全靶场实验平台(八)

MySQL lock
随机推荐
uIP1. 0 actively sent problem understanding
Prefer composition to inheritance
Kubernetes entry to mastery - bare metal loadbalance 80 443 port exposure precautions
A simple (redisson based) distributed synchronization tool class encapsulation
MySQL practical skills
Golang timer
Audio editing generation software
Project training of Software College of Shandong University - Innovation Training - network security shooting range experimental platform (VII)
VeraCrypt文件硬盘加密使用教程
No, some people can't do the National Day avatar applet (you can open the traffic master and earn pocket money)
First experience of using fluent canvas
antd dropdown + modal + textarea导致的textarea光标不可被键盘控制问题
Understanding various team patterns in scrum patterns
点云数据集常用处理
ESP8266-入门第一篇
Lottery applet, mother no longer have to worry about who does the dishes (assign tasks), so easy
深度分析数据恢复原理——那些数据可以恢复那些不可以数据恢复软件
MySQL syntax collation (2)
NiO related Basics
考试系统进入试卷优化思路