当前位置:网站首页>Detailed installation steps and environment configuration of geemap
Detailed installation steps and environment configuration of geemap
2022-08-10 22:40:00 【BetterQ.】
记录一下关于geemap的安装步骤,geemap是基于GEEA package developed by teacher Wu Qiusheng,geemap主要使用pythonto implement related functions,可以说是GEE的python版,而且相比于GEE,geemap也更加简单方便,It is easy to get started with processing data to implement related functions.
1. 下载并安装python
如果电脑上已经安装了python可以直接略过这一步.
python安装包官网:https://www.python.org/downloads/windows/
After entering the website, the interface is as follows,You can select the corresponding version to download according to your needs,分为2.x和3.x版本,不过2.xVersions have been gradually being made3.x取代,建议下载3.x版本的,It is also best not to download the latest version,dddd,我这里下载的是3.10版本的.After downloading the installation package, just follow the prompts to install it.
2. 下载并安装Miniconda
首先下载并安装Miniconda,下载网址:https://docs.conda.io/en/latest/miniconda.html
打开网址后,Choose to download and install according to the computer configuration64或32位的程序,Download the installation package and follow the prompts to install it,安装过程较为简单.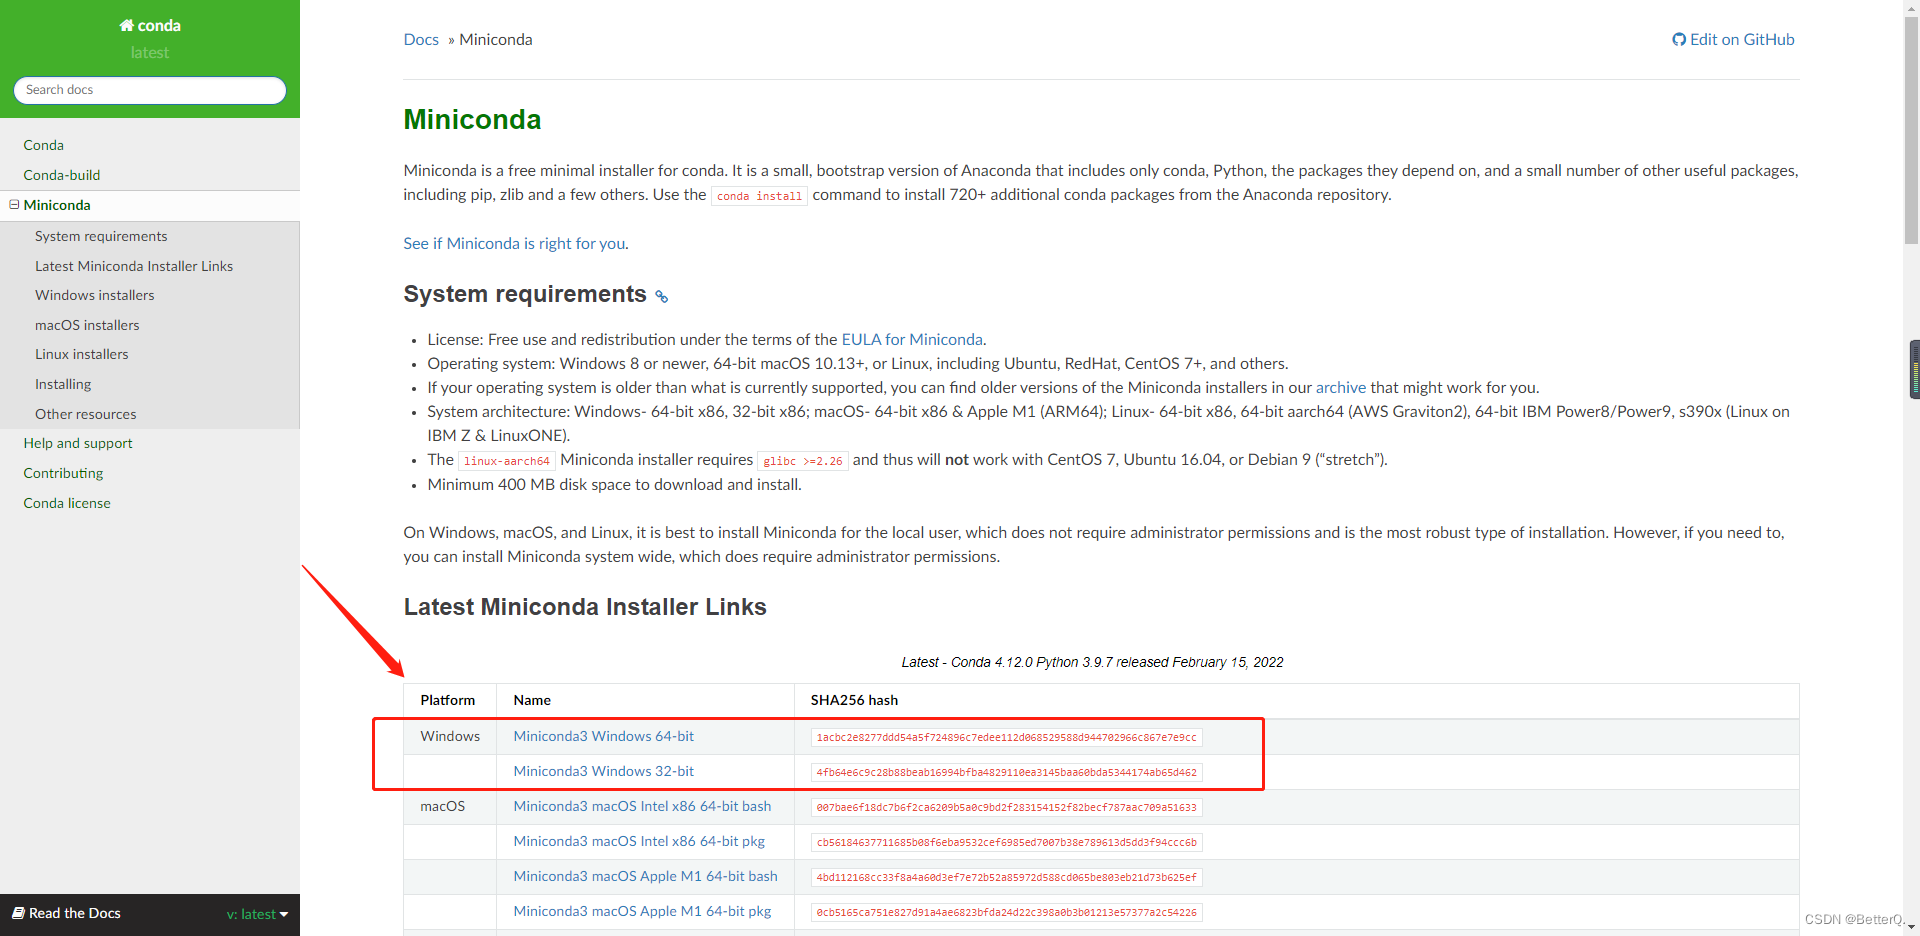
3. 创建conda环境
安装好Miniconda后,选择Anaconda Prompt(miniconda3),鼠标右键点击,以管理员身份运行.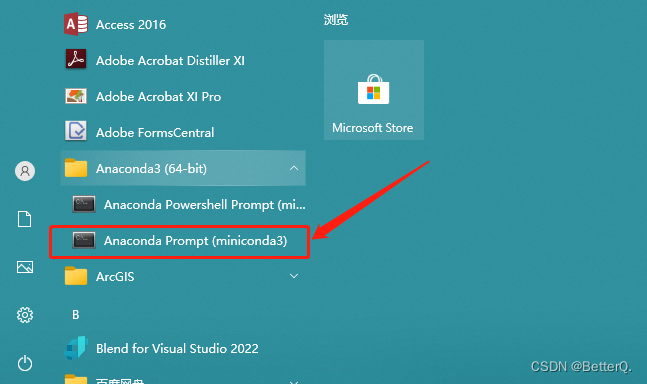
A command window will pop up after running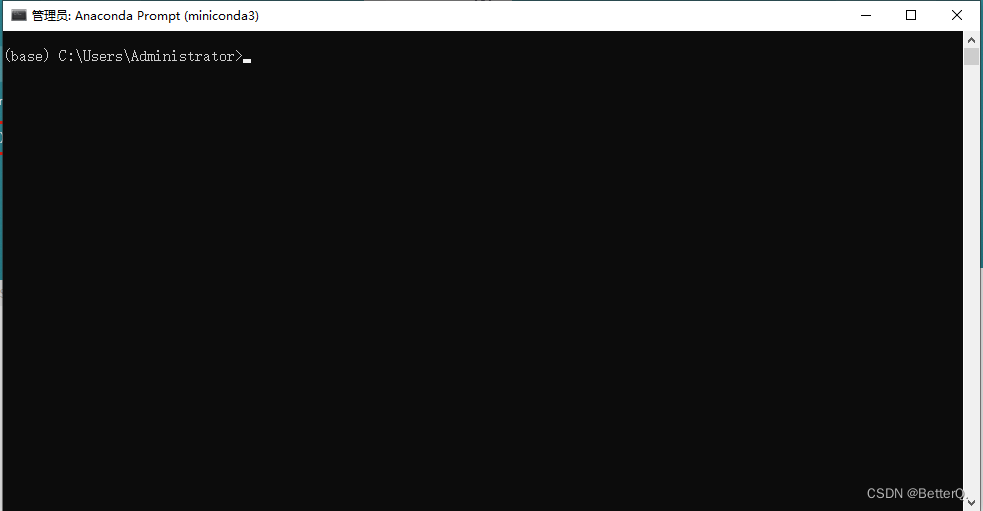
Then enter the following commands in sequence in the command window,To lose one by one,Don't copy it all at once.This process requires opening that software...
1.Create a new environment named gee.这里的python=3.10可以只写python,Or according to your ownpython版本进行指定,But it is best to specify the installationpython版本
conda create -n gee python = 3.10
2.激活gee环境
conda activate gee
3.安装mamba,geeThe relevant environment is passedmamba来安装的,所以要先安装mamba
conda install -c conda-forge mamba
4.安装geemap环境,这个过程会比较漫长,It depends on the speed of the software you are using,耐心等待安装完成.
mamba install -c conda-forge geemap pygis
至此,geemapThe installation environment is configured.
4.打开jupyter lab
重新打开minconda命令窗口,在minconda 的命令行输入conda activate gee,接着输入jupyter lab,will then openjupyter lab.打开后新建文件,输入以下代码:
import ee
import geemap
Map=geemap.Map()
Map
如果出现如下界面,则说明成功了,否则,You need to configure the port.
5. 设置端口
How to check the proxy port number:https://zhuanlan.zhihu.com/p/269419231
设置方法1:
import geemap
geemap.set_proxy(port='own computer port number')
设置方法2:
import os
os.enviorn['HTTP_PROXY']='http://127.0.0.1:own computer port number'
os.environ['HTTPS_PROXY'] = 'http://127.0.0.1:own computer port number'
这样就可以正常使用geemap了,打完收工!
边栏推荐
猜你喜欢
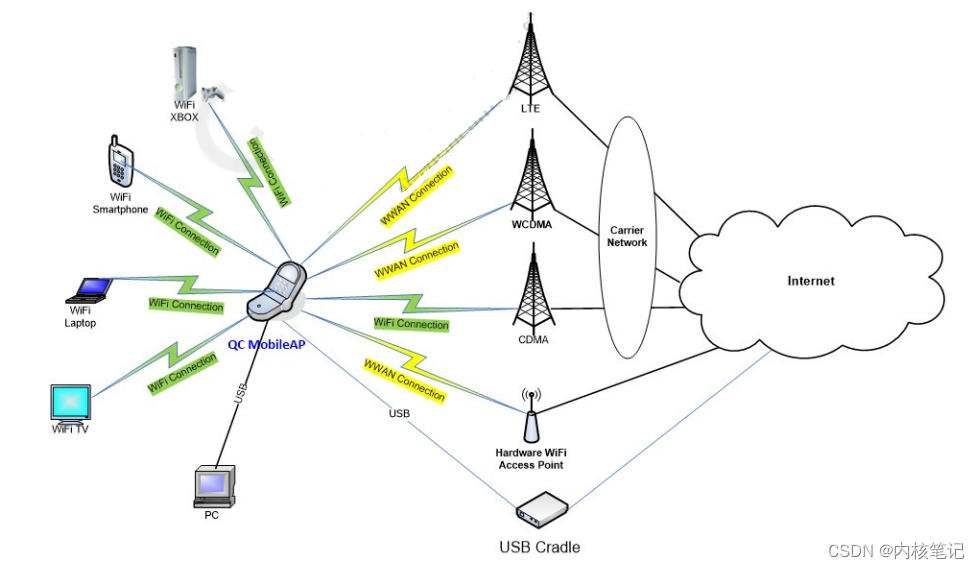
高通平台开发系列讲解(应用篇)QCMAP应用框架介绍
68:第六章:开发文章服务:1:内容梳理;article表介绍;创建【article】文章服务;

xshell (sed 命令)
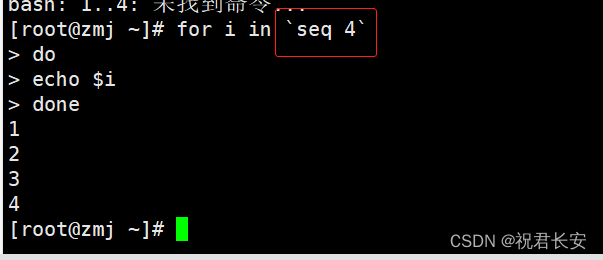
shell脚本循环语句for、while语句
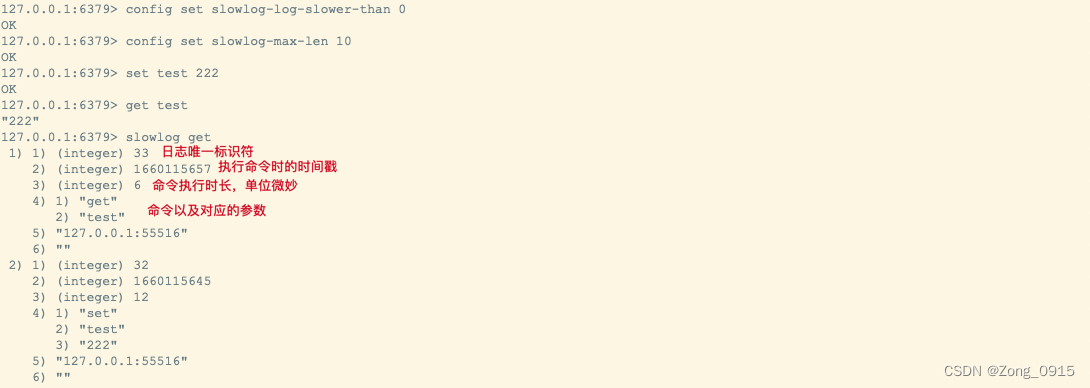
Redis Performance Impact - Asynchronous Mechanisms and Response Latency

Why general company will say "go back messages such as" after the end of the interview, rather than just tell the interviewer the result?
Common interview questions for APP UI automation testing, maybe useful~

配电网络扩展规划:考虑使用概率性能源生产和消费概况的决策(Matlab代码实现)
云服务器基于 SSH 协议实现免密登录
【Maui正式版】创建可跨平台的Maui程序,以及有关依赖注入、MVVM双向绑定的实现和演示

随机推荐
xshell (sed 命令)
xshell (sed command)
学会开会|成为有连接感组织的重要技能
FPGA - 7系列 FPGA内部结构之Memory Resources -03- 内置纠错功能
[SQL brush questions] Day3----Special exercises for common functions that SQL must know
RTL8721DM 双频WIFI + 蓝牙5.0 物联网(IoT)应用
艺术与科技的狂欢,阿那亚2022砂之盒沉浸艺术季
QT笔记——vs + qt 创建一个带界面的 dll 和 调用带界面的dll
The Thread State,
uni-app微信小程序——下拉多选框
带着昇腾去旅行:一日看尽金陵城里的AI胜景
TCP连接过程中如果拔掉网线会发生什么?
shell脚本
HighTec shortcut keys (Keys) setting location
《DevOps围炉夜话》- Pilot - CNCF开源DevOps项目DevStream简介 - feat. PMC成员胡涛
字节跳动原来这么容易就能进去...
阿里云新增三大高性能计算解决方案,助力生命科学行业快速发展
CIKM2022 | 基于双向Transformers对比学习的序列推荐
2022.8.8 Selected Lectures on Good Topics (Number Theory Field)
MySQL:MySQL的集群——主从复制的原理和配置