当前位置:网站首页>SSM project deployed in Alibaba cloud
SSM project deployed in Alibaba cloud
2022-04-23 13:45:00 【One duck, one duck】
One 、 Alibaba cloud purchases servers
Two 、 Reset the instance password for the first login
Get into ESC Console

Click on i… First string in

And then restart
3、 ... and 、 download xshell and Xftp 6
Baidu download crack can
Four 、 Test connection

5、 ... and 、 Install... On the server jdk
Xshell Enter the command
yum -y install java-1.8.0-openjdk.x86_64

see Java edition :

6、 ... and 、 install MySQL(8.0)
cd /usr/local
mkdir mysql
cd mysql
wget  https://repo.mysql.com//mysql80-community-release-el7-1.noarch.rpm

install yum repo File and update yum cache ;
rpm -ivh mysql80-community-release-el7-1.noarch.rpm

Execution results
Will be in /etc/yum.repos.d/ Two repo file mysql-community.repo mysql-community-source.repo

to update yum command
yum clean all
yum makecache
Use yum install MySQL
When we are using yum install mysql when ,yum The default from the yum Installation in warehouse mysql Abreast of the times GA edition ; How to choose your own version ;

You can see MySQL 5.5 5.6 5.7 Is disabled and MySQL 8.0 Is enabled ;
install
yum install mysql-community-server

Turn on MySQL service
systemctl start mysqld.service
Get the original login password MySQL
mysql After installation, a root@locahost Account , And put the initial password in /var/log/mysqld.log In file ;
cat /var/log/mysqld.log

Log in with the initial password mysql
mysql -u root -p # Will prompt for password

Change the initial password
ALTER USER 'root'@'localhost' IDENTIFIED BY ' New password !';# Pay attention to the number and type of password , At least capitalized + A lowercase letter + Symbol + Numbers
7、 ... and 、 install tomcat
Install here and the first two jdk and mysql It's different . Here is tomcat Download address , Download to local ,
https://mirrors.tuna.tsinghua.edu.cn/apache/tomcat/


Xftp6. Establish connection and pull file
xshell6 Establishing a connection is similar , Find the... You downloaded tomcat Then enter usr/local Double click !

The above is downloaded locally apache-tomcat-9.0.45.tar To the server /usr/local Under the table of contents
stay xshell Unzip in apache-tomcat
cd /usr/local
 decompression
apache-tomcat-9.0.45.tar
tar xzf apache-tomcat-9.0.45.tar.gz
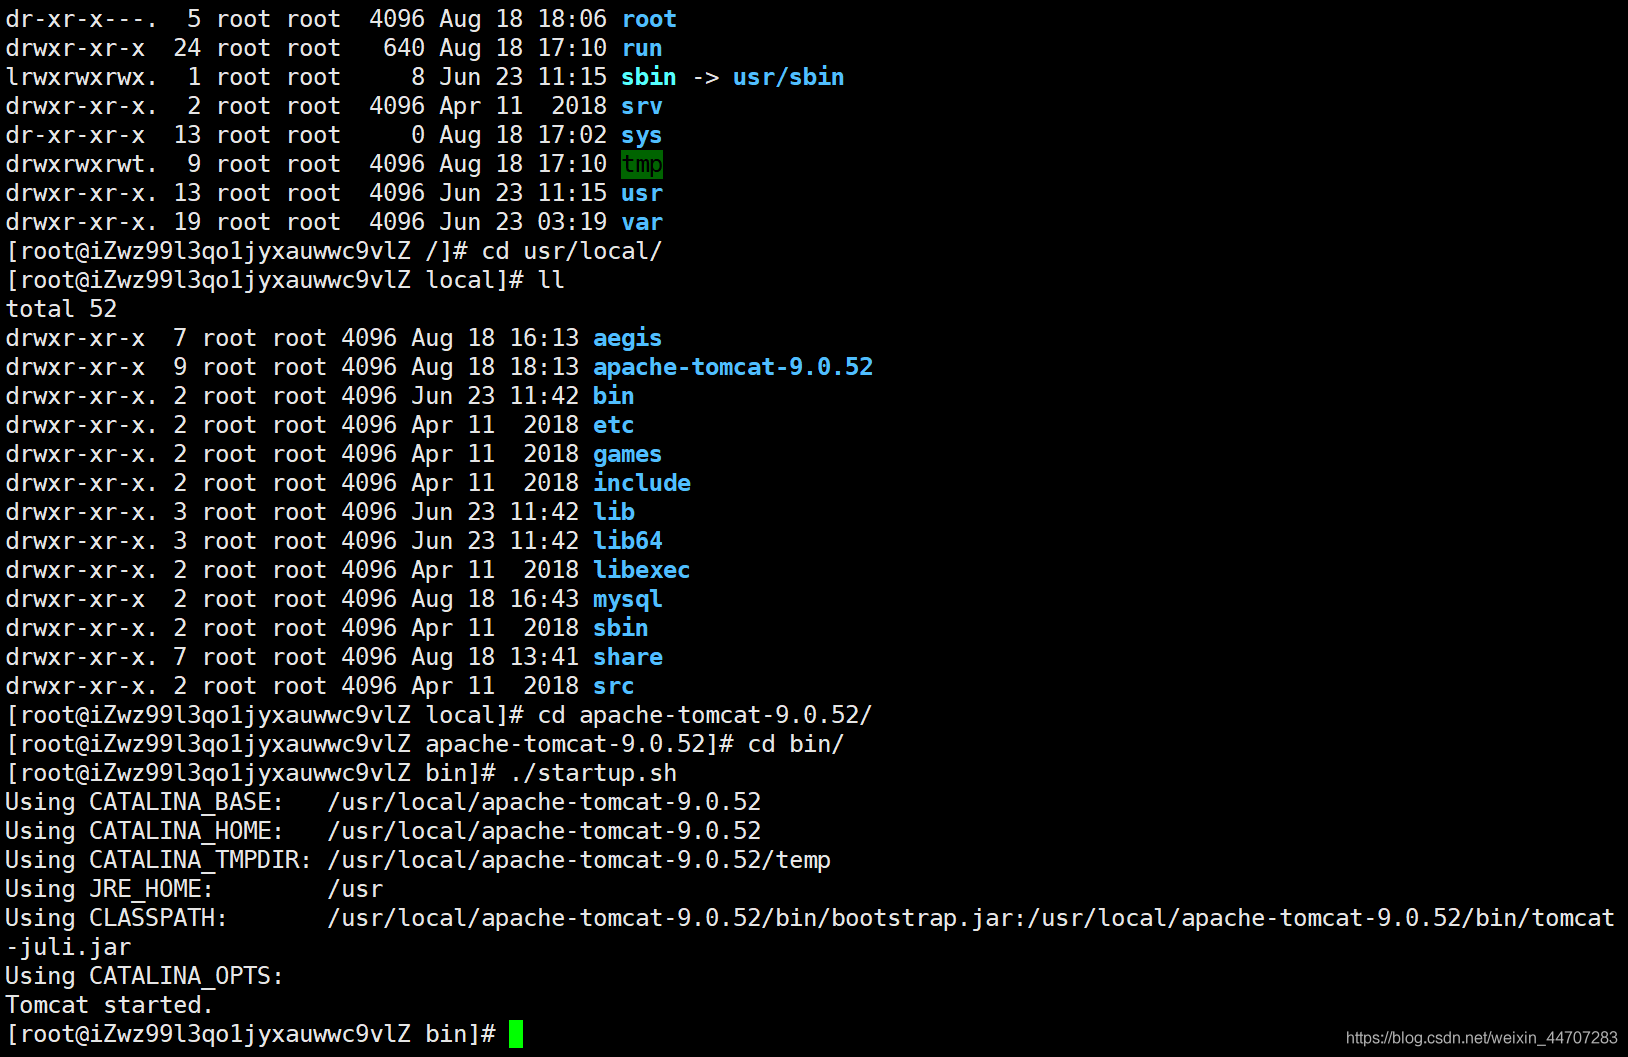
start-up tomcat
 cd /usr/local/apache-tomcat-9.0.52/bin
./startup.sh
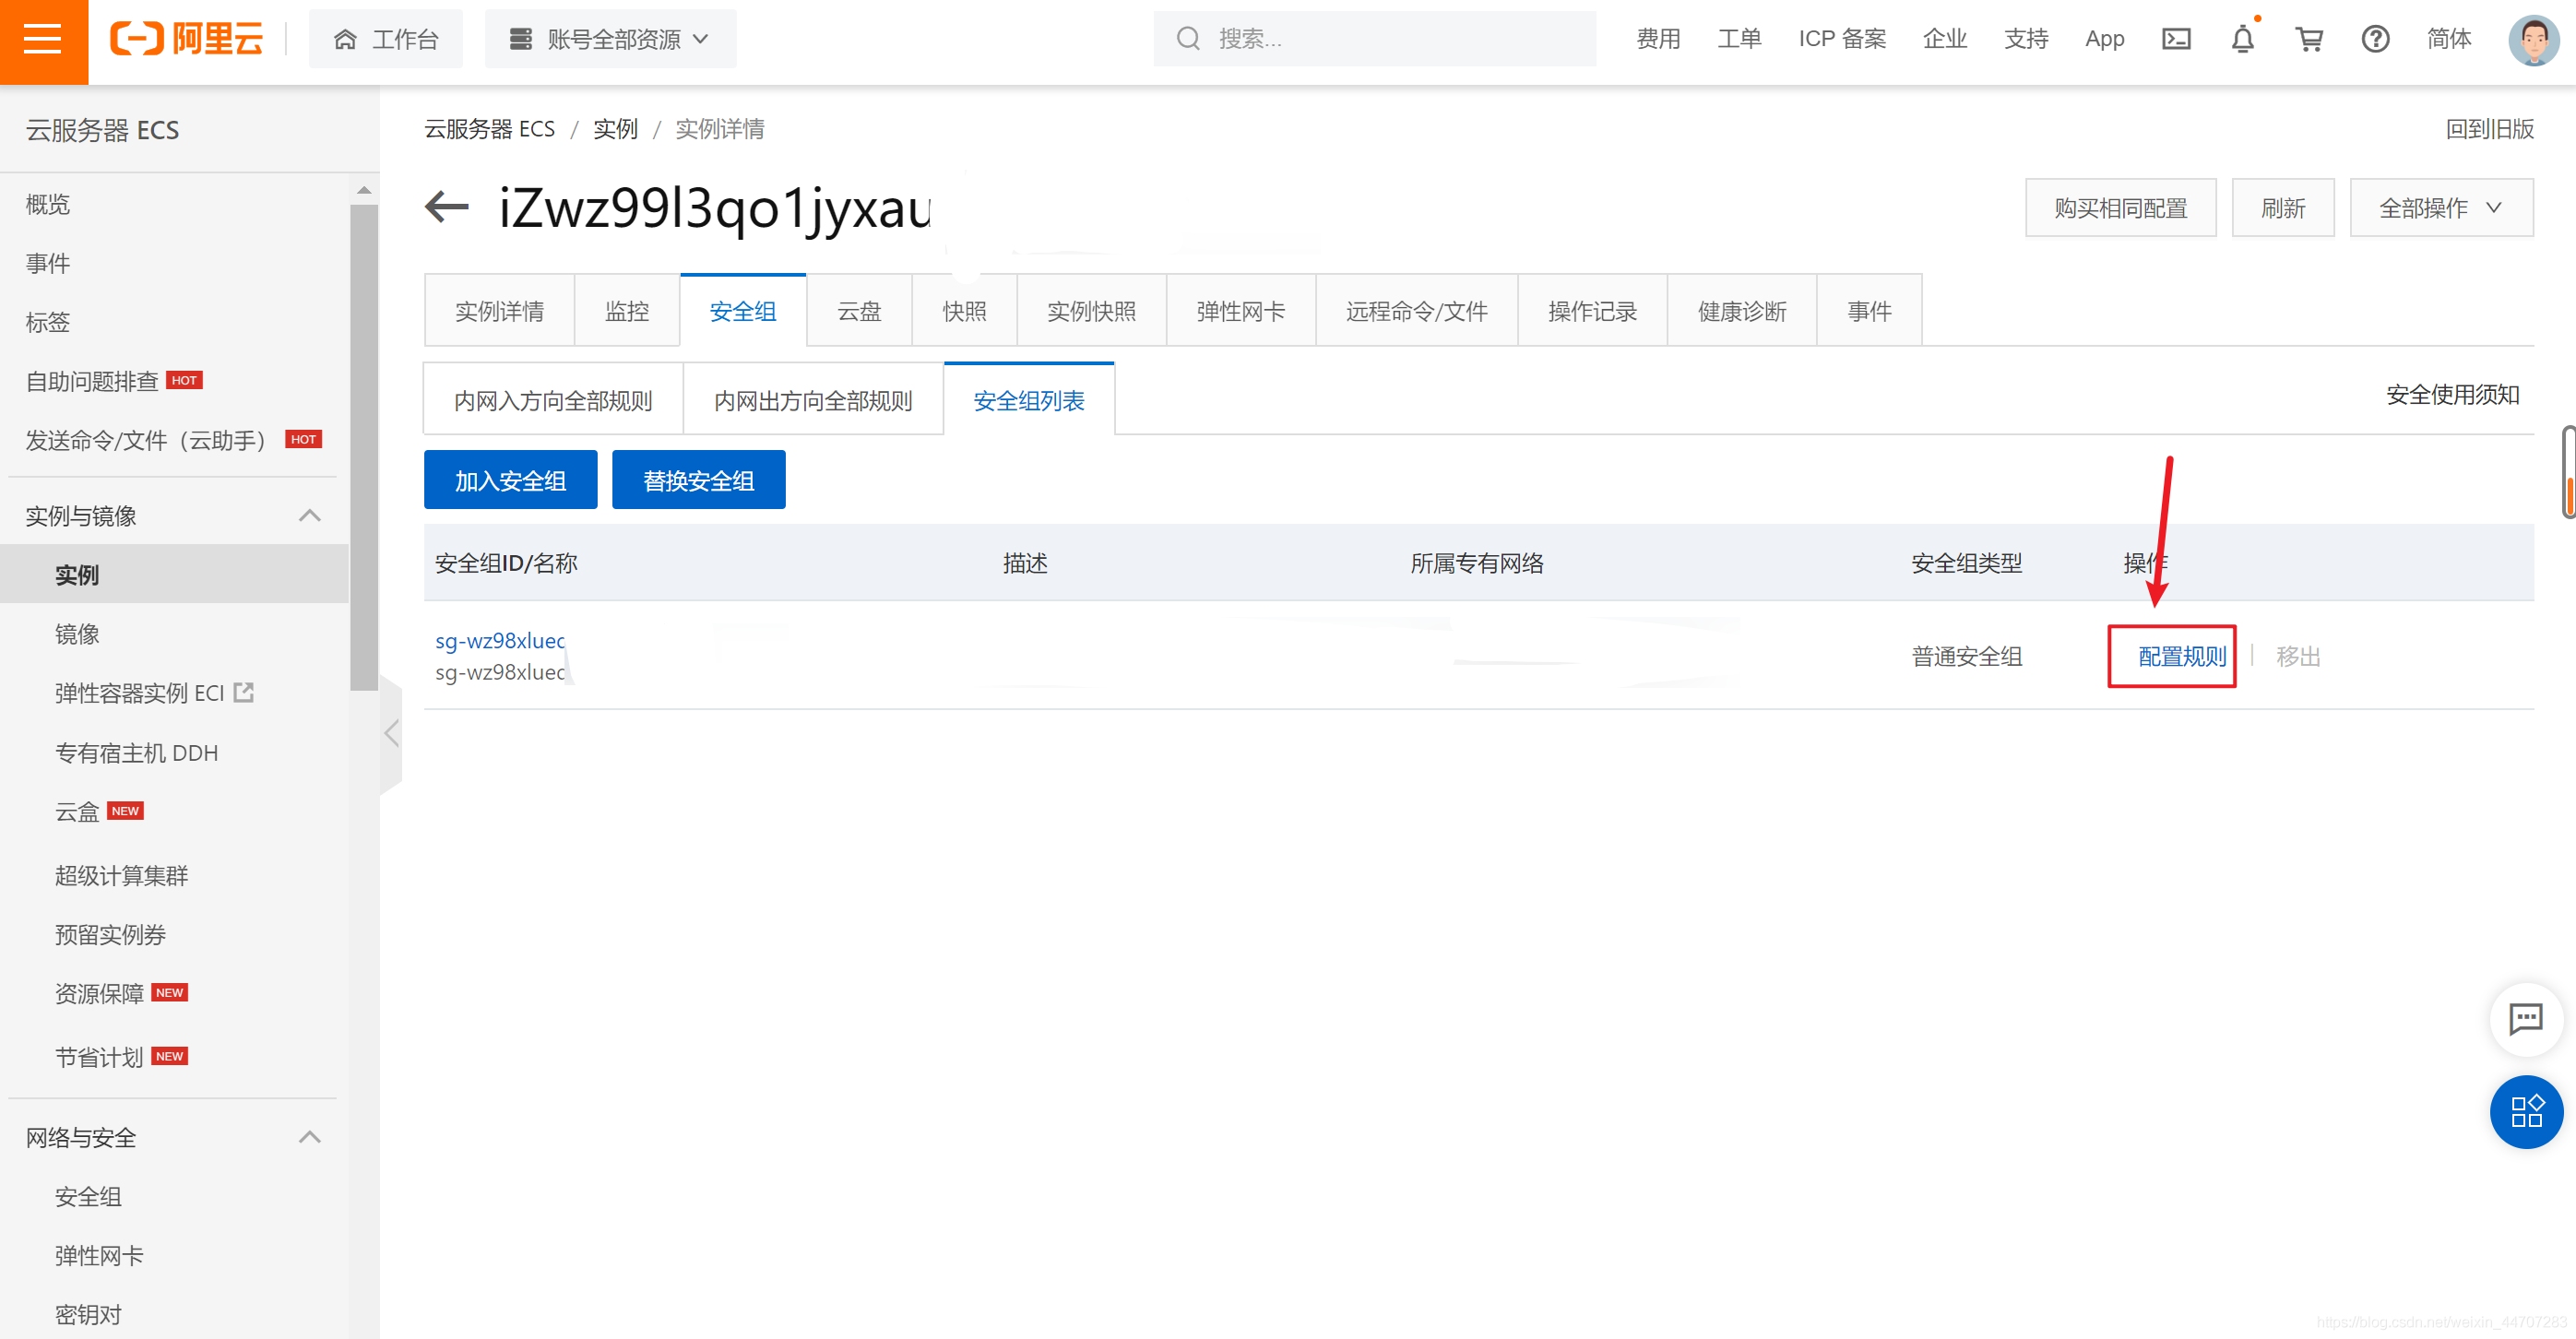
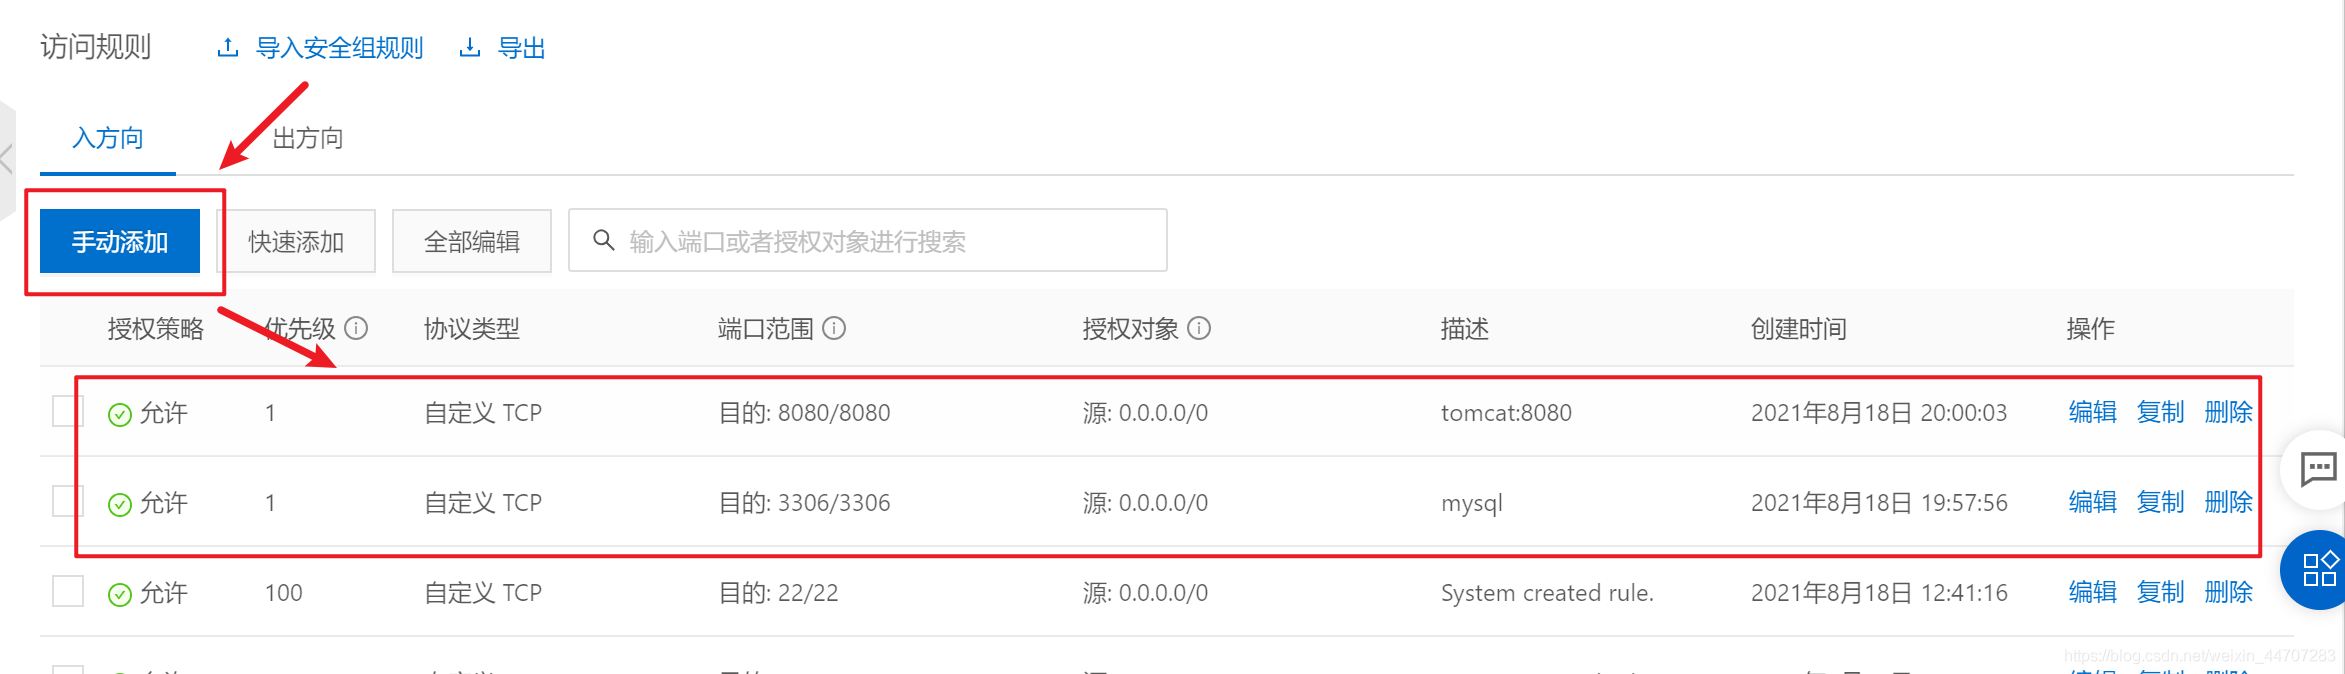
Open Alibaba cloud management console , Set security group

Browser Test

Database connection
You need to set the... In the server mysql In the database user Users in the table correspond to Host Change the field to % that will do . If you use... In the server Navicat Then you can directly modify the fields above , If not, use sql sentence
use mysql;
update user set Host='%' where User='root';

Successful connection
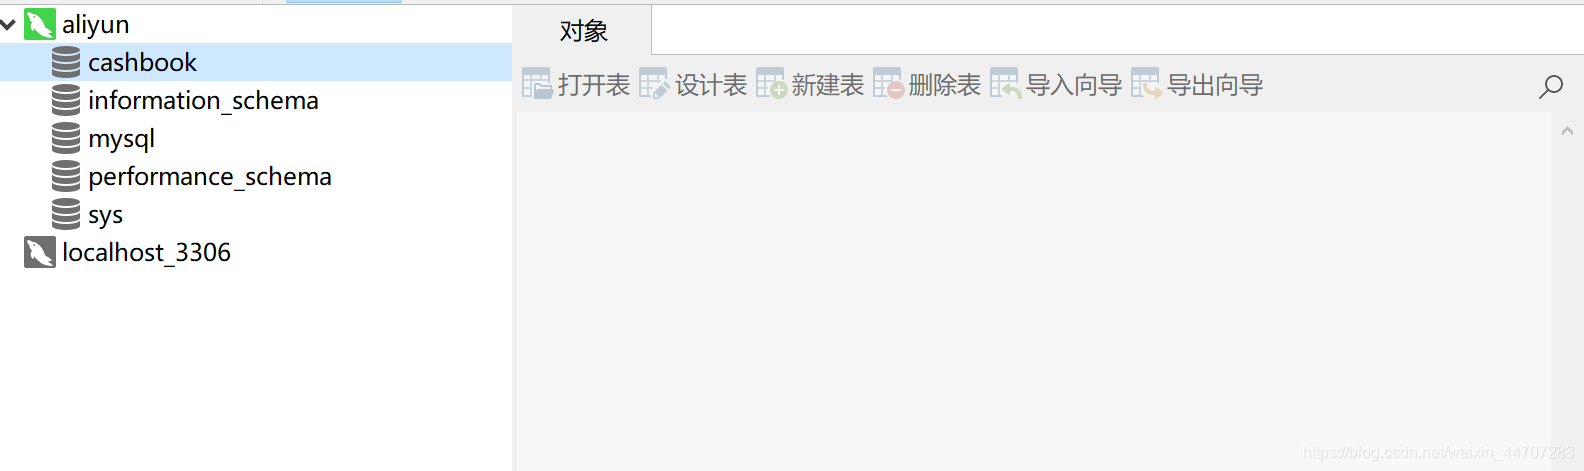
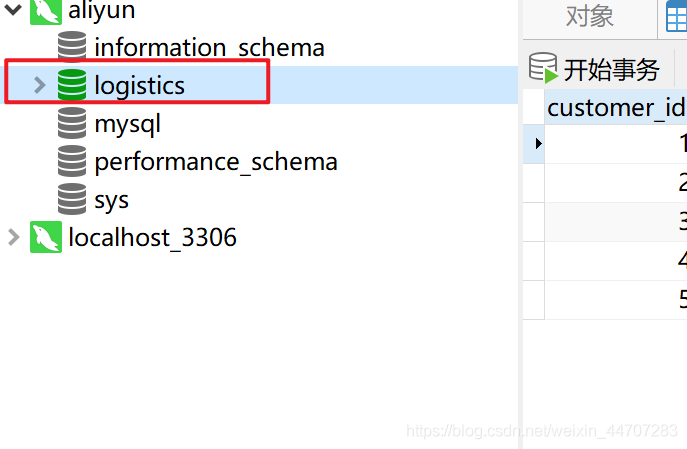
8、 ... and 、 Import project related information
Navicat Import project database
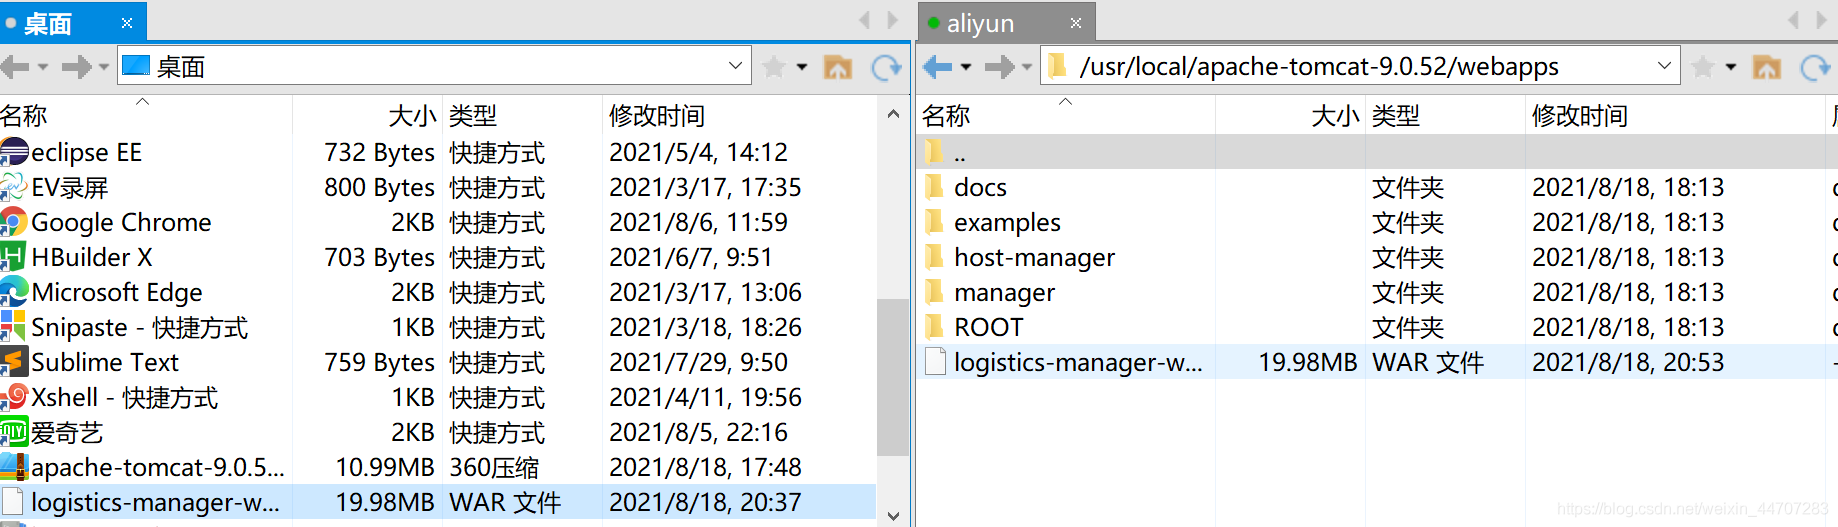
maven Project generation war file
Note that the database version of the project needs to be changed to that deployed by Alibaba cloud MySQL edition , Also put the database of the configuration file IP Change the address and password to the one deployed by Alibaba cloud MySQL Database consistency

Use Xftp6 take war Incoming server tomcat9 Below wabapps Directory
modify Tomcat Inside servlet.xml file
The above steps , Visit website : The server IP:8080/ Project name /home(home This is the landing page of the blogger project , Modify... According to your actual situation ), The visit was successful , Happily enter the user name and password , land (404??)
This is because the URL you log in and jump to should be without the project name , however tomcat You need to bring the project name to access , How to solve it ? Access to information , We know it needs to be changed tomcat Medium server.xml The path where the configuration file is found
add
<Context path="" docBase="/usr/local/apache-tomcat-9.0.52/webapps/logisticsWeb" reloadable="true" />
cd usr/local/apache-tomcat-9.0.52/conf/
vim servlet.xml

Restart tomcat
cd /usr/local/apache-tomcat-9.0.52/bin
./shutdown.sh
ps -ef|grep java
./startup.sh
Browser access
Visit website : The server IP:8080/ Project name /home, success OK
版权声明
本文为[One duck, one duck]所创,转载请带上原文链接,感谢
https://yzsam.com/2022/04/202204230558023750.html
边栏推荐
- Processbuilder tool class
- Oracle modify default temporary tablespace
- The query did not generate a result set exception resolution when the dolphin scheduler schedules the SQL task to create a table
- What does the SQL name mean
- Exemple de méthode de réalisation de l'action d'usinage à point fixe basée sur l'interruption de déclenchement du compteur à grande vitesse ob40 pendant le voyage de tia Expo
- 为什么从事云原生开发需要学习容器技术
- QT调用外部程序
- Personal learning related
- [point cloud series] deepmapping: unsupervised map estimation from multiple point clouds
- Information: 2021 / 9 / 29 10:01 - build completed with 1 error and 0 warnings in 11S 30ms error exception handling
猜你喜欢

Why do you need to learn container technology to engage in cloud native development

SAP ui5 application development tutorial 72 - animation effect setting of SAP ui5 page routing

JUC interview questions about synchronized, ThreadLocal, thread pool and atomic atomic classes

校园外卖系统 - 「农职邦」微信原生云开发小程序

MySQL and PgSQL time related operations

Unified task distribution scheduling execution framework
SAP ui5 application development tutorial 72 - trial version of animation effect setting of SAP ui5 page routing
![[machine learning] Note 4. KNN + cross validation](/img/a1/5afccedf509eda92a0fe5bf9b6cbe9.png)
[machine learning] Note 4. KNN + cross validation
![[point cloud series] Introduction to scene recognition](/img/1f/c64712b03ae5b235b5dd3347c3e86a.png)
[point cloud series] Introduction to scene recognition

Dolphin scheduler source package Src tar. GZ decompression problem
随机推荐
[point cloud series] neural opportunity point cloud (NOPC)
Solution: you have 18 unapplied migration (s) Your project may not work properly until you apply
[point cloud series] learning representations and generative models for 3D point clouds
交叉碳市场和 Web3 以实现再生变革
Modification of table fields by Oracle
[point cloud series] pointfilter: point cloud filtering via encoder decoder modeling
Oracle defines self incrementing primary keys through triggers and sequences, and sets a scheduled task to insert a piece of data into the target table every second
[point cloud series] unsupervised multi task feature learning on point clouds
kettle庖丁解牛第16篇之输入组件周边讲解
Detailed explanation of redis (Basic + data type + transaction + persistence + publish and subscribe + master-slave replication + sentinel + cache penetration, breakdown and avalanche)
Isparta is a tool that generates webp, GIF and apng from PNG and supports the transformation of webp, GIF and apng
At the same time, the problems of height collapse and outer margin overlap are solved
Launcher hides app icons that do not need to be displayed
Android clear app cache
【重心坐标插值、透视矫正插值】原理以及用法见解
Short name of common UI control
解决tp6下载报错Could not find package topthink/think with stability stable.
Opening: identification of double pointer instrument panel
Parameter comparison of several e-book readers
Failure to connect due to improper parameter setting of Rac environment database node. Troubleshooting