当前位置:网站首页>VMware 15pro mounts the hard disk of the real computer in the deepin system
VMware 15pro mounts the hard disk of the real computer in the deepin system
2022-04-23 14:08:00 【Senzhiqianshou】
VMware15Pro stay Deepin The hard disk of the real computer is mounted in the system
Preface
VMware This software , It's no stranger to people who like playing computer systems . lately Deepin This is called deep domestic Linux The system is hot . Huawei's MateBook And Xiaomi's notebook seem to have adopted this system , Xiaomi's laptops using this system are better than those directly using windows The system is cheaper 300 block . So I want to try one myself . It's going to be installed by real machine , But there's not enough hard disk space , So I bought a solid-state drive on a treasure . The hard drive is still on the way , I'm going to try using a virtual machine first . About VM install Deepin A tutorial for , There's a lot of stuff on the Internet , I won't go into that ( The key is to select the installation model of ubantu ). After installing this system , It feels really good ,UI The style is very similar MacOS, It's not Caton . But the local disk is not mounted by default , This is not fun . Baidu made a big circle , Finally came to the conclusion that , Now leave a note here first .
One 、 Set up shared folders
reminder : Please operate in the mode of shutting down the virtual machine for the following operations
(1) Edit virtual machine settings

(2) Turn on the shared folder function
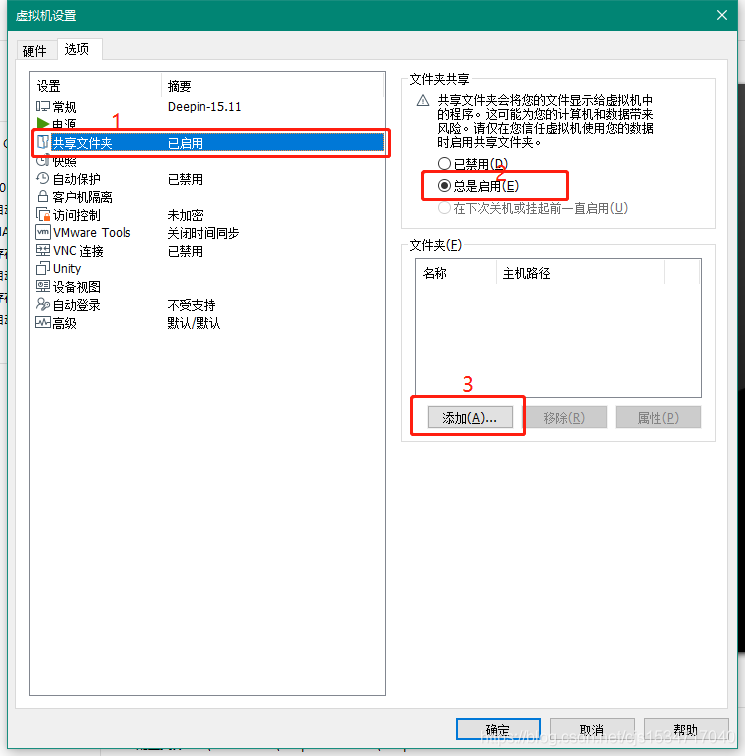
according to 1,2,3 The order of , Then go to the add process :
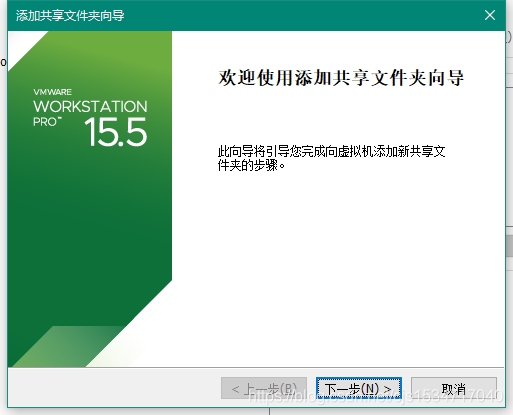
Click next
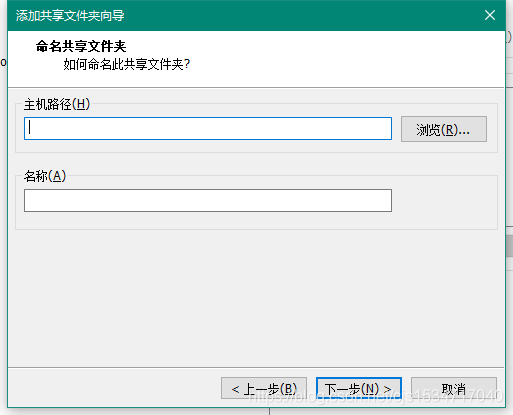
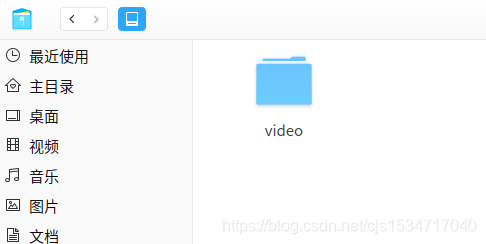
Then start selecting the folder you want to share in the real machine , Here I choose one video Folder . The name option is the name of the folder you see in the virtual machine at that time
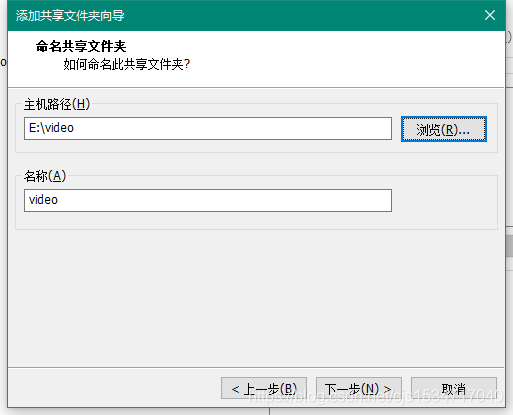
Click next :
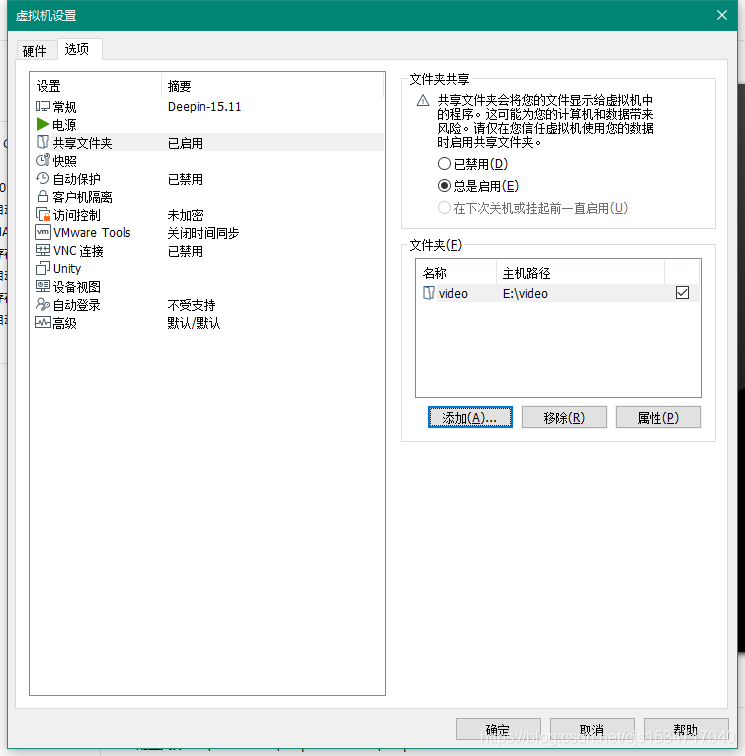
Come here , Successfully added a shared path , Of course, you can add more paths . thus , Even if the shared folder is set up .
Two 、 install VMware-tools
(1) Now open your virtual machine , Wait for the opening to complete
(2) Click the virtual machine option
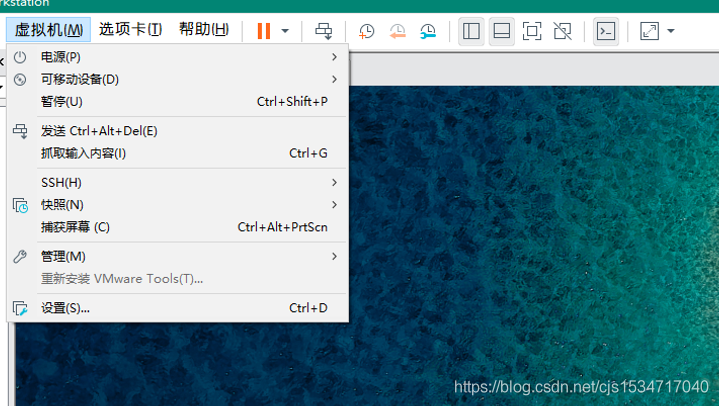
See the penultimate item , If the option to reinstall or install is grayed out , Then please see the following operation , Otherwise, click Install directly .
If it is gray and cannot be clicked , Shut down the virtual machine first , Then select the edit virtual machine option
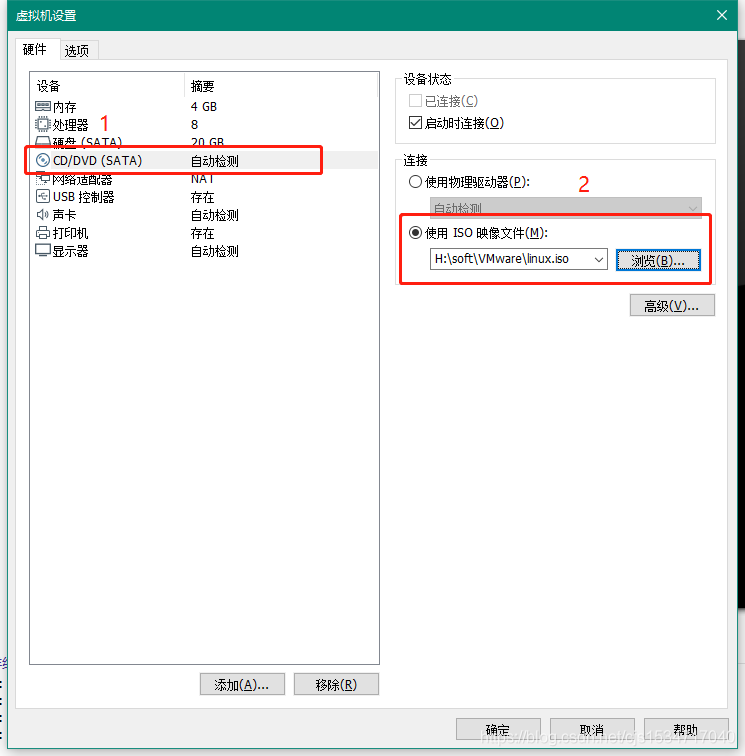
stay “ Hardware ” below , choice CD/DVD Options , Choose to use ISO Image file . The address of this file is the one you installed VMware The one under the root directory of is called “linux.iso” The address of the file , Then click OK .
Then turn on the virtual machine , At this point, you will find the gray option just now , Now you can click . After clicking, it will take a little time to pull some files online .
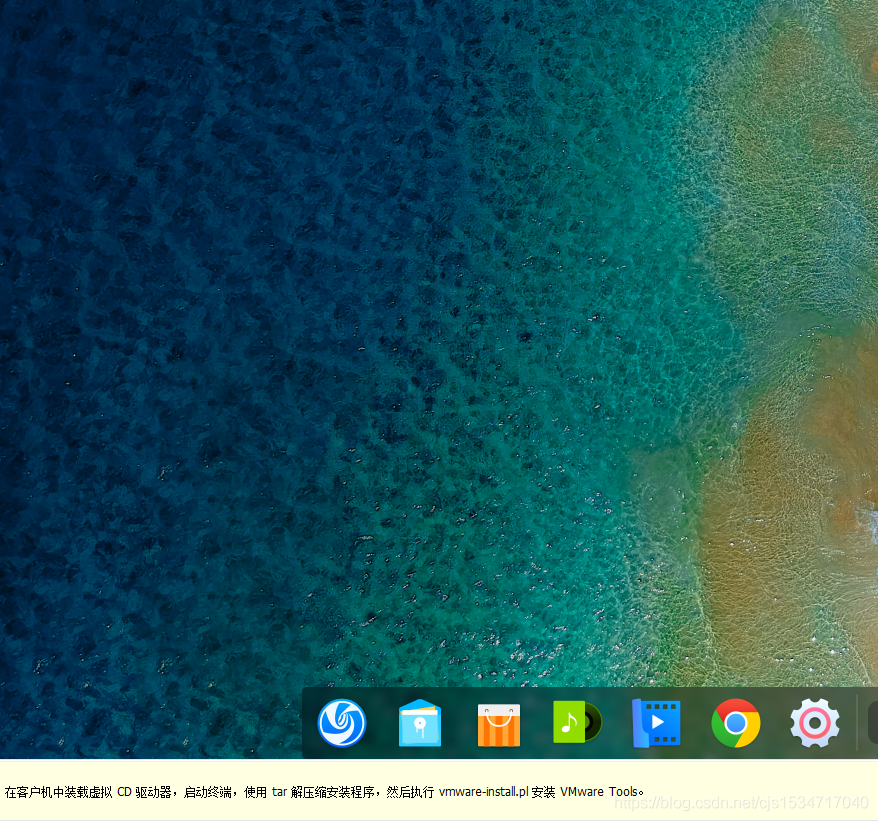
There are some suggestive words at the bottom , The main idea is to let you find this CD Files in the drive , use tar decompression , Then perform the installation .
Then after pulling , Open the file manager of the virtual machine , There will be one on the left VMware-tool Of CD driver The option to :
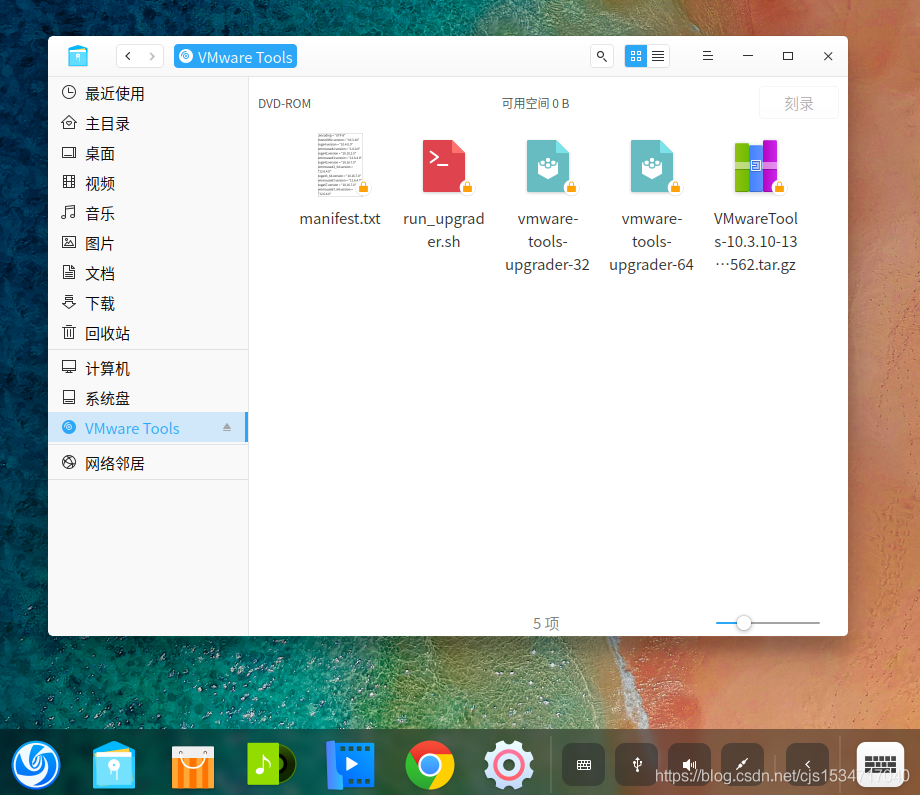
We suffixed that with .tar.gz Copy your files to one place , such as , desktop .
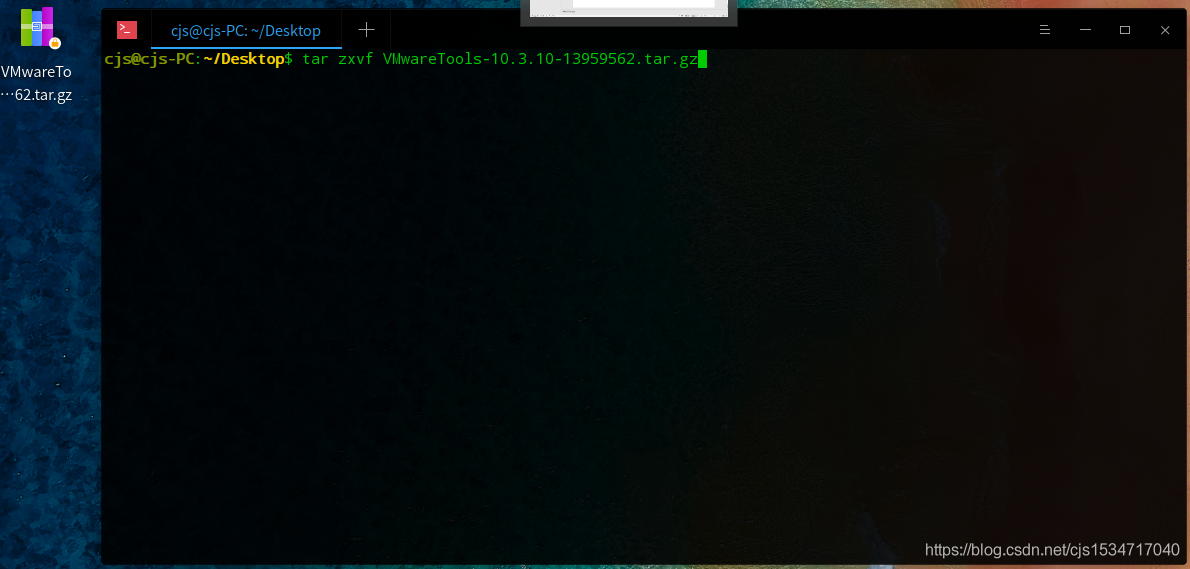
Then right-click the blank part of the desktop , Select open at terminal , Turn on the console :
This is the time to enter tar Unzip command ,tar zxvf The full name of the document
enter , Perform decompression .
After decompression , There will be one more unzipped folder on the desktop :

After entering the unzipped folder, you can see the files we need to execute instructions :
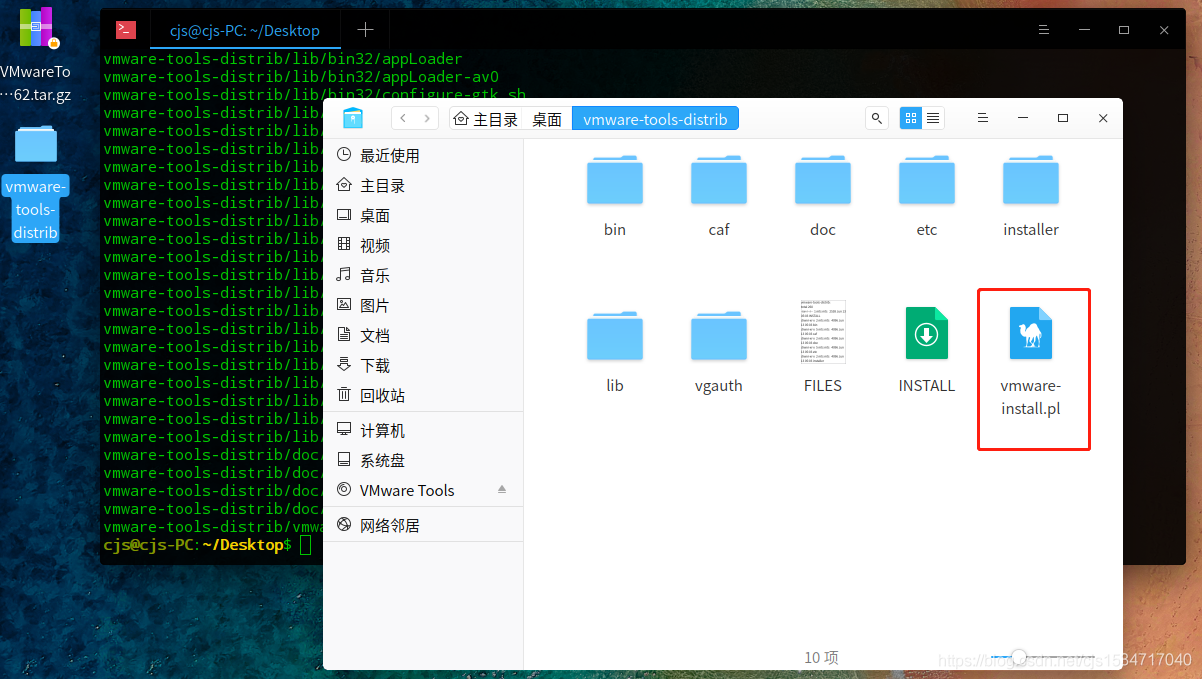
next , Input at the console :cd vmware-tools-distrib/
enter , Go to the unzip Directory

Then enter the instructions for installing the file :sudo ./vmware-install.pl

Will ask you to enter your login password :
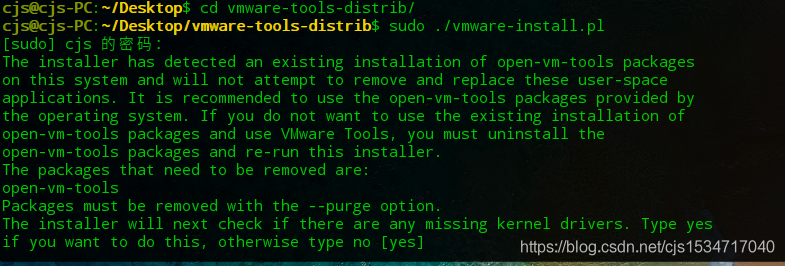
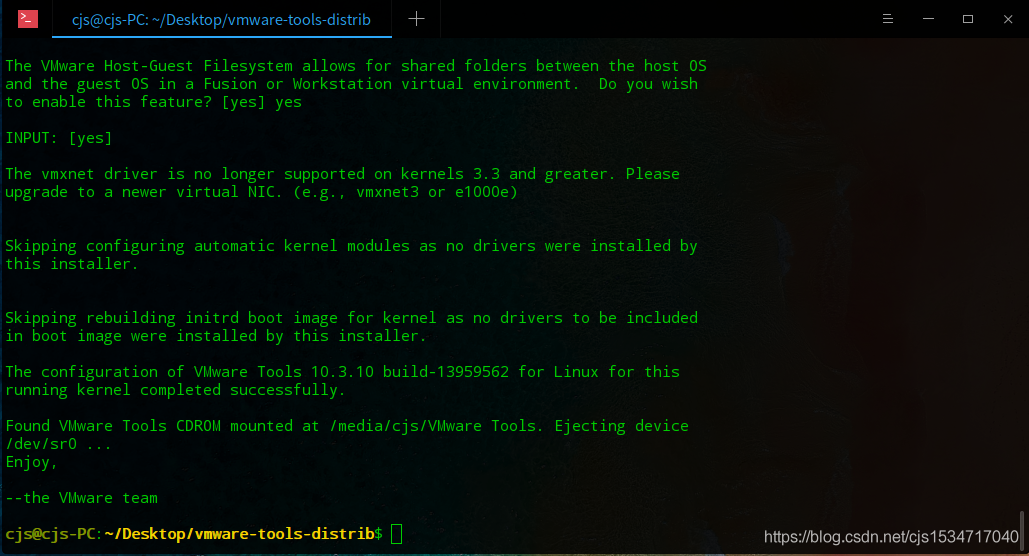
In the next steps, input all the way yes, This completes the installation .
3、 ... and 、 Use mount file
Open file manager , In the system disk directory mnt File plus , A new one has been created hgfs Folder ,
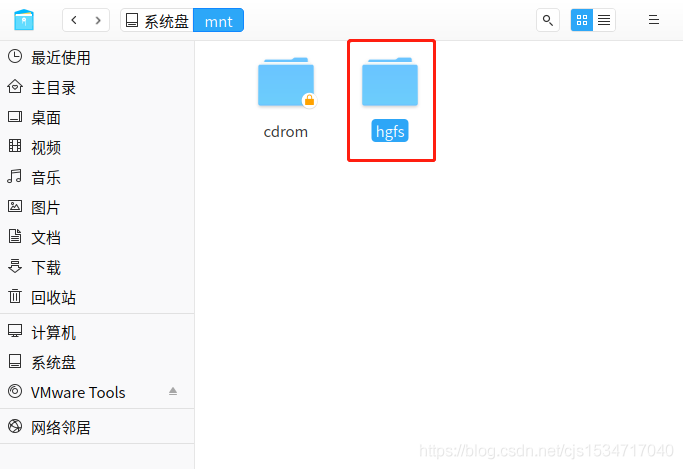
Click in to see the shared folder just now , Then you can read the files inside .
版权声明
本文为[Senzhiqianshou]所创,转载请带上原文链接,感谢
https://yzsam.com/2022/04/202204231405037402.html
边栏推荐
猜你喜欢

微信小程序获取登录用户信息、openid和access_token
Chrome插件 之 Selenium IDE、XPath 安装
DDT+Excel进行接口测试
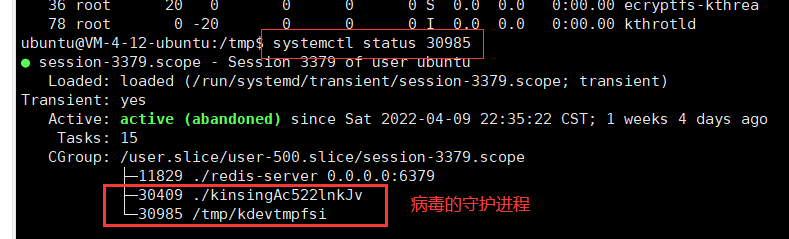
There is a mining virus in the server

mysql新表,自增id长达20位,原因竟是......
帆软调用动态传参的方法,在标题中设置参数

微信小程序setInterval定时函数使用详细教程
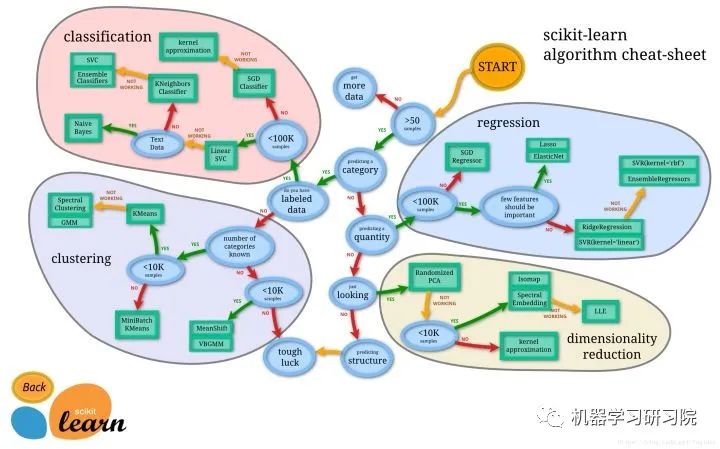
Universal template for scikit learn model construction

查询2013年到2021年的数据,只查询到2020的数据,遇到了这个问题所进行的解决办法
基于微信小程序的wifi模块使用

随机推荐
可否把模板的头文件和源文件分开编译
生产环境——
centOS下mysql主从配置
Idea控制台乱码解决
Detailed tutorial on the use of setinterval timing function of wechat applet
Nodejs安装及环境配置
Logging模块
Oracle-数据泵使用
容差分析相关的计算公式
mysql通过binlog文件恢复数据
封装logging模块
微信小程序的订阅号开发(消息推送)
SQL数据库
星界边境Starbound创意工坊订阅的mod的存放路径
leetcode--977. Squares of a Sorted Array
Wechat applet obtains login user information, openid and access_ token
gzip和gunzip 解压参数详解
JSP学习2
帆软实现分页时第一行和最后两行冻结方式
按实际取,每三级分类汇总一次,看图知需求