当前位置:网站首页>Multitimer V2 reconstruction version | an infinitely scalable software timer
Multitimer V2 reconstruction version | an infinitely scalable software timer
2022-04-23 15:29:00 【Mculover666】
Preface
The selected column of embedded open source projects published an article on MultiTimer The article , MultiTimer | An infinitely scalable software timer , This week, some friends in the group reminded me MutilTimer It's not quite the same as the article , The first reaction is to reconstruct , After the technical level has been improved by one level, the big guys like reconstruction projects , Go to github See what happened .
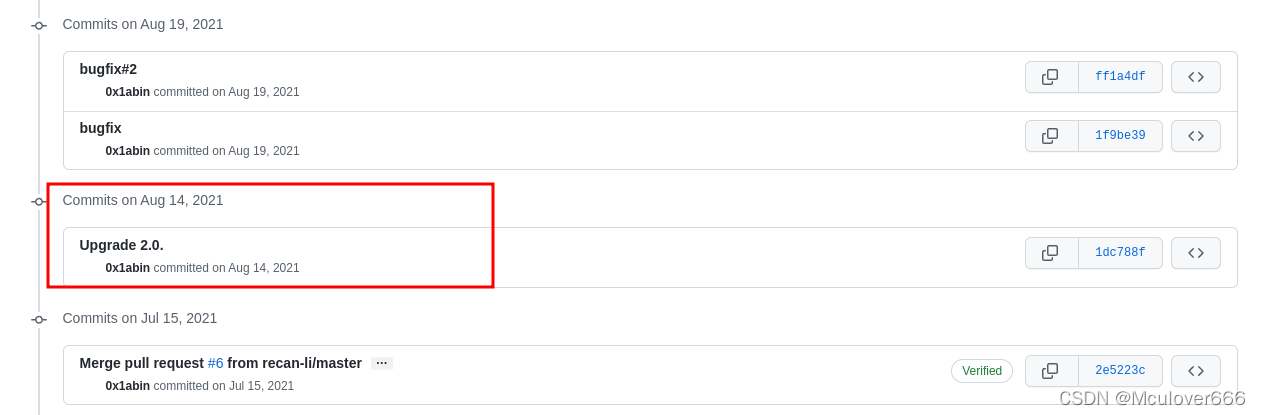
master The branch is still the same as before v1 edition , It's the same as the article :

development The project was refactored on the branch , Released v2 edition :
Update the next tutorial synchronously .
One 、MultiTimer
The open source project brought to you in this issue is MultiTimer, An infinitely scalable software timer , author 0x1abin, The current harvest 399 individual star, follow MIT Open source license agreement .
MultiTimer Is a software timer extension module , Unlimited expansion of timer tasks you need , Instead of the traditional way of judging the sign bit , It is more elegant and convenient to manage the time trigger sequence of the program .
Project address :https://github.com/0x1abin/MultiTimer
Two 、 transplant MultiTimer
1. Transplantation ideas
Open source projects mainly refer to the of the project in the migration process readme file , It usually takes only two steps :
- ① Add the source code to the bare metal project ;
- ② Implement the required interfaces ;
In this article, I use little bear pie IoT Development Kit , The main control chip is STM32L431RCT6:

A bare metal project needs to be prepared before transplantation , I use STM32CubeMX Generate , The following configuration needs to be initialized :
- Configure a serial port for printing information
- printf Redirect
2.MDK transplant
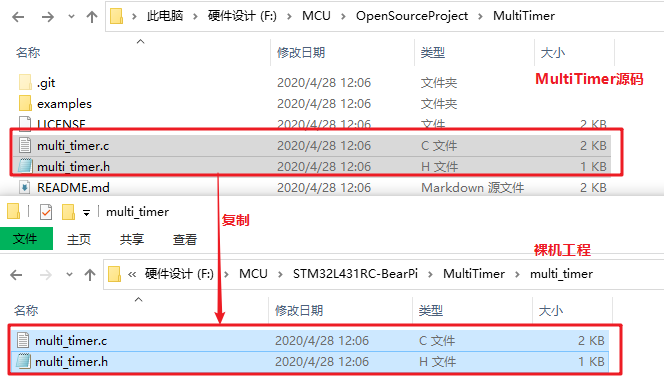
① Copy MultiTimer Source code into the project :
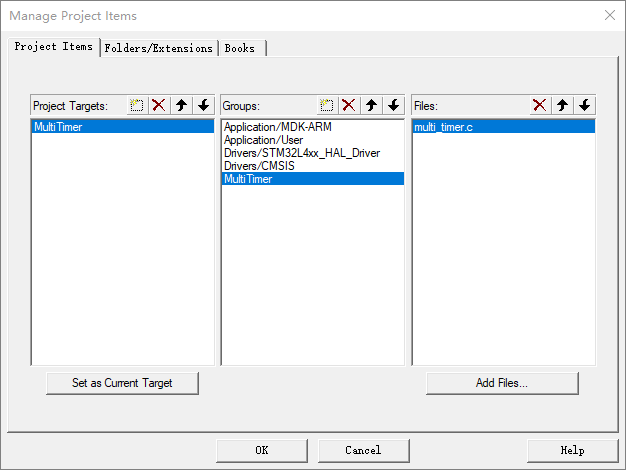
② stay keil Add MultiTimer Source file :
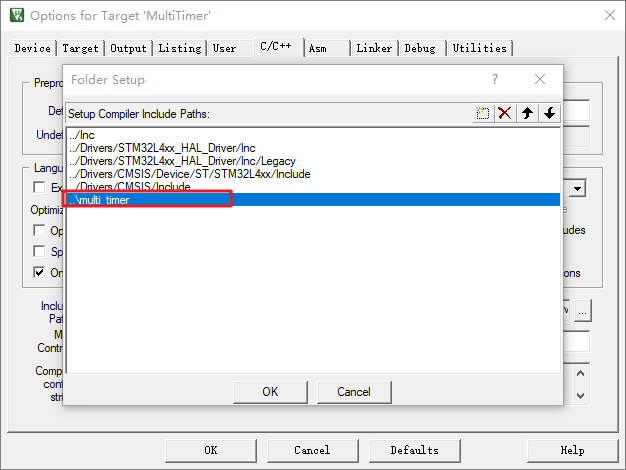
③ take MultiTimer Add header file path to keil in :
3. gcc transplant
① Copy MultiTimer Source code into the project :

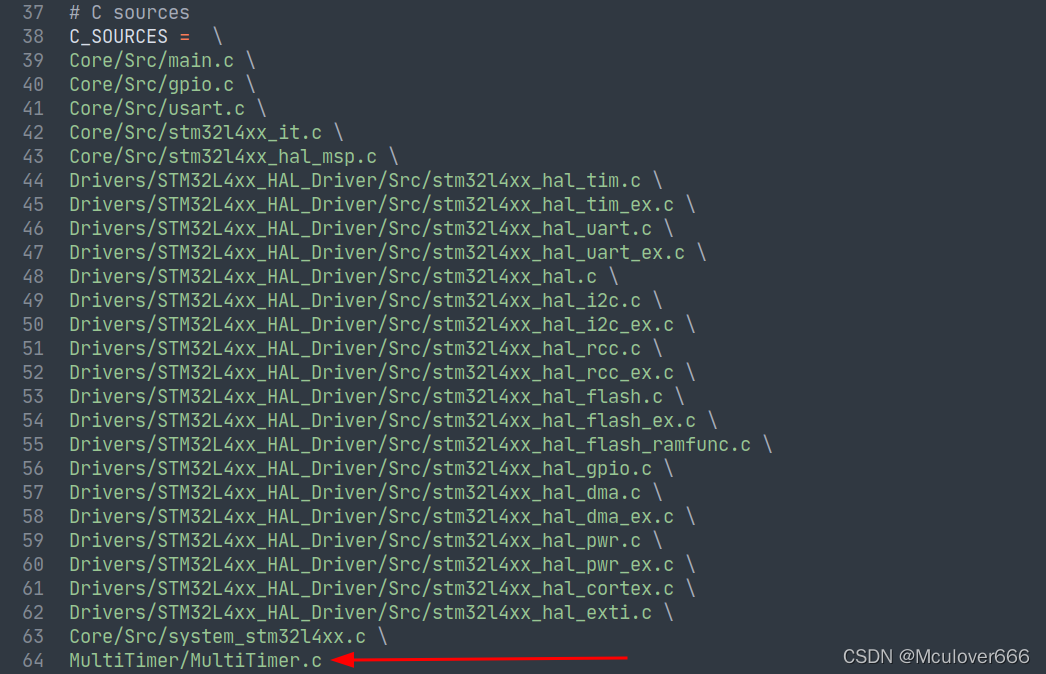
② stay Makefile Add MultiTimer Source file :
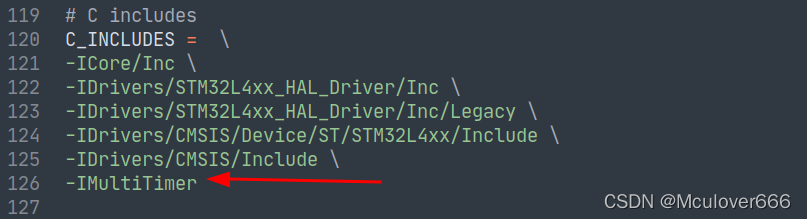
③ add to MultiTimer Header file path :
3、 ... and 、 Use MultiTimer
Include header files when using :
#include "multi_timer.h"
1. Provide Timer Time base signal
MultiTimer The time base signal in needs to be installed ,API as follows :
/** * @brief Platform ticks function. * * @param ticksFunc ticks function. * @return int 0 on success, -1 on error. */
int MultiTimerInstall(PlatformTicksFunction_t ticksFunc);
PlatformTicksFunction_t The function pointer is defined as follows :
typedef uint64_t (*PlatformTicksFunction_t)(void);
What is used in this article is STM32HAL library , So pass Systick To provide , No additional timer is required .
Write acquisition system tick Function of :
/* Private user code ---------------------------------------------------------*/
/* USER CODE BEGIN 0 */
uint64_t PlatformTicksGetFunc(void)
{

  return (uint64_t)HAL_GetTick();
}
/* USER CODE END 0 */
stay main Install the in the function tick function :
/* USER CODE BEGIN 2 */
printf("MultiTimer v2 Port on BearPi board by mculover666!\r\n");
MultiTimerInstall(PlatformTicksGetFunc);
/* USER CODE END 2 */
2. establish Timer object
Software timer Abstract MultiTimer Structure :
struct MultiTimerHandle {

    MultiTimer* next;
    uint64_t deadline;
    MultiTimerCallback_t callback;
    void* userData;
};

typedef struct MultiTimerHandle MultiTimer;
So use it directly MultiTimer Type create software timer :
/* USER CODE BEGIN PV */
MultiTimer timer1;
/* USER CODE END PV */
3. Timer Callback function
Callback function types are defined as follows :
typedef void (*MultiTimerCallback_t)(MultiTimer* timer, void* userData);
In callback function format , Create timeout callback function :
/* Private user code ---------------------------------------------------------*/
/* USER CODE BEGIN 0 */
void timer1_callback(MultiTimer* timer, void* userData)
{

    printf("timer1 timeout!\r\n");
}
/* USER CODE END 0 */
4. Initialize and start Timer
Start timer API as follows :
/** * @brief Start the timer work, add the handle into work list. * * @param timer target handle strcut. * @param timing Set the start time. * @param callback deadline callback. * @param userData user data. * @return int 0: success, -1: fail. */
int MultiTimerStart(MultiTimer* timer, uint64_t timing, MultiTimerCallback_t callback, void* userData);
Initialize timer object , Register timer callback handler , Set timeout (ms):
/* USER CODE BEGIN 2 */
printf("MultiTimer v2 Port on BearPi board by mculover666!\r\n");
MultiTimerStart(&timer1, 1000, timer1_callback, NULL);
/* USER CODE END 2 */
5. Timer Object processing
Timer Object handler API The definition is as follows :
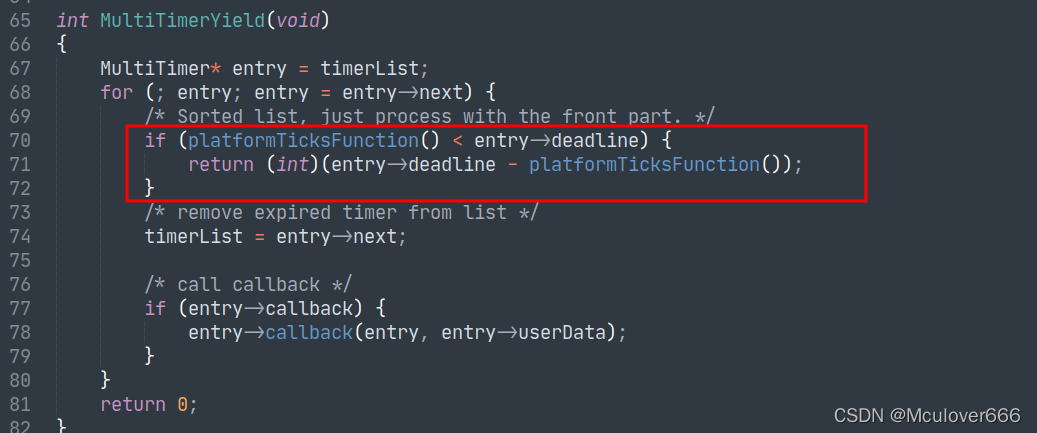
/** * @brief Check the timer expried and call callback. * * @return int The next timer expires. */
int MultiTimerYield(void);
Call in main loop Timer Object handler , The processing function will judge whether each timer on the linked list times out , If exceeded , Pull up the registered callback function :
/* Infinite loop */
/* USER CODE BEGIN WHILE */
while (1)
{

  /* USER CODE END WHILE */

  /* USER CODE BEGIN 3 */
  MultiTimerYield();
}
 /* USER CODE END 3 */
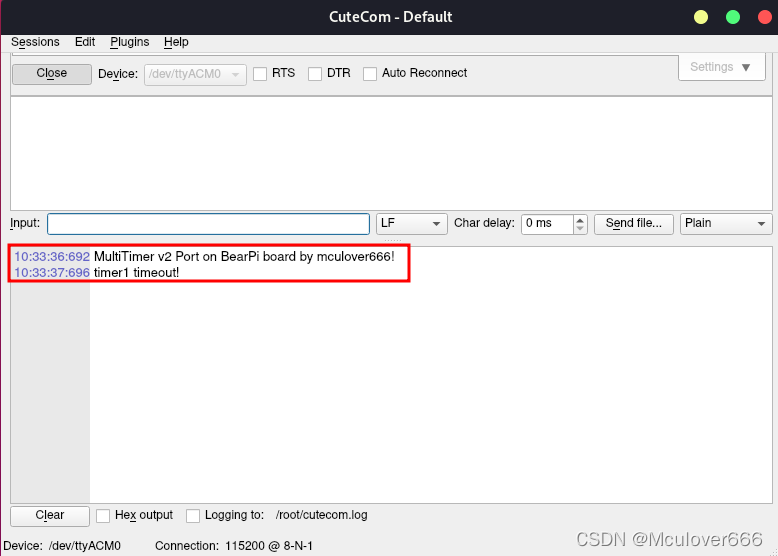
Next, compile and download , See the printed log in the serial port assistant :
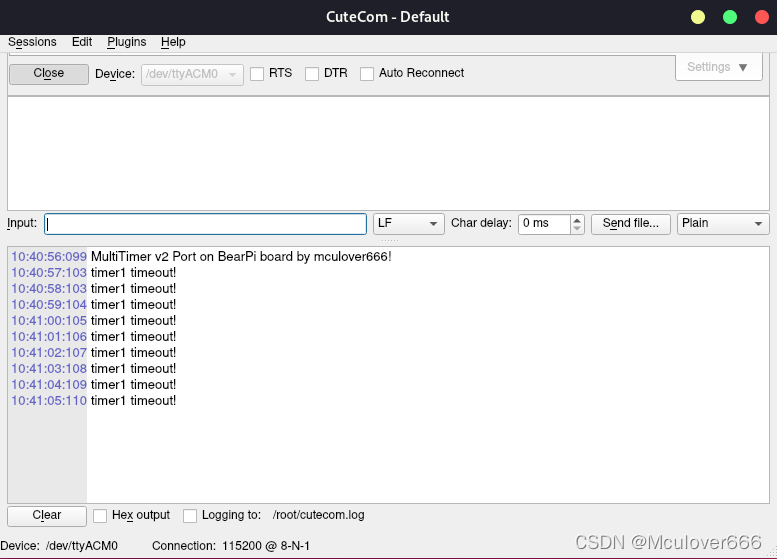
Four 、 How to cycle trigger
In the timer timeout function , Just restart the timer .
void timer1_callback(MultiTimer* timer, void* userData)
{

    printf("timer1 timeout!\r\n");

    // restart
    MultiTimerStart(&timer1, 1000, timer1_callback, NULL);
}
5、 ... and 、 Interpretation of design ideas
be relative to v1 edition ,v2 The version obviously involves a lot of brevity ,c File implementation only 4 A function ,82 Line code .
v2 The registration mechanism used in the version is provided by the user tick, One advantage of this design is , More portability , System without intervention tick interrupt , Only MultiTimer When you get scheduled , It can be installed by us API Get system tick, Take this as the benchmark to judge whether the timer times out .
v2 The version also optimizes the linked list insertion mechanism , Before that, it was simple and straightforward to insert nodes into a single linked list , Now sort the inserts by timeout , More elegant :
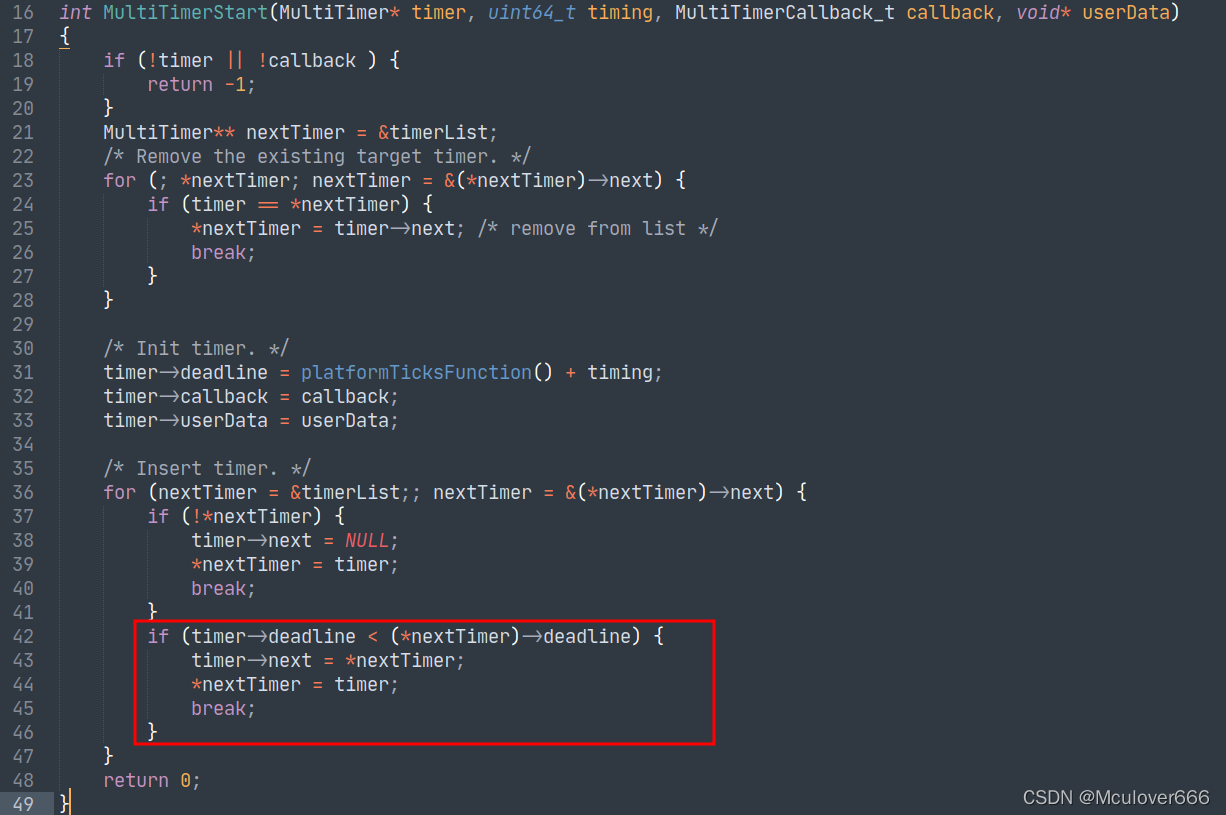
In addition to the more elegant insertion , There are also two improvements to the performance of software timers , When scheduling :
- Timers with a near timeout are always given priority
- The previous timer has not timed out , Scheduling can be ended directly
The implementation idea of software timer can be referred to before v1 Version of the tutorial .
Receive more wonderful articles and resource push , Welcome to subscribe to my WeChat official account :『mculover666』.

版权声明
本文为[Mculover666]所创,转载请带上原文链接,感谢
https://yzsam.com/2022/04/202204231521555202.html
边栏推荐
猜你喜欢

How to use OCR in 5 minutes

函数(第一部分)
MySQL InnoDB transaction
Detailed explanation of kubernetes (XI) -- label and label selector
Explanation 2 of redis database (redis high availability, persistence and performance management)
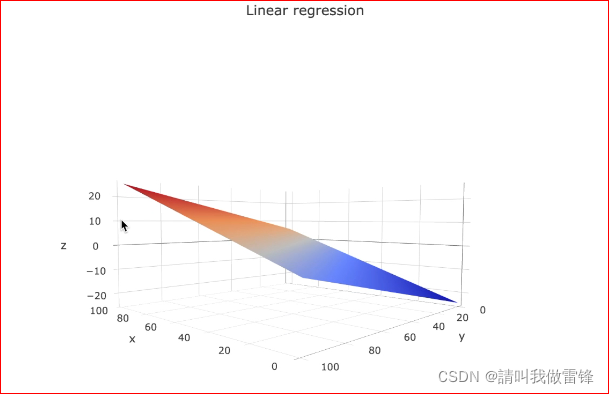
Machine learning - logistic regression
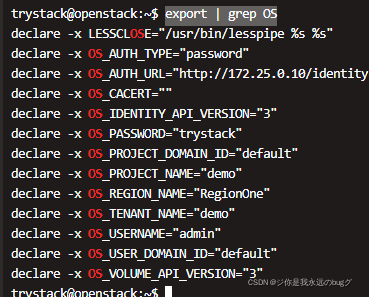
Openstack command operation

Set onedrive or Google drive as a drawing bed in upic for free
MultiTimer v2 重构版本 | 一款可无限扩展的软件定时器
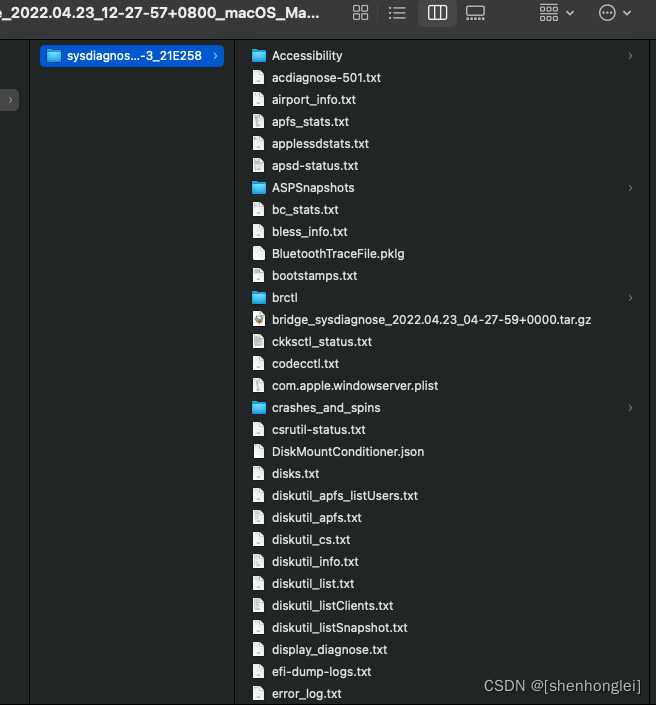
T2 icloud calendar cannot be synchronized
随机推荐
Basic operation of sequential stack
Byte interview programming question: the minimum number of K
今日睡眠质量记录76分
Detailed explanation of kubernetes (IX) -- actual combat of creating pod with resource allocation list
regular expression
Five data types of redis
自动化测试框架常见类型▏自动化测试就交给软件测评机构
什么是CNAS认证?CNAS认可的软件测评中心有哪些?
Async void caused the program to crash
调度系统使用注意事项
电脑怎么重装系统后显示器没有信号了
Functions (Part I)
C language super complete learning route (collection allows you to avoid detours)
Do keyword search, duplicate keyword search, or do not match
php类与对象
Llvm - generate if else and pH
Kubernetes详解(十一)——标签与标签选择器
C语言超全学习路线(收藏让你少走弯路)
让阿里P8都为之着迷的分布式核心原理解析到底讲了啥?看完我惊了
移动app测试如何进行?