当前位置:网站首页>Transfer learning of five categories of pictures based on VGg
Transfer learning of five categories of pictures based on VGg
2022-04-23 17:54:00 【Stephen_ Tao】
List of articles
Introduction to dataset
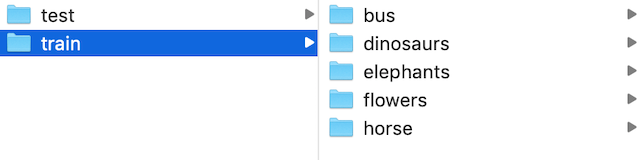
It is divided into two parts: training set and test set , Each part contains 5 Categories of data , They are cars 、 The dinosaur 、 Elephant 、 Flowers and horses .
Code implementation
It is mainly divided into the following five steps :
- Read local picture data and categories
- VGG Modification of model structure ( Add a custom classification layer )
- freeze Drop the original VGG Model
- compile 、 Train and save models
Import of related packages
import numpy as np
import tensorflow as tf
from tensorflow.python import keras
from tensorflow.python.keras.preprocessing.image import ImageDataGenerator,load_img,img_to_array
from tensorflow.python.keras.applications.vgg16 import VGG16,preprocess_input
from tensorflow.python.keras import layers
from tensorflow.python.keras.optimizers import adam_v2
from tensorflow.python.keras.losses import sparse_categorical_crossentropy
from tensorflow.python.keras.callbacks import ModelCheckpoint
Read local picture data and categories
class TransferModel(object):

    def __init__(self):
        self.train_dir = './data/train'
        self.test_dir = './data/test'
        self.model_size = (224,224)
        self.batch_size = 32

        self.train_generator = ImageDataGenerator(rescale=1.0/255.0)
        self.test_generator = ImageDataGenerator(rescale=1.0/255.0)
        self.base_model = VGG16(include_top=False)

    def get_local_data(self):
        """  Read local picture data and categories  :return: Iterators for training data and test data  """
        train_gen = self.train_generator.flow_from_directory(directory=self.train_dir,
                                                             target_size=self.model_size,
                                                             batch_size=self.batch_size,
                                                             class_mode='binary',
                                                             shuffle=True)
        test_gen = self.test_generator.flow_from_directory(directory=self.test_dir,
                                                           target_size=self.model_size,
                                                           batch_size=self.batch_size,
                                                           class_mode='binary',
                                                           shuffle=True)
        return train_gen,test_gen
Yes train_gen as well as test_gen Print , We can get the following results :
Found 400 images belonging to 5 classes.
Found 100 images belonging to 5 classes.
<tensorflow.python.keras.preprocessing.image.DirectoryIterator object at 0x000001AB1BD65E80>
<tensorflow.python.keras.preprocessing.image.DirectoryIterator object at 0x000001AB1BD65520>
VGG Modification of model structure
    def refine_vgg_model(self):
        x = self.base_model.outputs[0]

		#  use GlobalAveragePooling2D Reduce the parameters of the model
        x = layers.GlobalAveragePooling2D()(x)
        x = layers.Dense(1024,activation=tf.nn.relu)(x)
        y_predict = layers.Dense(5,activation=tf.nn.softmax)(x)

        model = keras.Model(inputs=self.base_model.inputs,outputs=y_predict)


        return model
First of all, yes VGG_nontop The output of the model is analyzed GlobalAveragePooling2D Reduce the parameters of full connection , Then customize and build two full connection layers , Get a new model .
freeze Drop the original VGG Model parameters
    def freeze_vgg_model(self):
        for layer in self.base_model.layers:
            layer.trainable = False
compile 、 Train and save models
    def compile(self,model):
        model.compile(optimizer=adam_v2.Adam(),
                      loss=sparse_categorical_crossentropy,
                      metrics=['accuracy'])

    def fit(self,model,train_gen,test_gen):
        check = ModelCheckpoint('./ckpt/transfer_{epoch:02d}-{val_accuracy:.2f}.h5',
                                monitor='val_accuracy',
                                save_best_only=True,
                                save_weights_only=True,
                                mode='auto',
                                period=1)
        model.fit_generator(train_gen, epochs=3, validation_data=test_gen, callbacks=[check])
The main function
if __name__ == '__main__':
    tm = TransferModel()
    train_gen,test_gen = tm.get_local_data()

    model = tm.refine_vgg_model()
    # print(tm.refine_vgg_model().summary())
    tm.freeze_vgg_model()
    tm.compile(model)
    tm.fit(model,train_gen,test_gen)
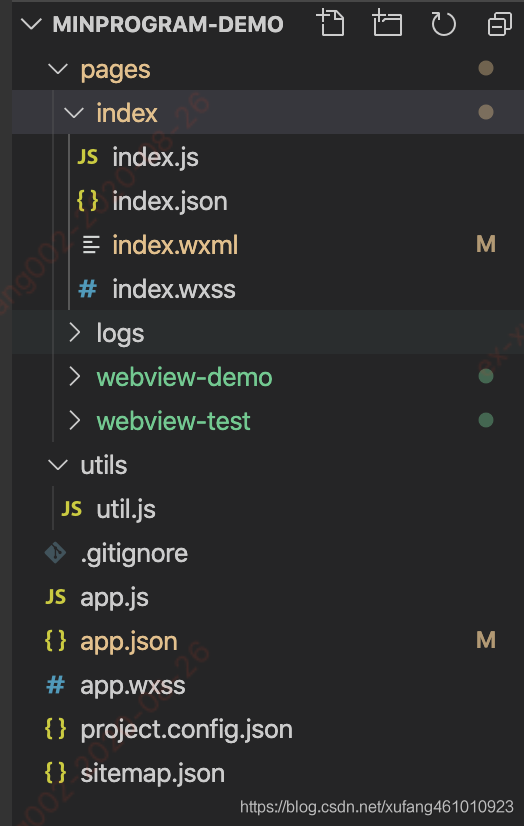
After the training, you will get the following documents :

Model to predict
    def predict(self,model):
        model.load_weights('./ckpt/transfer_02-0.93.h5')

        image = load_img('./data/test/bus/300.jpg',target_size=(224,224))
        # print(image)
        image = img_to_array(image)
        # print(" The shape of the picture :", image.shape)

        #  Shape from 3 Change the dimension to 4 dimension
        img = image.reshape((1, image.shape[0], image.shape[1], image.shape[2]))
        # print(" Changing the shape results in :", img.shape)

        # 3、 Process image content , Normalization, etc , To make predictions
        img = preprocess_input(img)
        print(img.shape)
        y_predict = model.predict(img)
        index = np.argmax(y_predict, axis=1)
        #
        print(self.label_dict[str(index[0])])
The prediction results are as follows :

版权声明
本文为[Stephen_ Tao]所创,转载请带上原文链接,感谢
https://yzsam.com/2022/04/202204230548468317.html
边栏推荐
- Amount input box, used for recharge and withdrawal
- C1小笔记【任务训练篇二】
- Hcip fifth experiment
- 1217_ Generating target files using scons
- 20222 return to the workplace
- 01 - get to know the advantages of sketch sketch
- JS parsing and execution process
- SQL optimization for advanced learning of MySQL [insert, primary key, sort, group, page, count]
- Auto.js 自定义对话框
- Eigen learning summary
猜你喜欢
Applet learning notes (I)
Fashion classification case based on keras
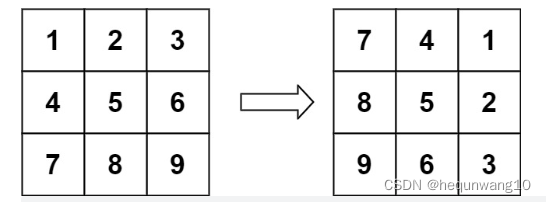
48. Rotate image
102. 二叉树的层序遍历
394. 字符串解码-辅助栈
Matlab / Simulink simulation of double closed loop DC speed regulation system

On the problem of V-IF display and hiding

Leak detection and vacancy filling (6)

Halo 开源项目学习(二):实体类与数据表

2022 Jiangxi energy storage technology exhibition, China Battery exhibition, power battery exhibition and fuel cell Exhibition
随机推荐
Land cover / use data product download
MySQL_01_简单数据检索
2022 Jiangxi Photovoltaic Exhibition, China distributed Photovoltaic Exhibition, Nanchang solar energy utilization Exhibition
编译原理 求first集 follow集 select集预测分析表 判断符号串是否符合文法定义(有源码!!!)
_ FindText error
Use of list - addition, deletion, modification and query
Kubernetes 服务发现 监控Endpoints
Uniapp custom search box adaptation applet alignment capsule
JS high frequency interview questions
102. Sequence traversal of binary tree
Examination question bank and online simulation examination of the third batch (main person in charge) of special operation certificate of safety officer a certificate in Guangdong Province in 2022
Write a regular
The method of changing a value in the array and a value in the object of wechat applet
Chrome浏览器的跨域设置----包含新老版本两种设置
列表的使用-增删改查
Open source key component multi_ Button use, including test engineering
2022年流动式起重机司机国家题库模拟考试平台操作
Fashion classification case based on keras
Index: teach you index from zero basis to proficient use
Client example analysis of easymodbustcp